Welcome back to Farbulous Creations! I’m Ron, and later this month I’ll be attending my first ever woodworking and makers convention. I’ll be going to WorkbenchCon 2020 down in Atlanta, GA. It’s a three-day event filled with learning and making and networking, and I could not be more excited!
I’ve been following John Maleki and Brad from FixThisBuildThat for awhile now, and I first heard about the conference on their podcast when they discussed last year’s WorkBench Con. It sounded like the perfect opportunity to meet other makers, learn from some of my favorite YouTubers in a hands-on setting, as well as meet brands who I might want to work with in the future.
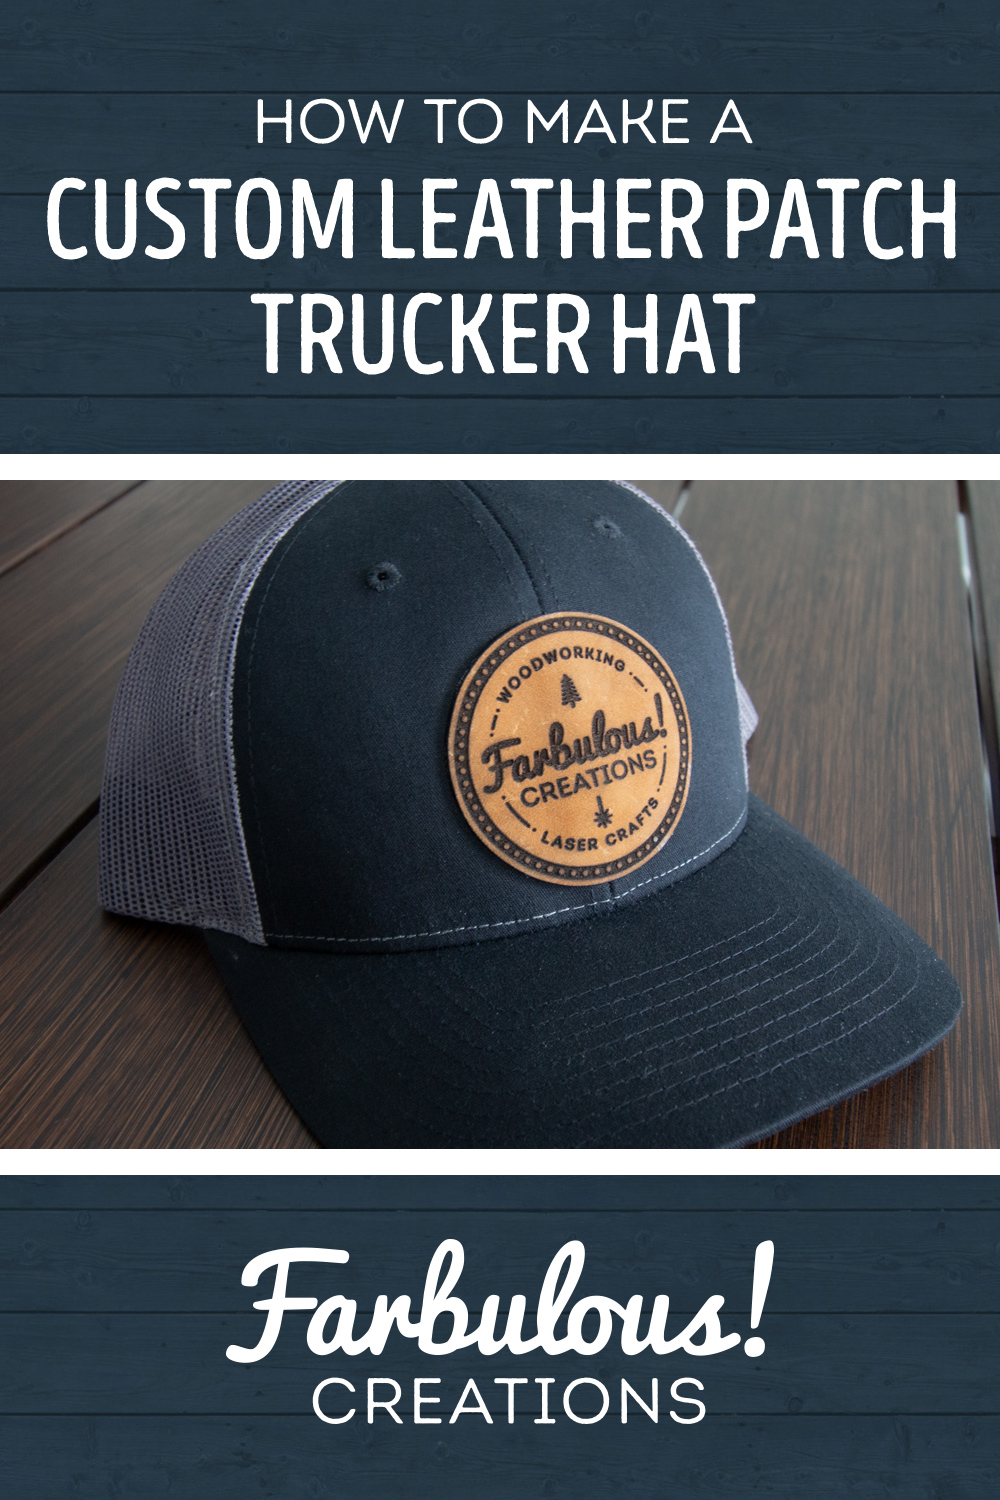
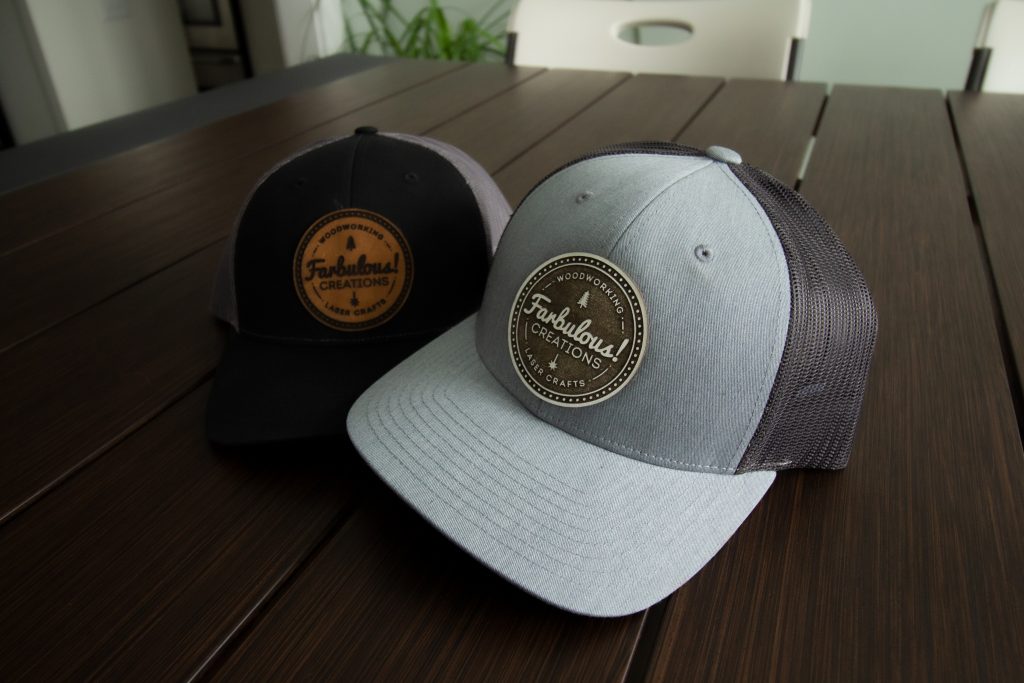
Now I’m not a big YouTube star, but I’ve always been told you’ve gotta fake it until you make it, right? There are companies out there that can make these, but with large minimum order requirements which is obviously… expensive. I can’t afford to have a ton of them made, but I CAN afford a blank trucker hat and a few pieces of leather that I can etch on the laser at the maker space I attend. So I made my own! And I didn’t make just one, I made two different styles, and I love how they both turned out.
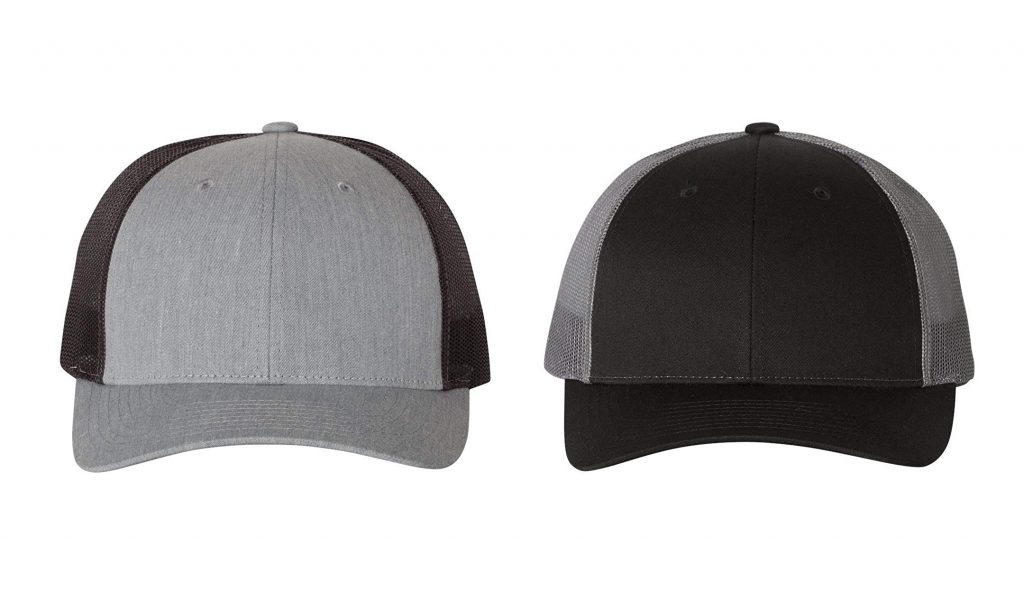
To start out, I would obviously need a couple of hats. I decided on a low-profile style trucker hat, meaning the dome isn’t super deep such that there’s a ton of air space above your head when wearing it. I ordered two – one light grey in the front with black mesh in the back, and another black in the front with dark grey mesh in the back. Both in size medium / large because I have a big ol’ noggin.
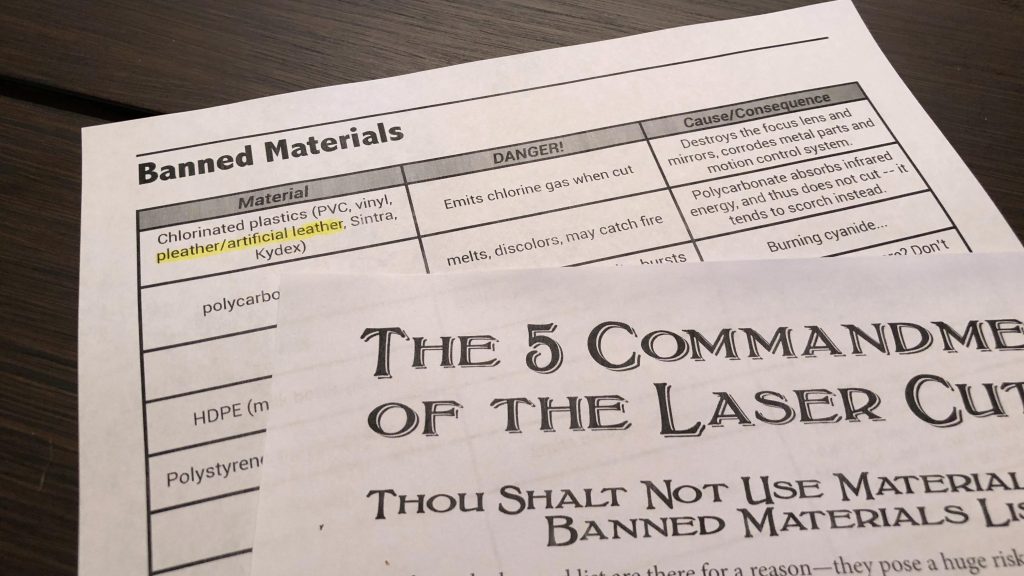
I also needed some leather. I’ve only briefly experimented with leather on the laser, but one thing they drill into your heads when taking the initial laser training class at the maker space is that you can only cut and etch real animal-hide leather on the laser. That is to say, no faux leather. The reason is because faux leather is often made from a type of PVC, which, when cut with the heat and energy of the laser releases chlorine gas. That’s not only bad for you, of course, but it’s also highly corrosive to the laser internals. So don’t try it, even if you have really good ventilation.
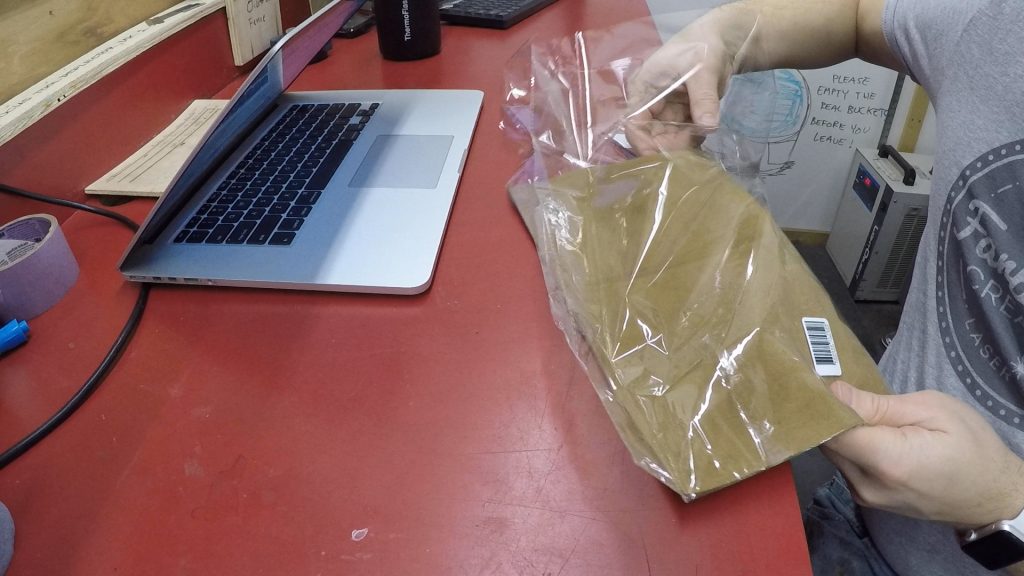
I found a small shop on Amazon that sold 12 inch by 12 inch pieces of real leather for a decent price, with their target market seeming to be folks who want to make custom crafts, jewelry, handbags, etc. with the leather without buying a whole roll of it from a tannery. Sounded perfect for my use. I was pretty happy with it when I got it – it looked like it was decently thick, uniform, with no blemishes or the like. I’m not a leather expert, but this stuff seemed like the real deal.
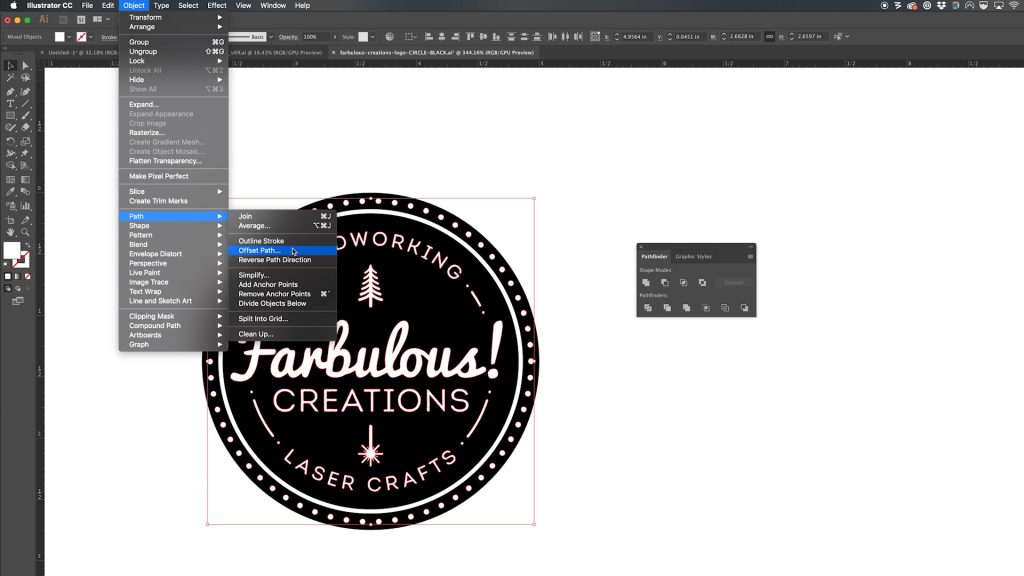
Before etching my logo, I had a little file prep to do on the logo. I learned long ago that designs with super fine details in the black portion of the design – that is, small areas that WOULDN’T be etched surrounded entirely by areas that WOULD be etched – sometimes need to be “beefed up” when laser etching to compensate for the laser beam charring the area around them. To beef them up, I opened the logo in Adobe Illustrator, selected the affected paths, and then performed an offset paths operation. This effectively expands the bounds of the selected path by whatever measurement you enter. I selected 0.05 inches, which is about 1.5 millimeteres for my metric friends out there.
Here’s what it looks like before expanding, and after. It’s very subtle, but it helps make the thin strokes buried in a sea of black look how they’re supposed to look. And one last note about this operation is that it’s something you’ll want to do after sizing your artwork to the size you plan on cutting it, not before, otherwise the 0.05 inch measurement for offset will be way too big or way too small, since it’s a relative offset based on your artwork’s current size. I had scaled my logo to 2.5 inches which I determined was a good size for a circular patch on a trucker hat, so my offset was relative to that.
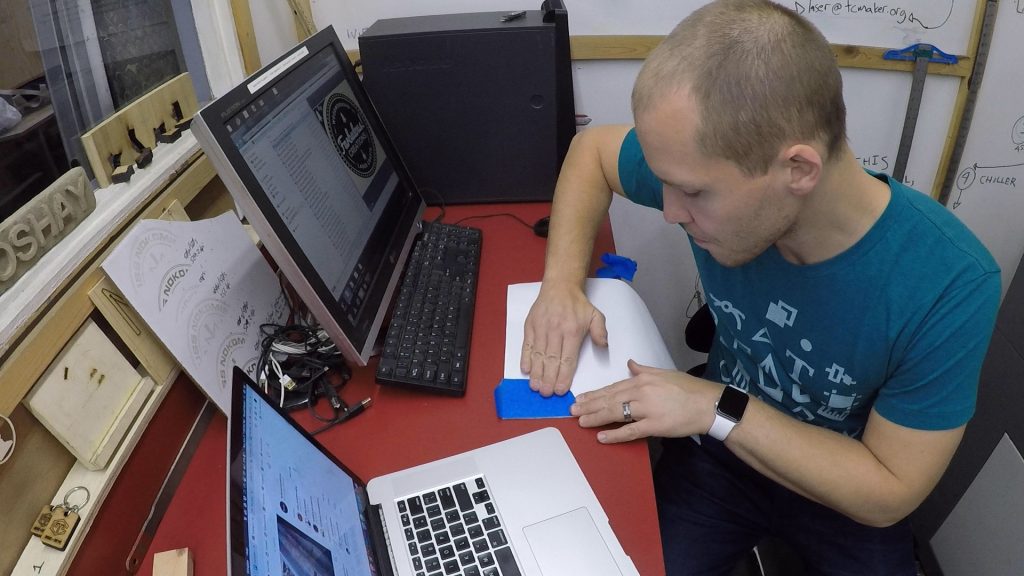
Okay, with all that nitty gritty technical detail out of the way, it was time to start the lasering. I got started with the white leather as that was the one I was most eager to work with. This leather had a slight matte finish to it, so I didn’t know if this meant it would clean up easily after lasering when removing smoke and burned leather residue or not, but I decided to mask it off just in case with some painters tape.
Lasering leather is pretty straightforward, but a word of warning to all who attempt this. Real leather is quite literally, cow hide. Have you ever scorched your knuckle hair while messing with fireworks or toasting marshmallows over a campfire? If so, you’re familiar with the putrid smell that is burnt hair. Well bad news – hair and skin are both made up of similar proteins, such as keratin, meaning laser etching leather smells like burnt hair. If you’re going to take a stab at a project like this, you’ll want good exhaust. Even with good exhaust though, apparently the smell lingers. While I was working, a guy I know at the maker space came in and told me that the parking lot that the laser room’s exhaust vents to smelled like burnt hair. Whoops.
After the laser got done, I could inspect its work. The painters tape came off the white leather quite easily, but there were a ton of small details that would have been a pain to try to pick out by hand. Luckily someone had given me the suggestion to make quicker work of this – use MORE tape as sort of a wax job for the lingering tape. And boy howdy, did this work like a charm. I had to use a lot of tape to do this, as the adhesive quickly got dirty with residue from the laser, but it worked great.
To make it easier on myself, I taped a piece of painters tape adhesive side up to hold the patch in place while I did the “wax job.”
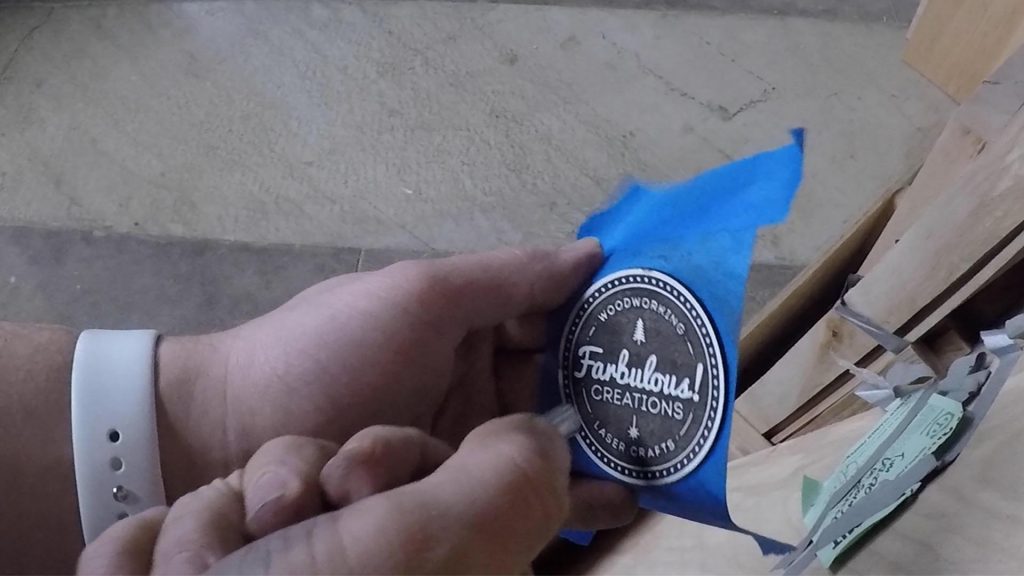
Afterwards I took it over to the air compressor to blow out any fine leather dust that may have gotten embedded in the surface.
There were a few parts where there was some smoke residue that had went under the tape, but a paper towel dampened with a little rubbing alcohol had this come right off.
I loved how this turned out. I had wanted a white leather patch for my hat since I thought the logo would be more readable this way and it totally was. But I still wanted to do a more traditional leather patch in brown leather too, so I tried that next.
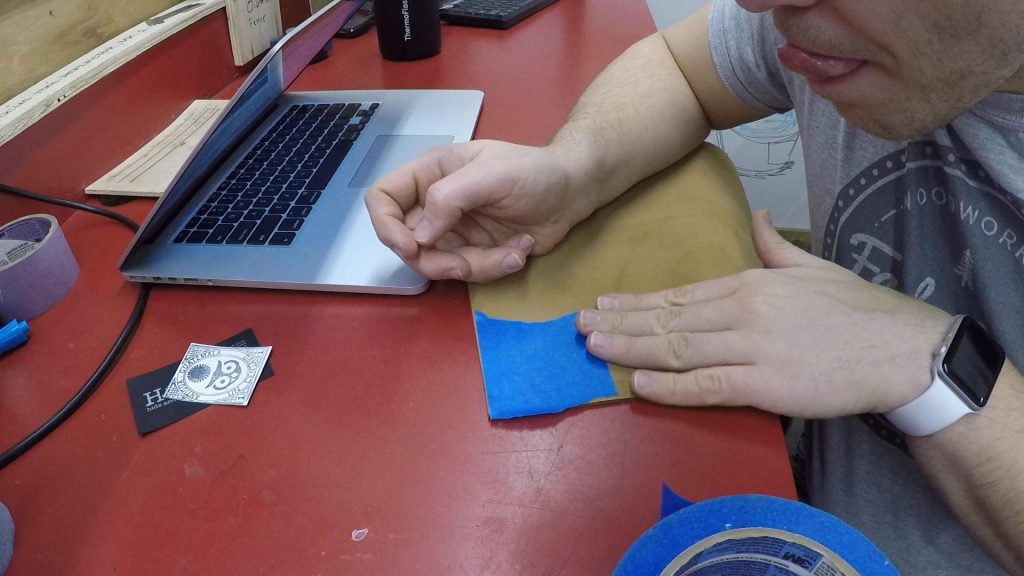
Now this leather was quite a bit different. For one, it wasn’t as stiff – it was the same thickness, but it was more floppy, for lack of a better word. It also didn’t have the same sheen to it that the other leather did. This left me torn as to whether I should mask it or not, since the surface was more fibrous, not unlike the inside of a sweatshirt. For one, I didn’t want the laser to get a ton of char or residue on the leather, but I also suspected the tape would be hard to remove from this, especially the fine details.
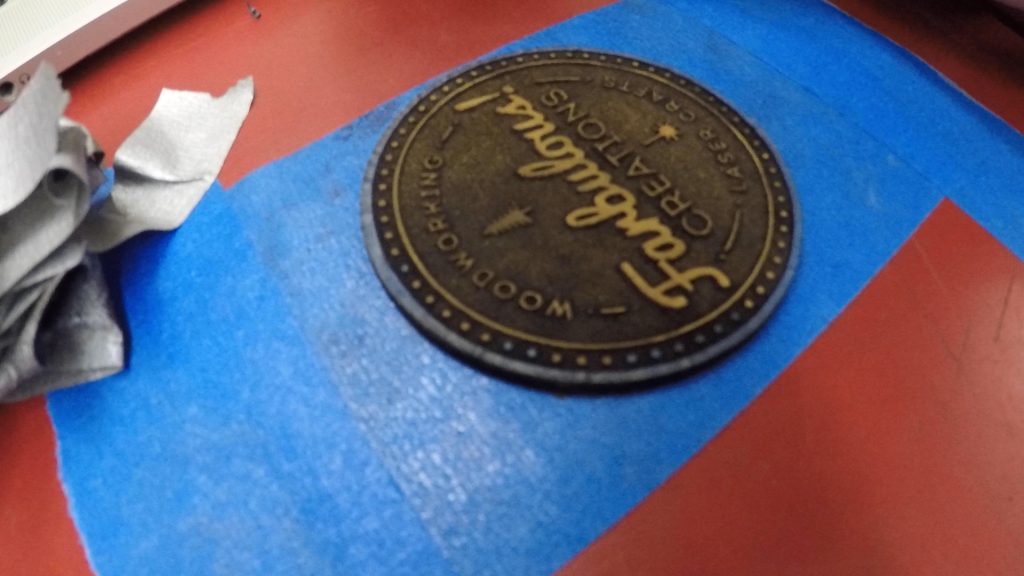
These fears were for the most part not realized – it maybe took a little more tape and a little more effort, but the tape did come off. Instead, one of the issues I discovered with this different leather had more to do with my logo than anything. Using the “solid” filled version of my logo and etching away such a large amount of the suede leather really took away from the charm of this kind of leather and made the logo kind of hard to read.
So for my second attempt, I decided to use the non-filled version of my logo where the details were reversed. Since the details were being etched here, rather than being etched around, I decided to forego the masking tape all together. This worked just fine in the main portion of the logo, as any residue came off just fine with a few dabs of tape after the fact, but the intense energy of the cutout pass left some dark burns and residue around the perimeter of the patch that no amount of tape dabbing would remove.
So for my next and thankfully last attempt at this patch, I left the design unmasked for the etching but then put some tape down on the design before doing the cutout pass. I also decided to do this cutout in a few faster and less powerful passes, rather than a single high-power pass, putting new tape down between passes.
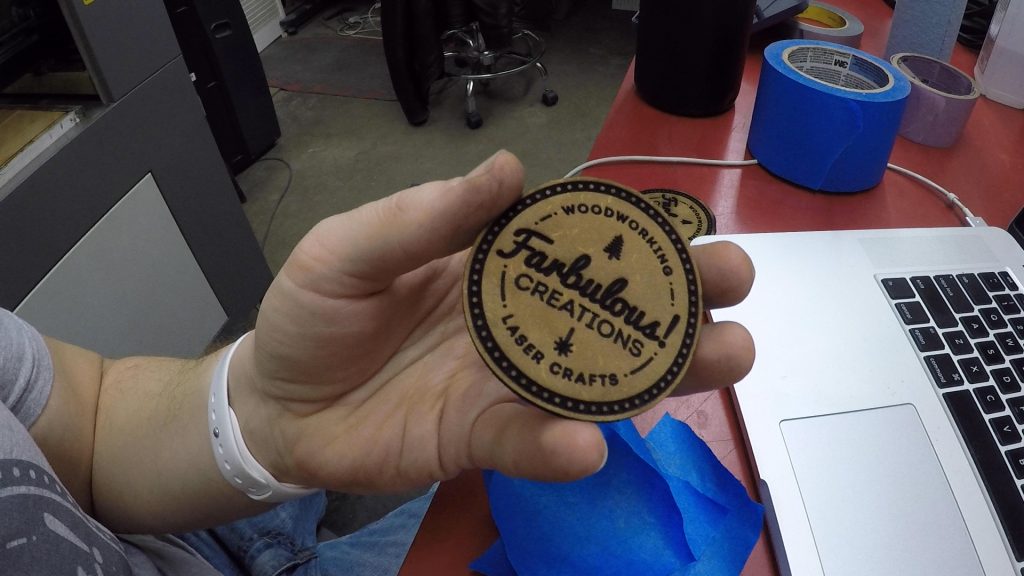
This preserved the edges from getting overly scorched and worked quite nicely. It just needed a little bit of tape cleanup to get some of the burned residue off the surface, but otherwise came out great!
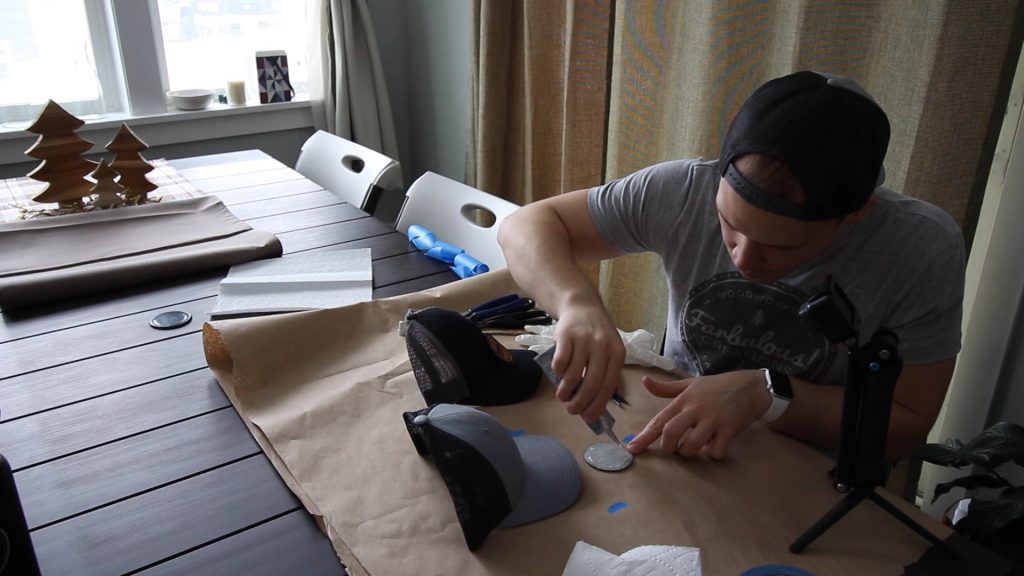
With both of my patches made, I could get them adhered to the hats! I’m not sure what the big wigs in the custom trucker hat industry use, but after a little research, I decided to use clear E6000. It’s an all-around good all-purpose adhesive that can be used on fabrics, and when it’s fully cured it’s still somewhat flexible, meaning it wouldn’t cause the hat to be overly stiff or rigid around the patch, allowing it to still follow the curvature of the hat.
I started by applying a heavy layer of the E6000 onto the back side of the leather patch. I then took a scrap piece of wood and spread the adhesive evenly all over the back to fully saturate it.
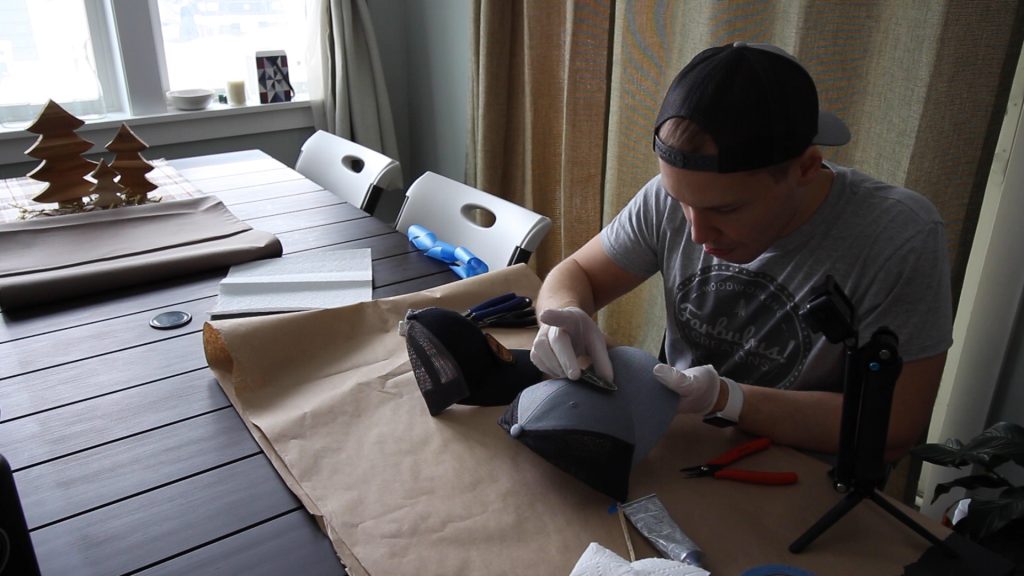
Wearing rubber gloves, I carefully lifted the now very sticky patch off of my lined work surface and applied it to the hat.
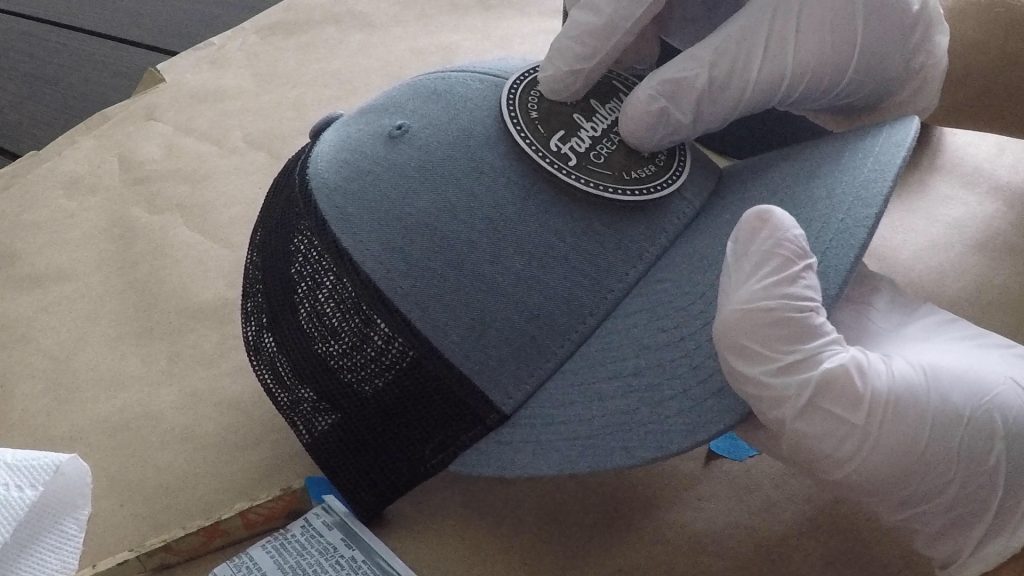
Thankfully even center placement by eye was pretty easy with my patch for a few reasons. For one, the hat had a seam directly down the middle of the front panel of the hat, telling me where the center of the hat was. And my logo has the tree and laser beam centered horizontally on the logo. So simply lining these two axises up by eye resulted in the patch being centered.
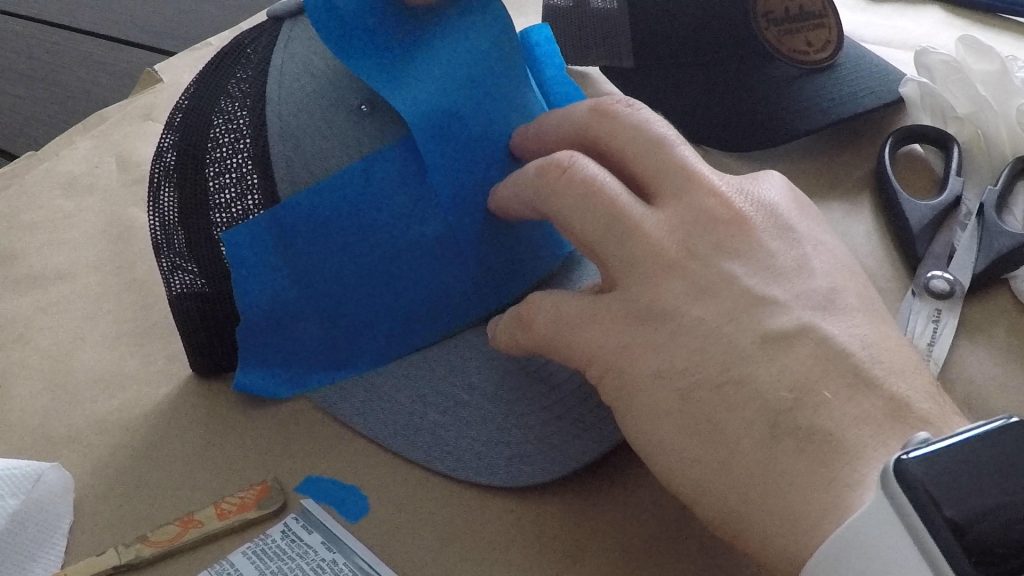
After it was in its place, I took a few pieces of painters tape to hold it in place, then got a little creative with clamping.
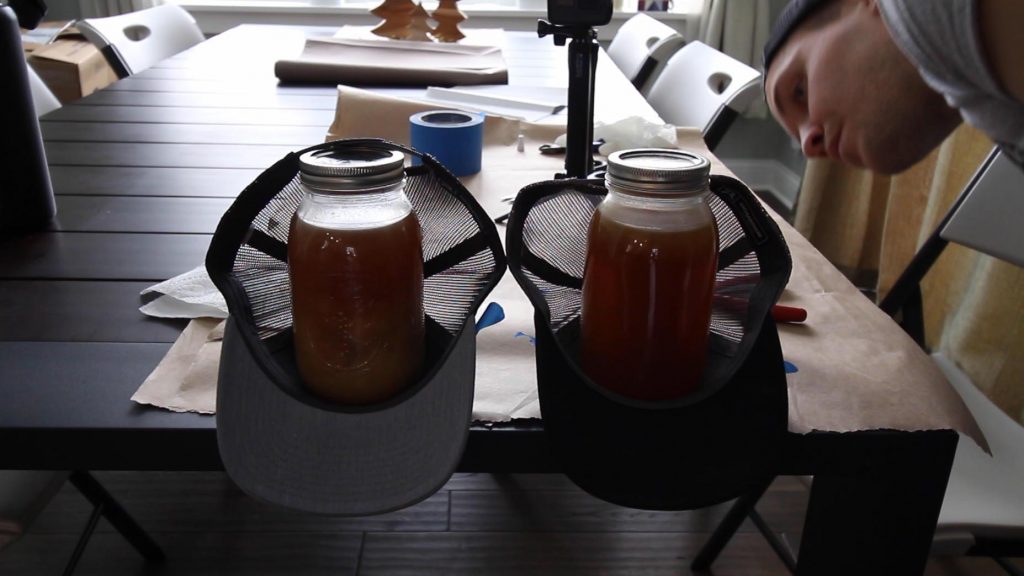
I decided to place the hats patch-side down on the edge of my table with a heavy quart mason jar of home-canned chicken stock placed inside to hold the surface of the hat flat with the patch as the adhesive cured.
I left these to cure for a full day, before inspecting. Turns out I didn’t get enough adhesive in a few areas, as you can see me peeling it up here.
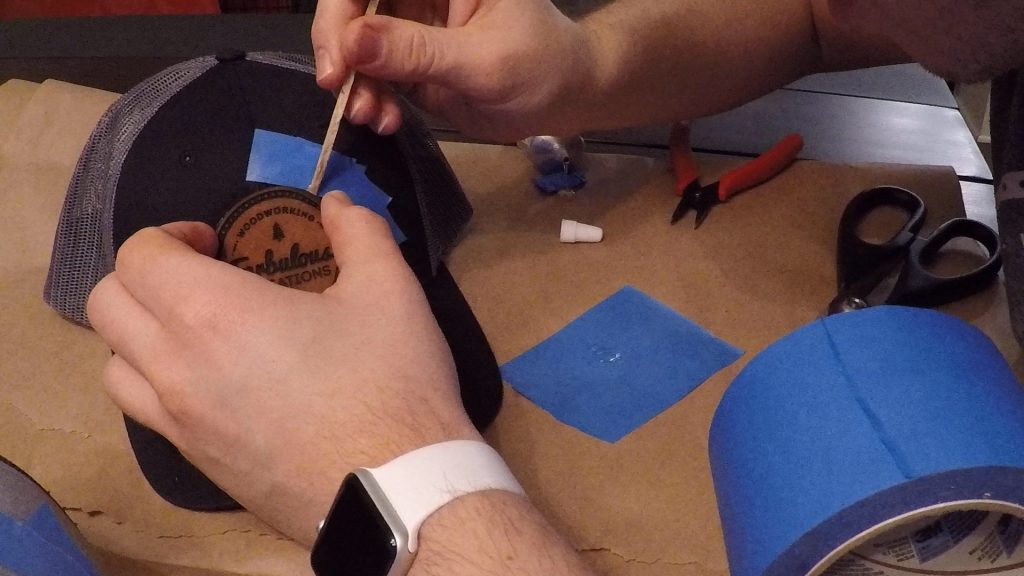
I wanted to put a bit more adhesive under the patch in these areas, but I didn’t trust myself to not get it all over the hat too, so I put down a good amount of painters tape around the patch before I did so. I made sure to remove the tape before letting the new adhesive dry so that it didn’t bond to the tape resulting in tiny bits of torn blue tape that I would have to contend with. After another day with the chicken stock clamps, my new hats were ready for prime time.
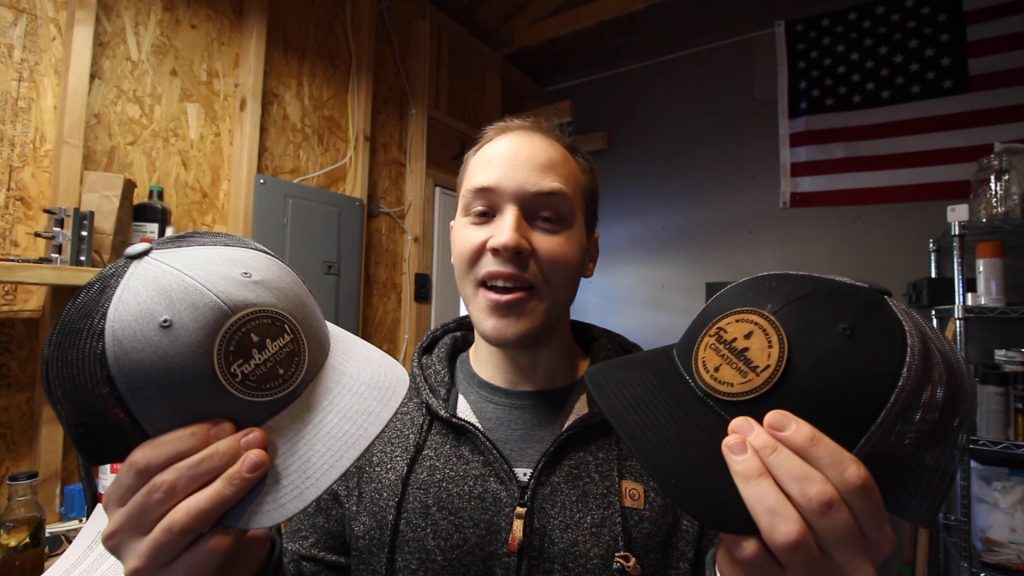
So there you have it! I’m absolutely thrilled with how these turned out, and I can’t wait to wear them around my shop (as well as the conference I’m going to)!
Now to be real with you, I did get a bit of adhesive on the black hat by mistake, which you can kind of see in this photo above the patch. It isn’t super obvious by itself unless you’re looking for it, but I’m not too worried about it. I’m going to be wearing these in the shop and they’ll be covered in a layer of sawdust in no time, so a mild blemish is fine.
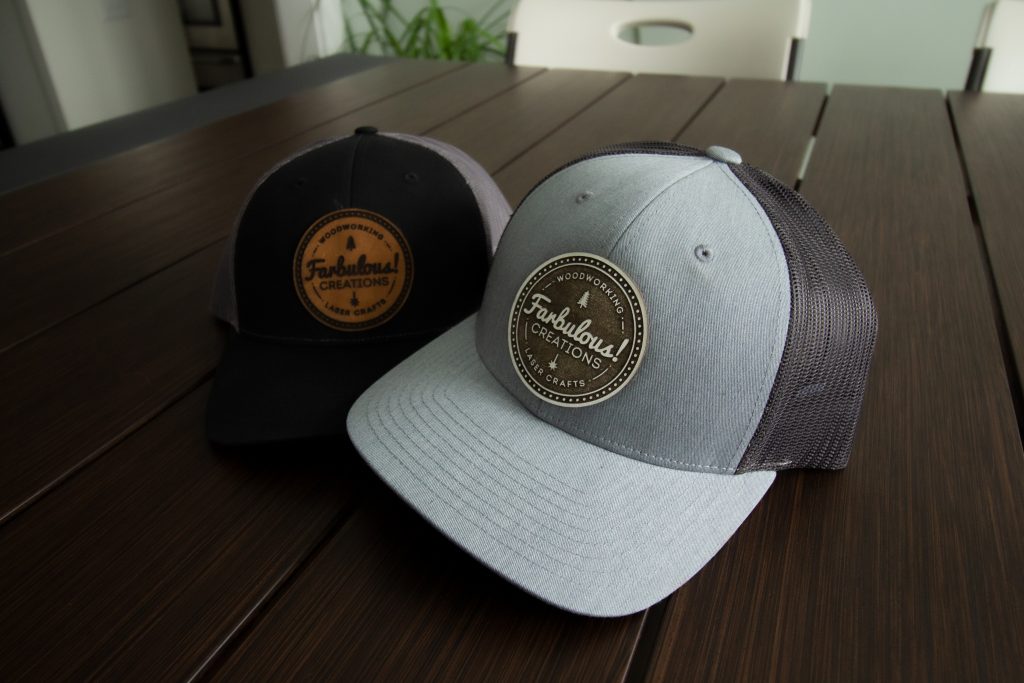
I really appreciate you reading all the way through and hope you got something out of this! If you’d like to see more details about how this was made, check out the full build video at the top of the page!
Ready to make your own leather patch?
Below are links to various tools and materials used in this project to get you going. As a heads up, some are affiliate links which allows me to receive a small commission if you buy something, at no extra cost to you. Every little bit helps me continue making videos like this, so I appreciate your support and consideration!
Black Trucker Hat: https://amzn.to/2GSVwab
Light Grey Trucker Hat: https://amzn.to/2ttxXli
Suede Leather Panel: https://amzn.to/39cpsKP
White Leather Panel: https://amzn.to/2vRWi5d
Wide Painters Tape: https://amzn.to/2T83bZB
Clear E6000 Adhesive: https://amzn.to/397rTy7
