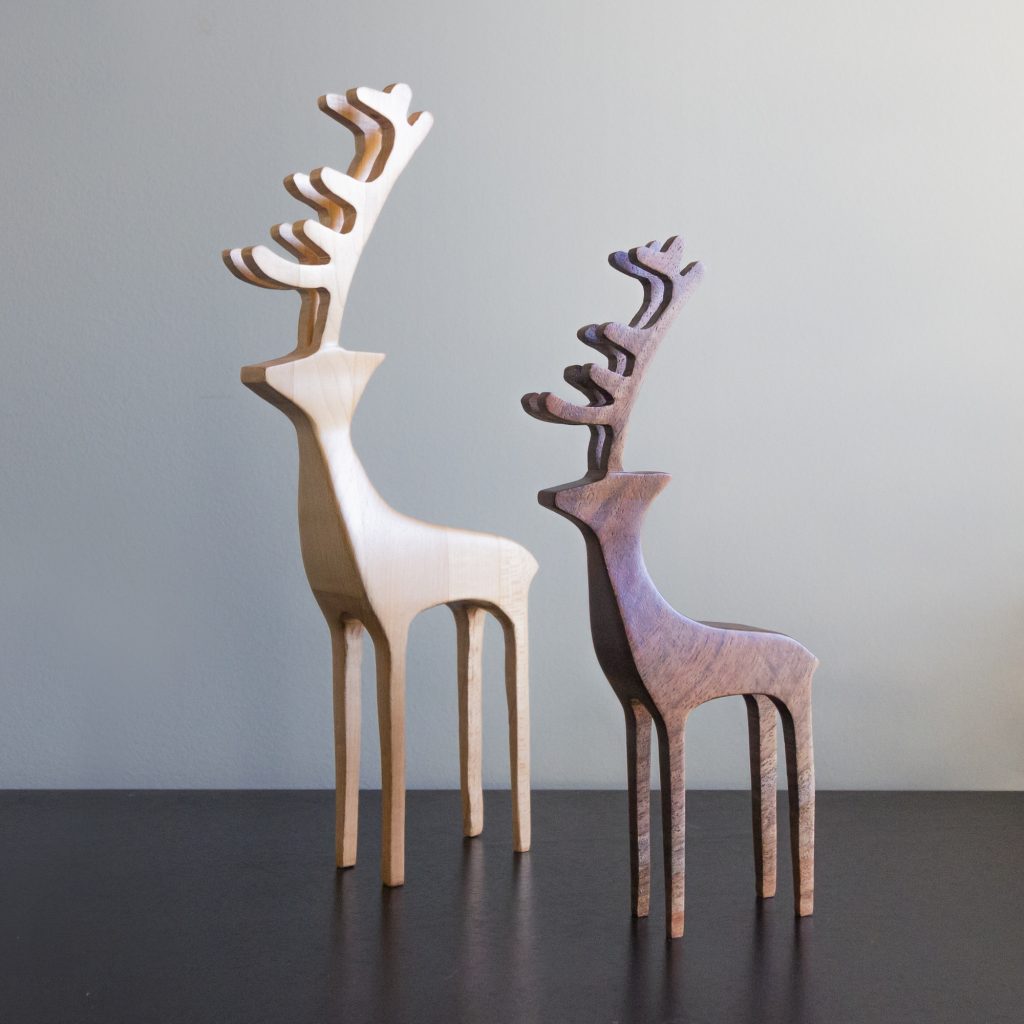
Obligatory final result first! Here’s a sneak peak at two different sized reindeer I made in this project, one in maple and the other in walnut. I absolutely love how they turned out, so read on if you want to see how they were made.
Quick note: this project involved developing a template that I have available for download so you can make one of these yourself; you can find it below.
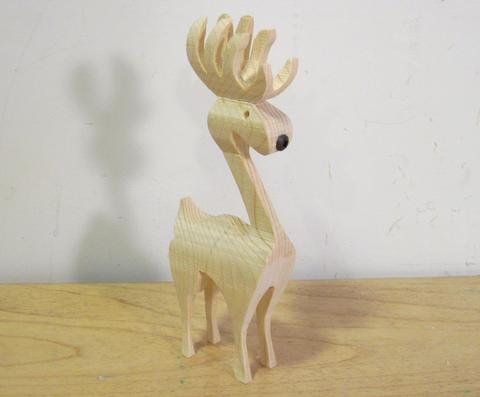
This project was partly inspired by an old, old video by Matthias Wandel on YouTube, where he made, in his own words, a “cheesy” looking reindeer on the bandsaw. I hate to say it… but I have to agree with his choice of words. While I too love the idea of making a complicated-looking Christmas decoration in just a few easy steps – I’m hard pressed to say, “hey… that looks like a reindeer!” To me, it’s always kind of looked like The Grinch had a pet llama instead of a dog and just “made do” on his way down to Whoville.
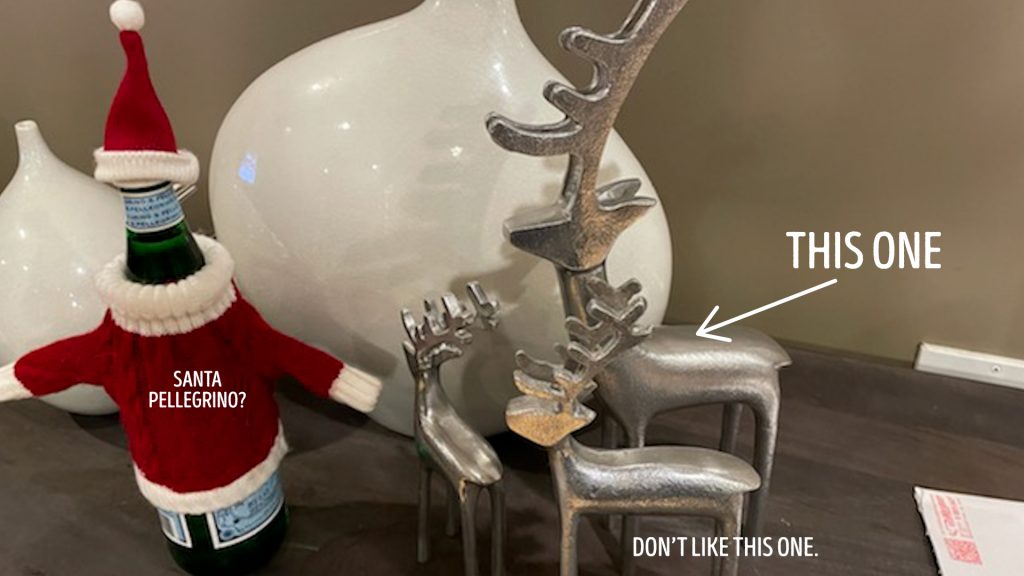
The majority of the inspiration came from a decoration our friends had on their mantle last Christmas (i.e. pre-COVID). I loved how they looked and found out that they had gotten them from Crate and Barrel. Closely inspecting the vertical-line symmetry of the front face of the sculpture – you know, like a normal person does – it dawned on me that I could likely recreate it out of wood using the same technique as the Matthias bandsaw reindeer – that is, if I could somehow discern its front and side profiles accurately.
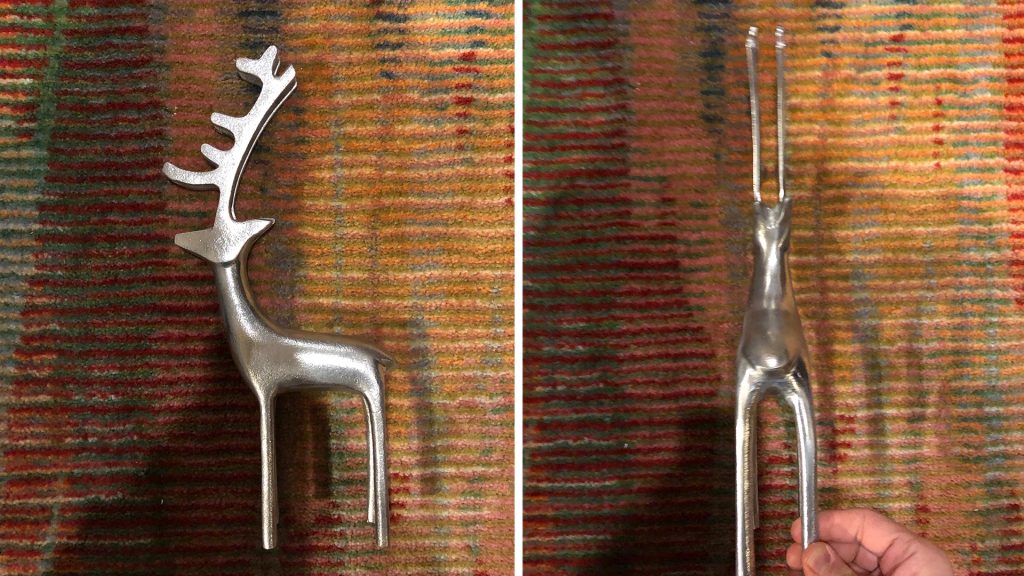
Getting our friends’ permission to temporarily dismantle their mantle, I placed their reindeer on the floor and proceeded to take multiple photos of both the front and side, to use in my endeavor.
I took those photos to my vector-drawing weapon of choice, Adobe Illustrator, and placed the photos on their own, locked layer, in order to trace them.
Tracing the body was super easy, though, I did deviate from the profile in the photo in a few places, such as around the ears, to make my profile a little more geometrically pleasing. For the antlers, I drew them as overlapping and intersecting strokes, as that allowed me to tweak and nudge points to more authentically represent the antler profile. After these strokes were drawn, I converted them to outlines and performed a Pathfinder merge command to make them one solid object. To create the smooth swoops and blends between various tips of the antlers, I used Illustrator’s Corner Radius Tool to pull the sharp inside corners out to match the underlying reference photo. After both antlers and body were created, I could combine them into a single shape, again using the Pathfinder and Corner Radius Tools.
For the front profile and it’s aforementioned vertical line symmetry, I decided to draw just one half of it, with the plan to take advantage of its symmetrical nature once done.
After tracing both the front and side profiles, I made sure both vector shapes were exactly the same height, then created a few horizontal guides to make sure that features of the reindeer lined up between the two sides, such as at the reindeer’s belly and the tips of the ears. Since I had used my phone’s camera to take the reference photos, and we don’t live in a perfectly orthogonal world, there was a little bit of perspective baked into the photos that caused these features to not line up straight away between the two drawings. I decided that the side profile would be the best source of truth, so I nudged points on the front profile into place by selecting groups of nearby points and moving them to where they needed to be in order to fall at the same place on the horizontal guide.
Now, it didn’t take long to trace the photos, but I wouldn’t know if those tracings created a truly successful 3D solid until it was cut out. But there was a way I could test the template without wasting wood, and that involved extruding my template shapes in a 3D drawing program, such as Fusion 360. I’m not a Fusion expert by any means, but I figured it would be up for the task if I could only figure out how to do what I was trying to do. And that was how to take extrusions of each profile – one in the X dimension in one in the Z dimension, and then do a boolean operation to only show the areas where the two shapes intersected – the exact same operation you effectively perform on the bandsaw. It took me a bit, but I figured out how to do that, and was delighted to realize that my profiles would indeed create a viable shape on the bandsaw once cut out of wood.
A quick aside – after designing this template last year, I tried to actually make one too, but I chose an all-too-crappy piece of scrap to try it out on and let’s just say… it didn’t go well. There was a knot in his front leg that caused him to fall and break an antler. It was too close to Christmas to try again last year, so I tabled the idea until this year. It’s 2020, what could go wrong?
I printed and cut the template out with my utility knife, then used a basic kids glue stick to adhere them to the wood for cutting.
(I ended up making two of these, but I’ll show you the photos/video from making the one out of walnut, as my bench was cleaner in those shots. Just ignore the fully completed reindeer in frame for now.)
Cutting the front face first, I carefully followed my line all around the reindeer, reserving the two side pieces that I cut off.
Back over on my workbench, with my hot glue gun heated up, I glued the cutoff pieces back in place, trying to only place the glue in the areas that would eventually be scrap. The reason we need to glue the cutoff pieces back on is to provide a flat face to use on the bandsaw table while cutting the other face of our template out – not to mention that one of the pieces has the other piece of our paper template glued on.
After the cutoff pieces were glued back on, I could cut the other face. This dimension is definitely easier to cut, as the blade isn’t going through nearly as much wood at once, giving you the ability to move a little faster and turn a little easier. I again hugged my line as smoothly and cleanly as possible, and any areas that were too tight to turn cleanly, I did mini “relief cuts” to make room for the blade to change directions.
After the side profile was entirely cut, our side pieces that we glued on should come right off, giving a satisfying reveal of finding our reindeer inside.
(If your side pieces don’t come off right away, you may have gotten some hot glue in the wrong spot, and will need to carefully pry it apart with a utility knife or such.)
Everything up until now was the easy part! Sanding, if you really want these smooth, is going to be the hard part, but hey, makes a good excuse to catch up on podcasts! And I should note, you definitely don’t need to focus on making these perfectly smooth – leaving a trace of the bandsaw lines behind to make them more rustic is certainly acceptable – it just depends on the aesthetic you’re going for. In my case, I wanted these clean and smooth, so I progressed through the sanding grits, going as low as 60 grit to clean up all the bandsaw lines, all the way up to 400 to get a super smooth finish.
Once they were all sanded and smooth, I used my air compressor to blow away the fine dust, and a bit of mineral spirits on a rag to get any I might have missed. After that, I decided to use spray-on oil-based polyurethane in “satin” finish to give the reindeer a rich, warm look.
For the initial coat, I set each reindeer on a scrap piece of plywood that I could rotate on my bench as I sprayed my finish on each side.
It didn’t occur to me on the initial coat, but on subsequent coats, I began by holding the reindeer in hand as I applied finish to his belly and antlers – both areas that were a little hard to reach when he was standing on his own four feet – before setting him down and proceeding as usual.
My finish game isn’t the strongest, and I had some drips after a few coats from applying the finish a little too heavily – lighter coats are always better. So after my third coat had properly dried, I performed a good hand-sanding with 220 grit sandpaper, making sure to level out any drips from the polyurethane. After dusting it off on the air compressor again, I applied a fourth and final coat to each reindeer, before they were finally done.
We just bought this lazy susan for our dining table, so I decided to be a bit extra and film a shot of the reindeer on it. Worth it.
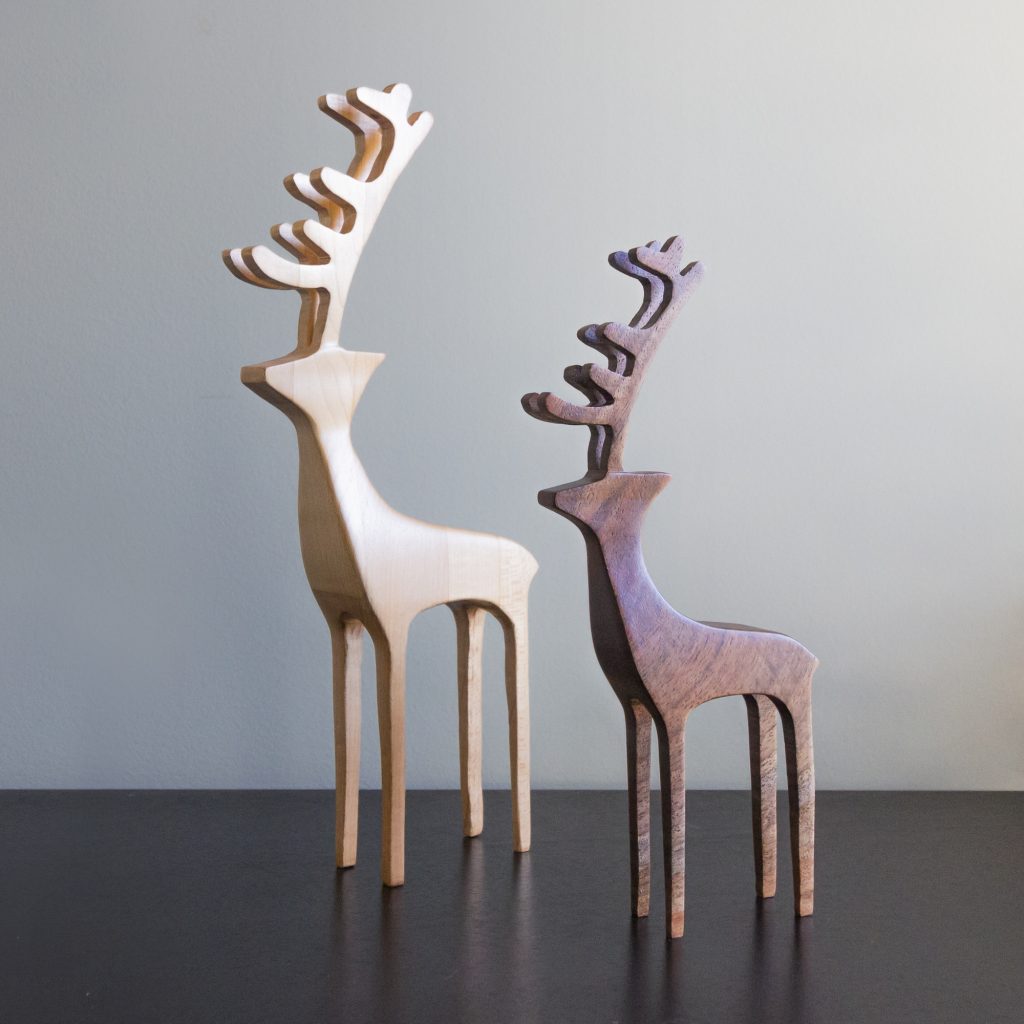
I’m super happy with how these turned out, and I’ll probably make a few every year from here on out to get myself in the holiday spirit. I think they would also make a great gift – our friends will definitely be getting one for letting me harass their mantle art in order to create my template!
If you’d like to see more about how I made these and get the template for yourself, be sure to check out the build video at the top of the page.
Get the template, free!
Or support the site by buying a copy in my store
Want the template to build one of these bandsaw reindeer yourself? Drop me your email and I’ll send the PDF right over, pronto!
Ready to make a bandsaw reindeer yourself?
Below are links to various tools and materials used in this project to get you going. As a heads up, some are affiliate links which allows me to receive a small commission if you buy something, at no extra cost to you. Every little bit helps me continue making videos like this, so I appreciate your support and consideration!
Adobe Illustrator: https://www.farbulouscreations.com/adobe
AutoDesk Fusion 360: https://www.autodesk.com/products/fusion-360/free-trial
Elmers Glue Stick: https://amzn.to/374Zvyh
Hot Glue Gun: https://amzn.to/3a3fwqu
Folding Utility Knife: https://amzn.to/3nRvM1m
Utility Knife Replacement Blades: https://amzn.to/366YnKa
Dremel Tool & Carving Bits: https://amzn.to/3nbnPEC
2″ Sanding Discs: https://amzn.to/37RKvTQ
Nice project. Thanks for making the plans available.
I’m a hobby woodwork who would love to try your version of the bandsaw deer
What a fantastic video. You put so much work into this project and presented it in such a coherent way. Thank you thank you thank you thank you.