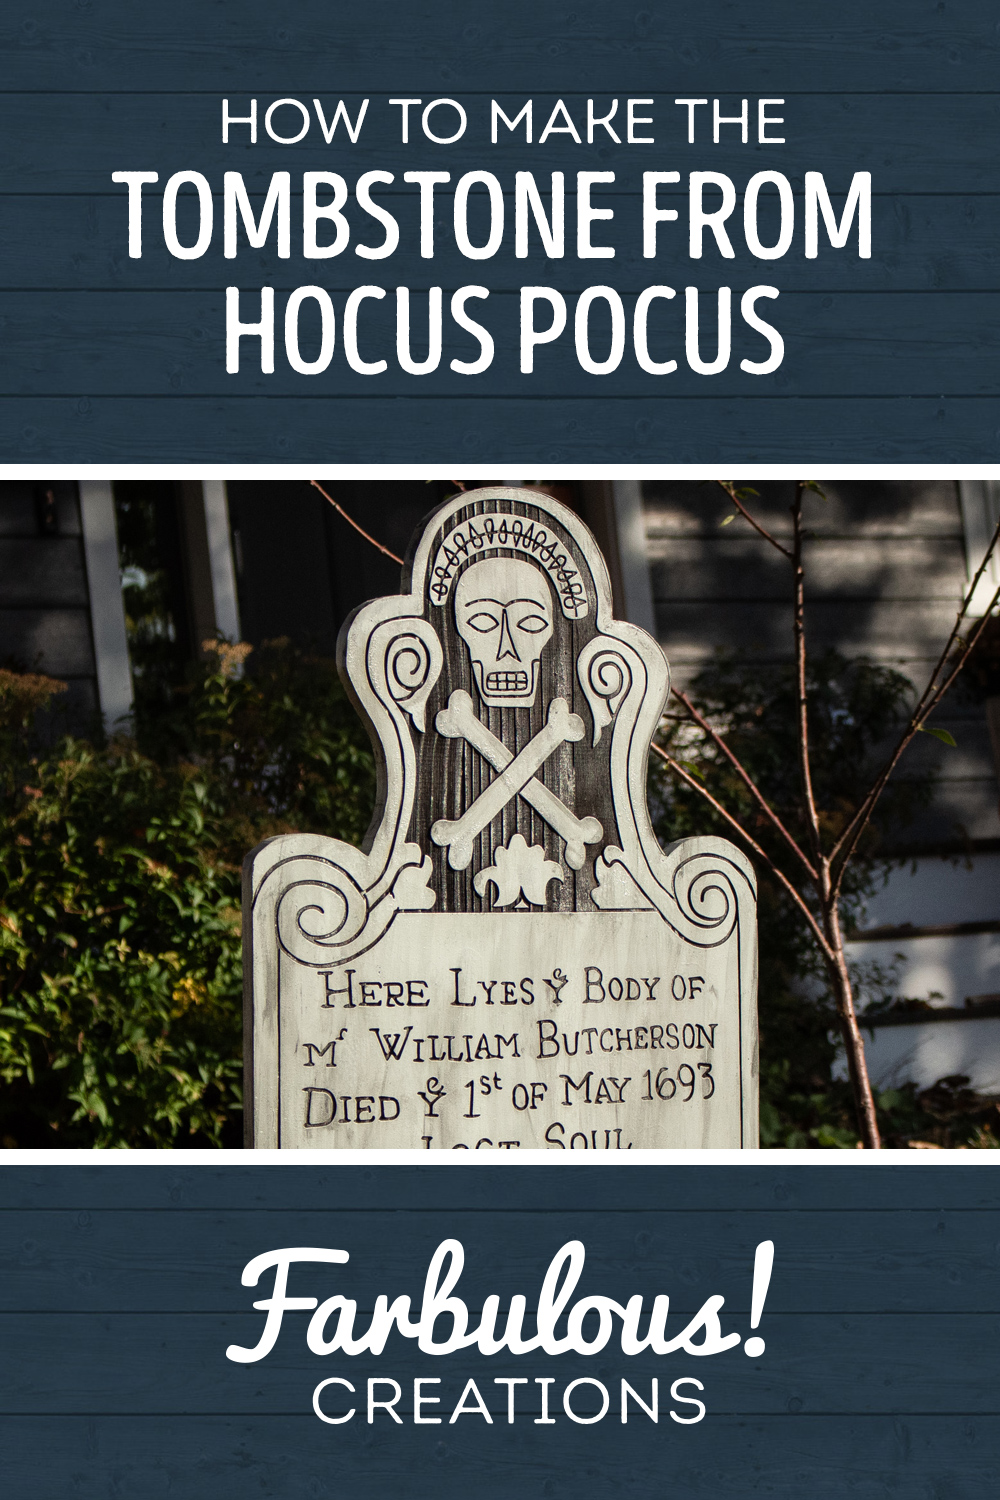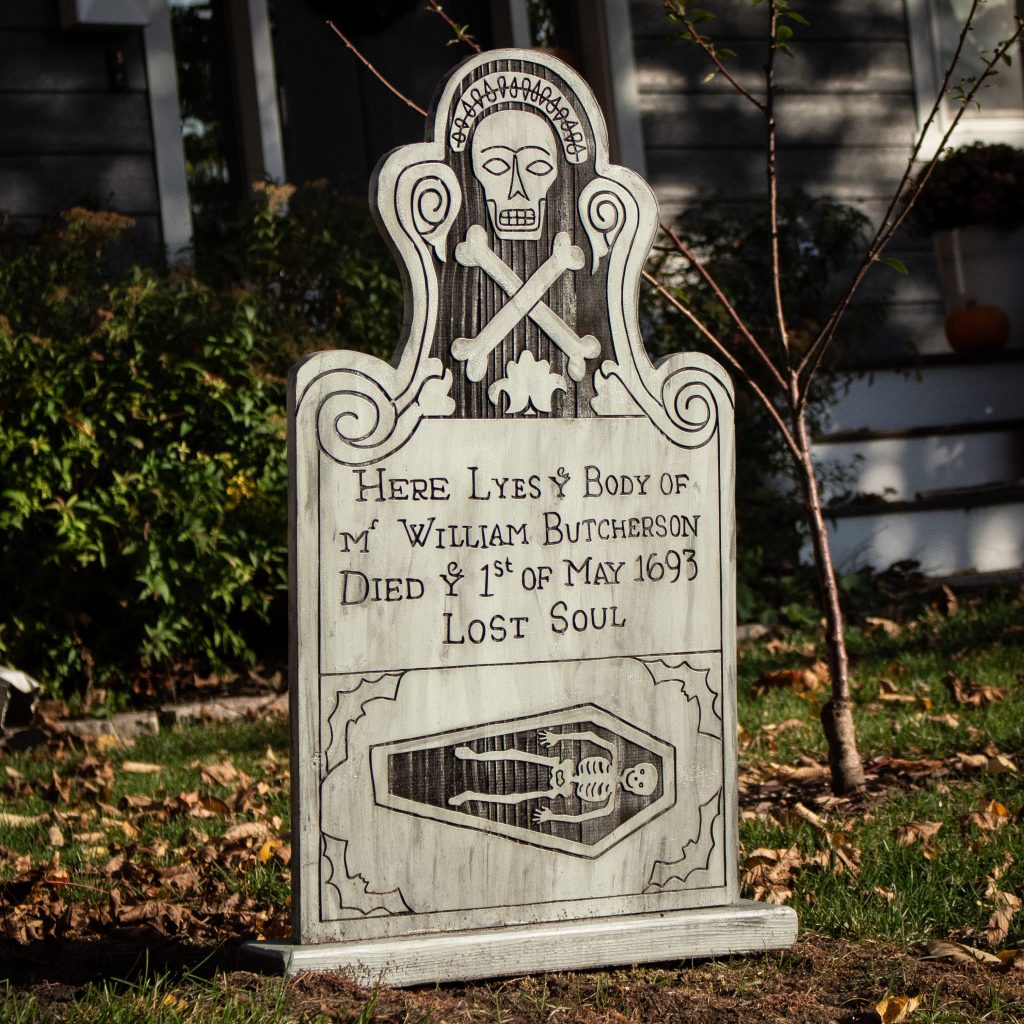
Welcome back to Farbulous Creations! I’m Ron, and one of my all-time favorite Halloween movies is Hocus Pocus – it’s perfectly spooky without being scary. The cast plays perfectly with one another and it’s filled with hilarious moments that make me laugh every year during our seasonal rewatch, even though I’ve probably seen it three dozen times by now. So when it came time to make some decorations for our house this year, this was at the top of the list!

If you’re uninitiated, Billy Butcherson is the zombie that Winnifred Sanderson raised from the dead in order to help capture the children who had taken refuge in the cemetery. Billy eventually turned on Winnifred and went on to call her a “bucktoothed, mop-riding firefly from hell.” So, Billy is a friendly zombie, so he’s more than welcome to a place in my yard.
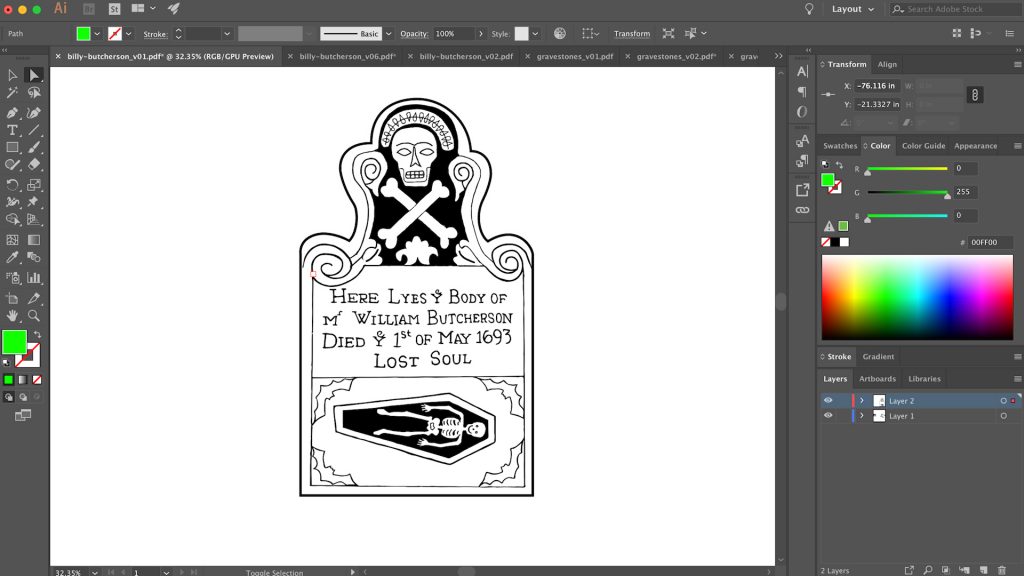
I started with a handful of reference images from the movie, skewing and distorting them until the perspective was right, and then vectorized the pattern in order to scale it up to size.
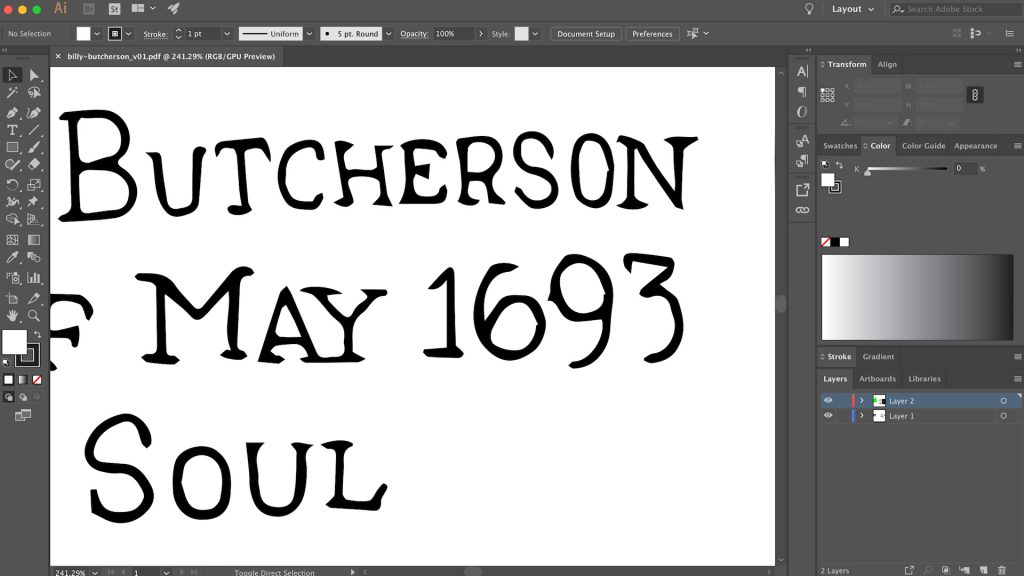
The design isn’t perfect and had quite a few weird artifacts from the live trace conversion process, but I cleaned it up to a point where I was happy with it.
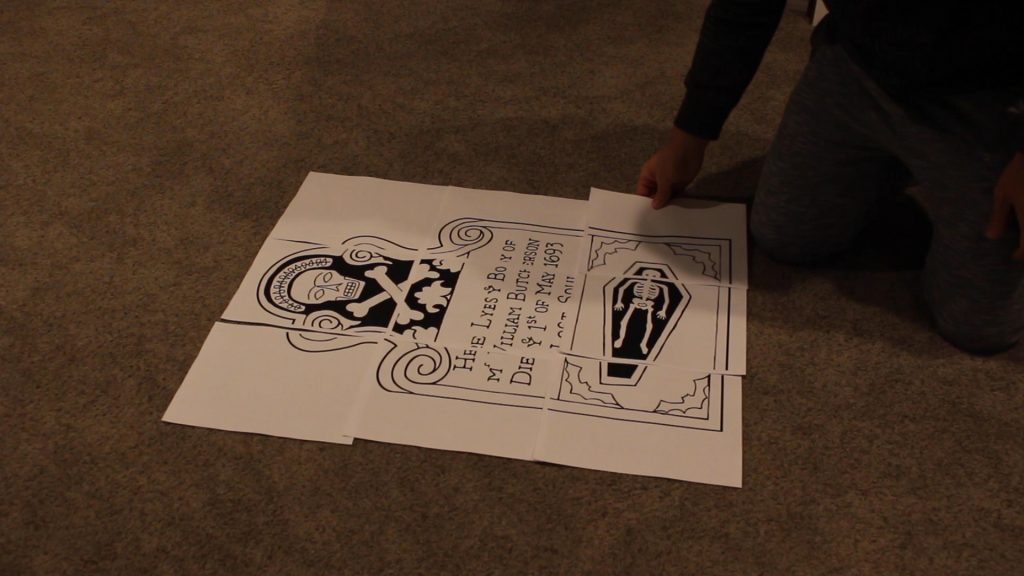
I ended up scaling the design so that it would be 18” wide and 30” tall, which I determined would be a good size by printing it out on my home printer and laying it out on the floor.
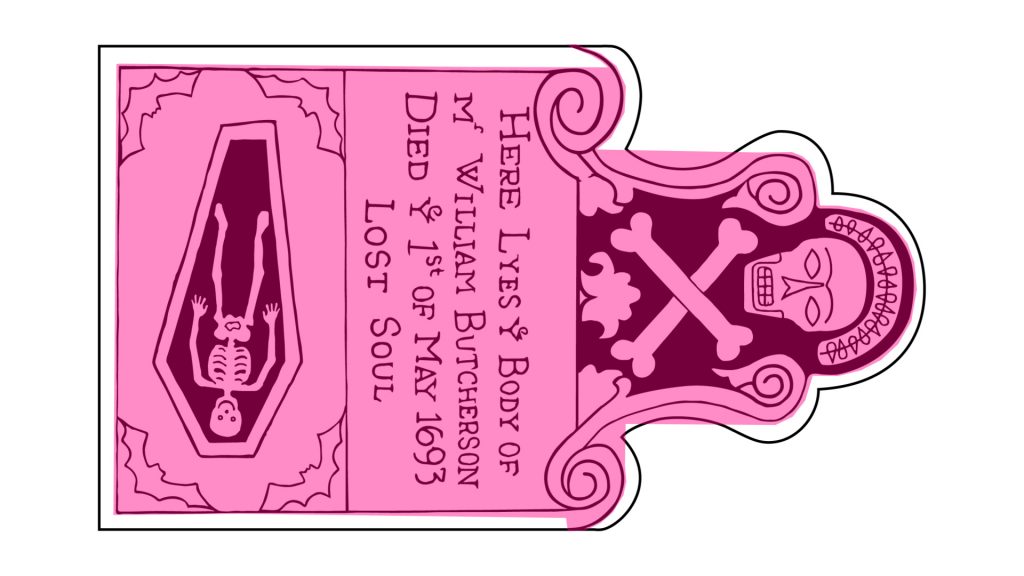
Before getting into the laser gifs, I wanted to touch on how I broke my design file up. I’ve briefly explained it in a few of my other posts here, but I’ve got a good visual this time. With really large laser jobs like this (18″ x 30″ is by no means typical), I like to break down the design into multiple sections as to speed the process up. Cue visual. The overlay seen here is the total area that the laser head would have to travel in order to fully etch the design had I not broken it up at all. No matter how much of the design is “white” if there is a tiny amount of black at the end of that “scanline”, it has to travel the full distance of the line in order to make it happen.
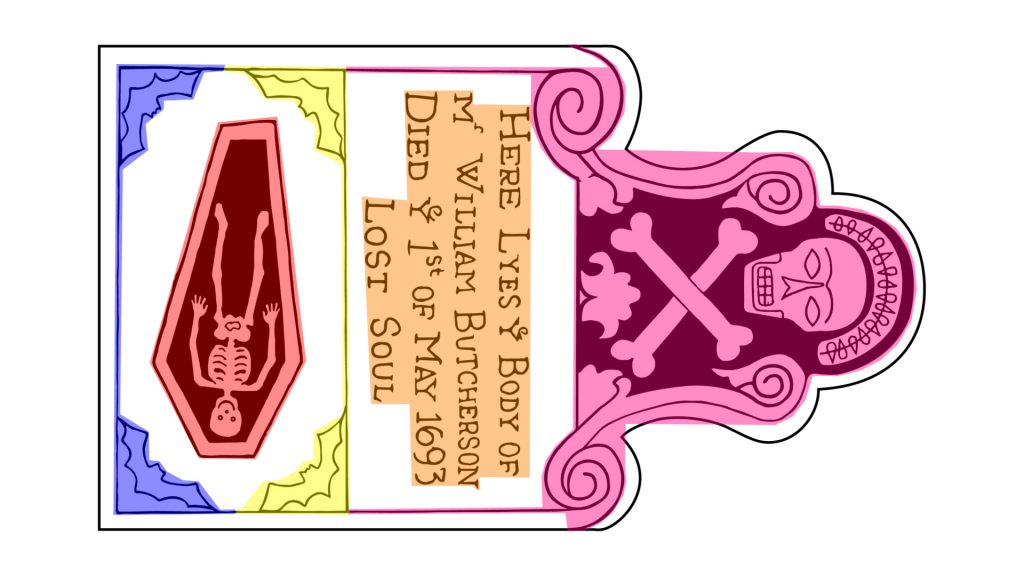
Now let’s take a look at the total laser head travel area for my broken up design. I broke my background into 3 different parts, then separated the text into its own part and the skeleton design into yet another part. Etched one after another, this visual shows the total travel the laser had to do for my modified file. This breaking up of the design can save multiple hours of etching time on the old laser I have access to at the maker space I attend. On more modern or higher-end lasers, the back-and-forth travel speed is so fast that this isn’t really necessary, but until I eventually have access to one like that or get one of my own, this saves quite a bit of time for only a little more work in the file-prep stage of things.
Now it was time to laser!
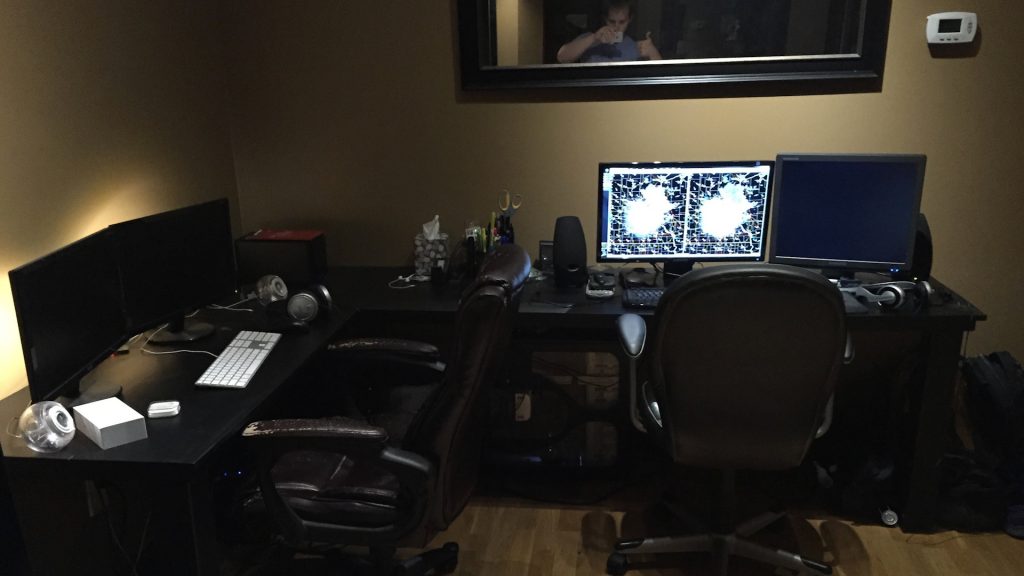
My material for this project was a large panel of 3/4″ pine, the retired desktop to a semi-floating corner desk I made for my husband and I when he moved into my tiny apartment a few years into dating. When we moved, the next occupants of the apartment didn’t want it, so I tore it out and figured it would come in handy for a future project.
It had stain and poly on the board from its days as our desk top, but I would be painting it eventually so I lasered it as-is.
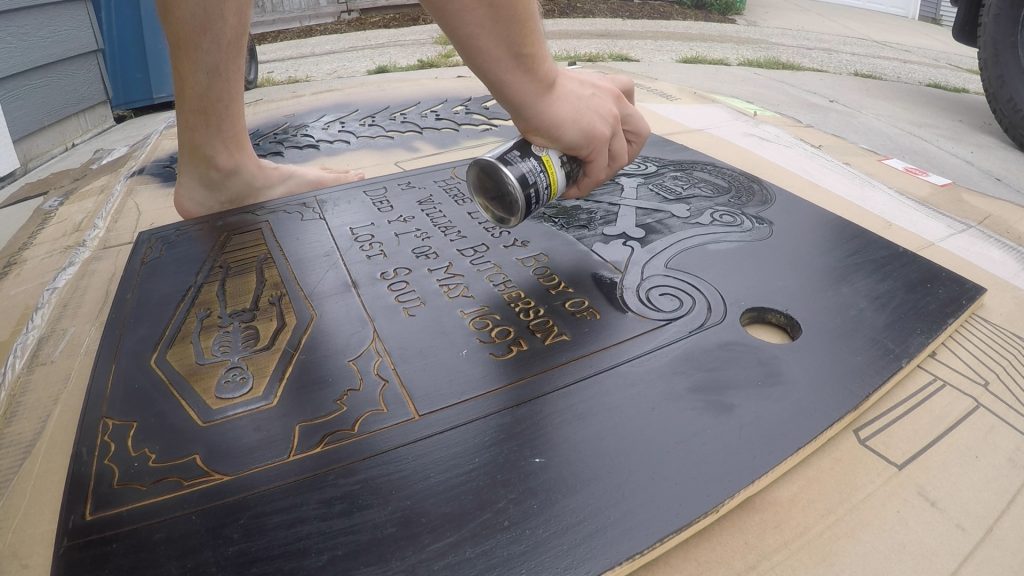
After lasering the five different parts of the design, the next step was painting the lasered areas. My vision for the completed project was to have black inside the etched parts for readability, and aged gray paint on the non-etched parts. To accomplish step one of that, I spray painted the etched area with black spray paint and then proceeded to cut out the tombstone (no pics of that, sorry).
I then used a small craft paint roller to paint the majority of the tombstone with grey-colored exterior latex paint. I was very slow and deliberate around the etched portions so that my roller stayed level and didn’t get any paint inside the design. A little bit did get in here and there, but since I would eventually be faux-aging the design, this wasn’t a real big deal. I also painted the sides and back of the tombstone after the front side had dried.
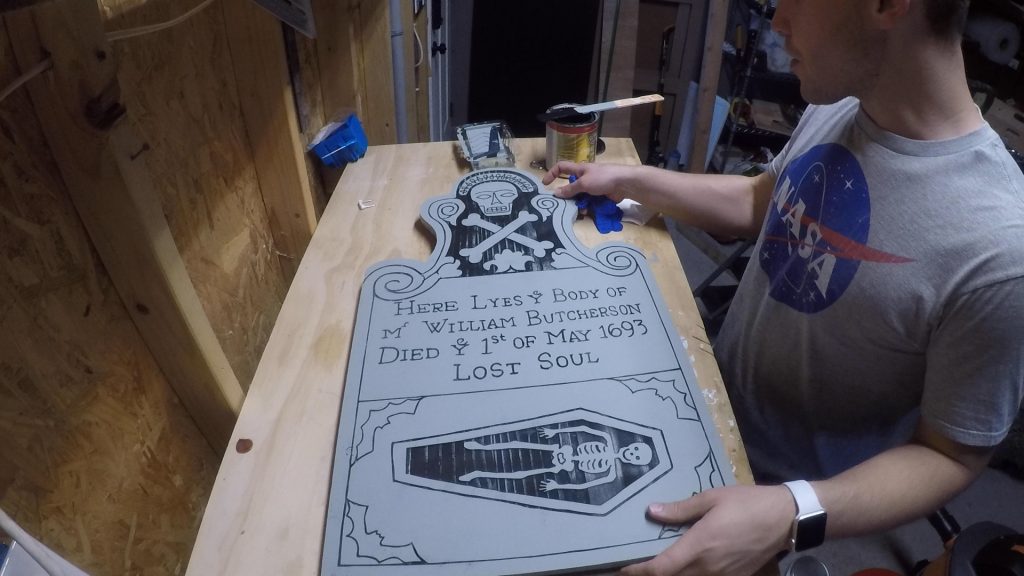
Once all the paint had dried, and it looked like a brand new tombstone, it was time to make it look a little more aged, you know, as though it had been sitting in a cemetery for 300+ years.
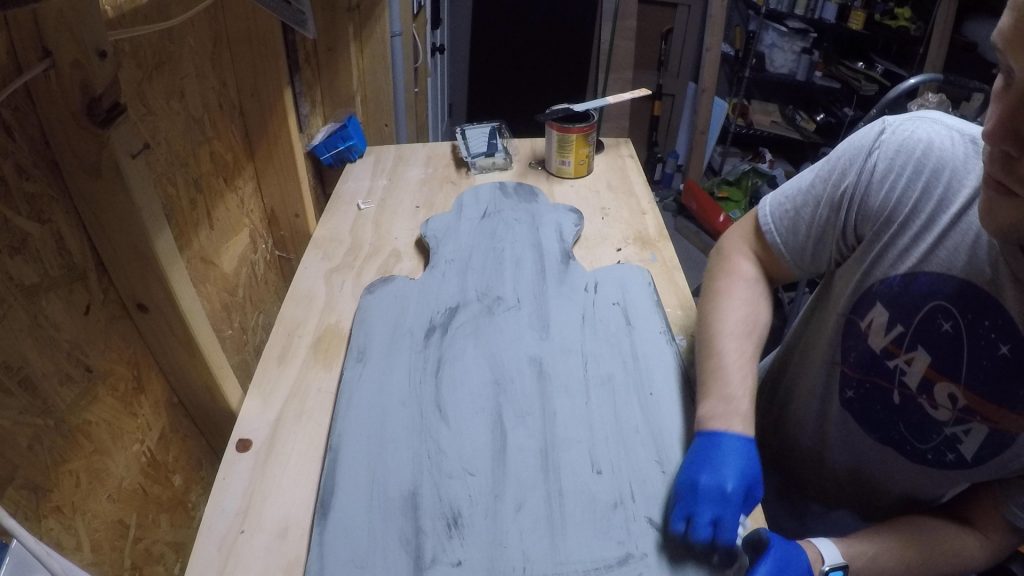
To do this, I watered down some black paint and used a paper towel to lightly streak it across the gravestone. I decided to do the back first in order to practice my technique, since this would be the side no one really saw, and I’m really glad I did. I originally started by going all different directions with the watered down black paint when it struck me why this wasn’t looking the way I wanted it to.
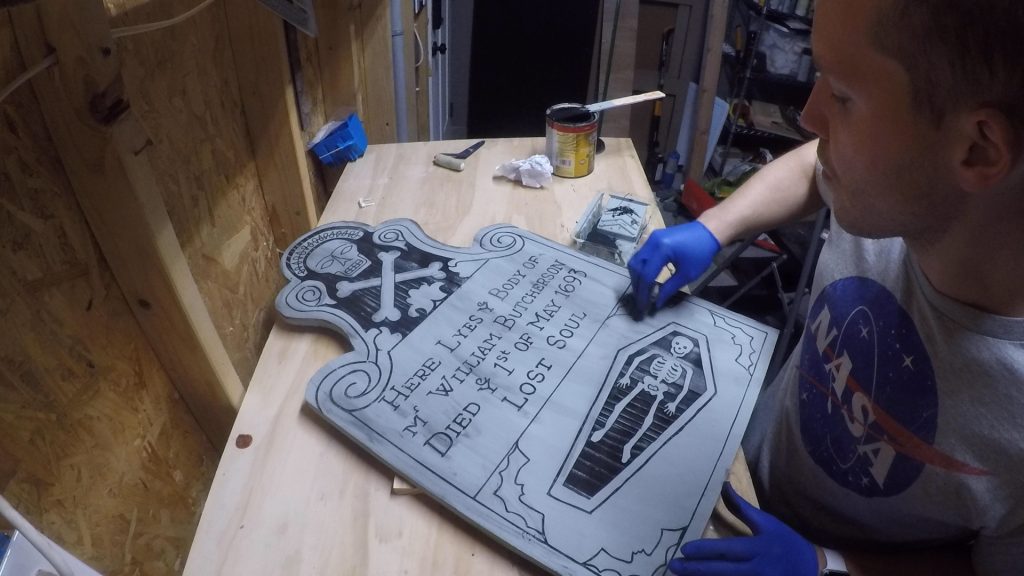
Anything that has sat outside for decades (or in this case, centuries) will have vertical streaks from rain water pulling dirt down with it as it trickles to the ground, so for the front side, I decided to keep all of my strokes parallel with the tombstone’s vertical orientation. This looked much better and more along the lines of what I was going for.
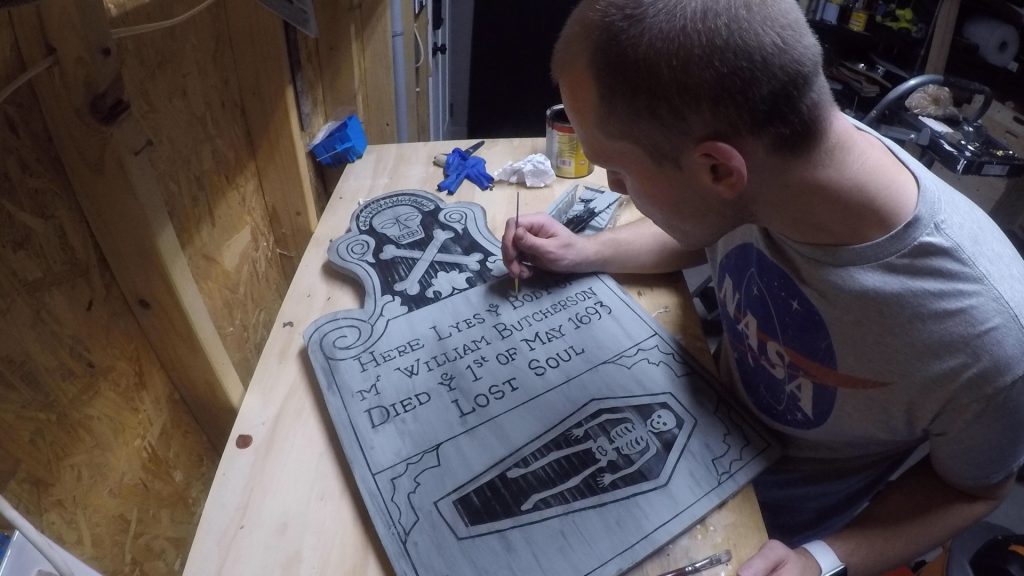
I also used a bit of non-diluted black paint and a small brush to touch up areas inside the design where I felt a little too much grey paint might have gotten into the letters, to assist with legibility.
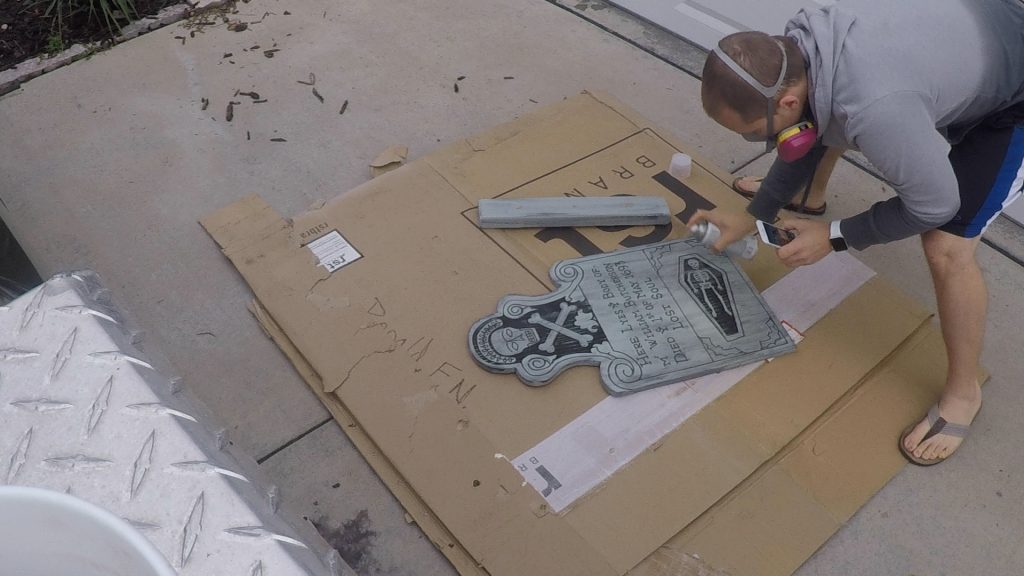
After all the black paint had dried, I thought one more step might assist it in it’s outdoor durability. I’m located in Minnesota, and mother nature tries her hardest to make there be snow on the ground for Halloween (you may have heard jokes about kids costumes needing to fit over a winter coat), so we often have a lot of rain BEFORE that happens. I used outdoor paint for the grey and black, but I thought putting a coat of matte clear enamel over top of the paint might help with waterproofing, but this was a bit of a mistake and I don’t think it’s necessary after all.
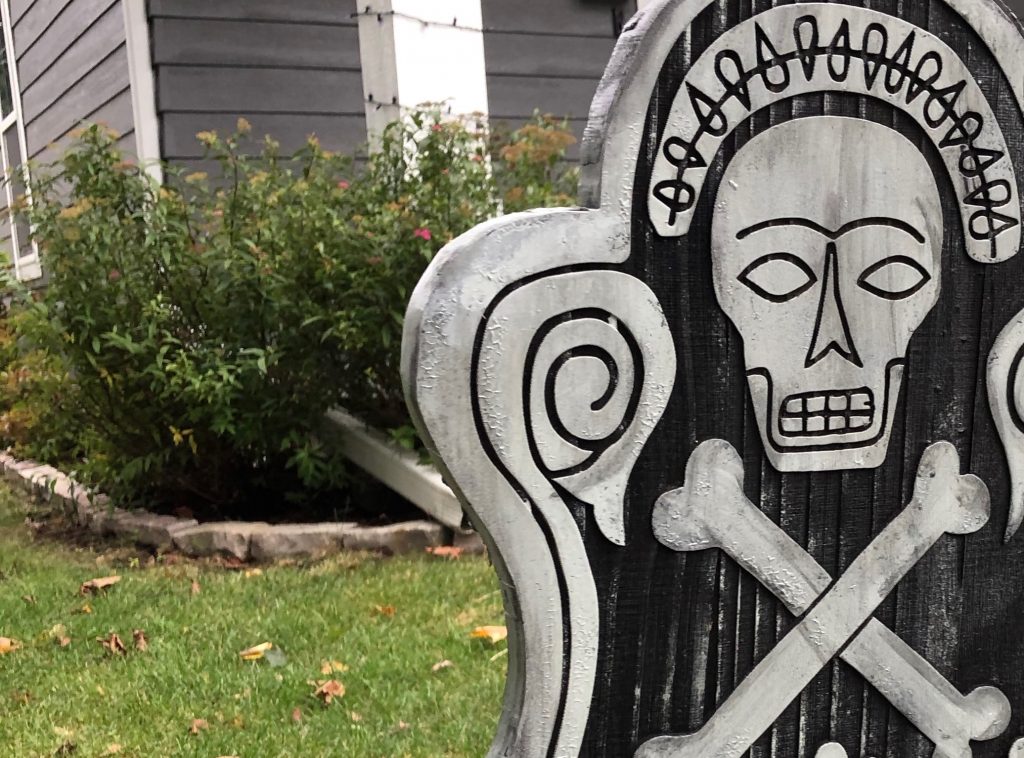
I got a little spray-happy and applied too heavy of a coat on a relatively high humidity, cool morning, so my clear enamel started to wrinkle and buckle in places. I could pretend it was intentional to make it look like cracks in the headstone’s “cement” but I didn’t love this aesthetic, so if you are making one of these yourself, I’d say go ahead and skip this step. The outdoor latex paint and primer duo should be more than enough to protect the wood. You can see what I’m talking about on the left “loopy thing” next to the skull.
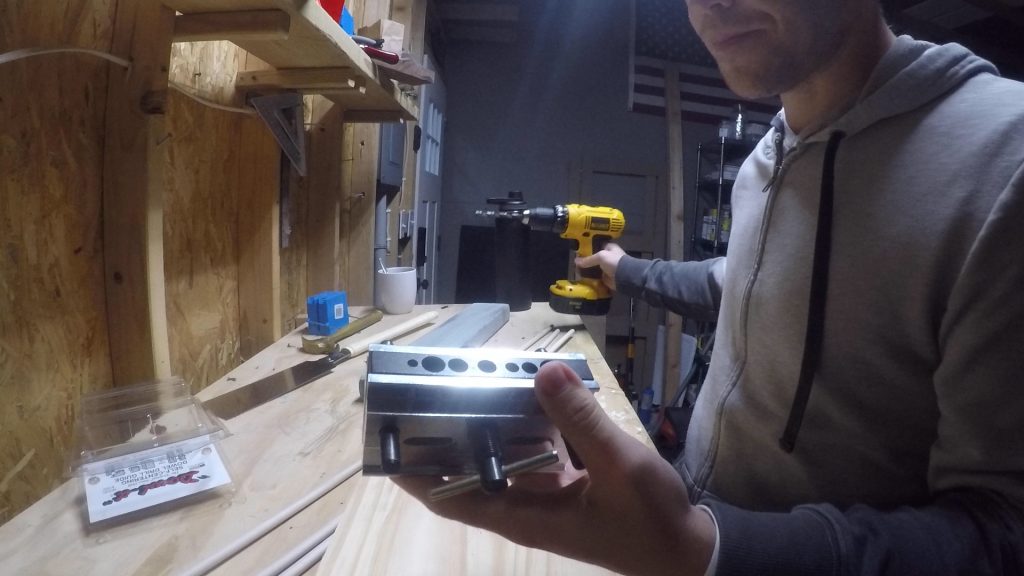
You may be wondering how this thing is going to stand up in the yard. I picked myself up one a self-centering doweling jig, as I plan to use it for some furniture in the future, and figured it could come in handy here too.
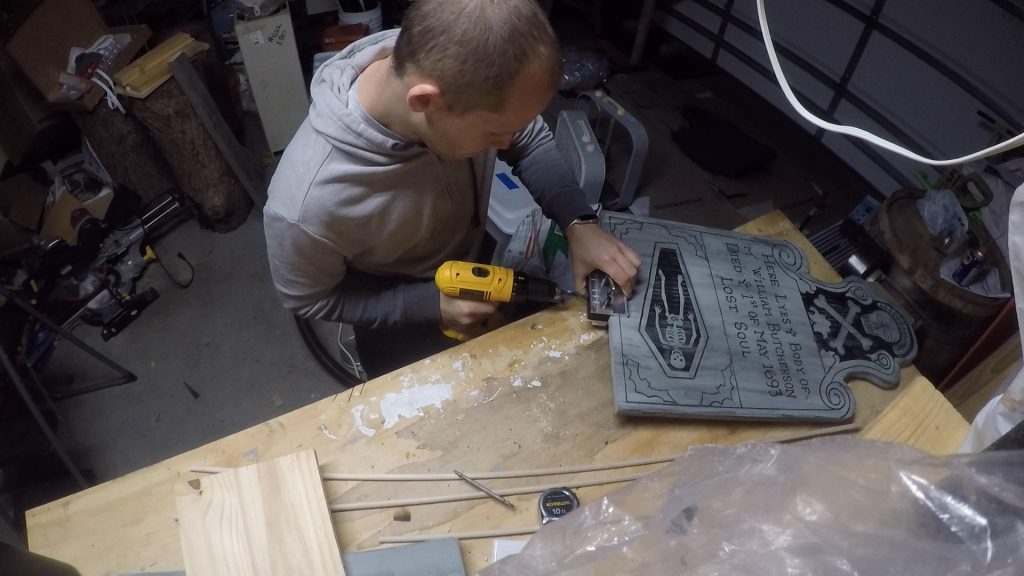
I drilled three holes in the bottom of the tombstone with a 3/8″ drill bit using the dowel jig, but I imagine if you’re super steady handed you could do this without.
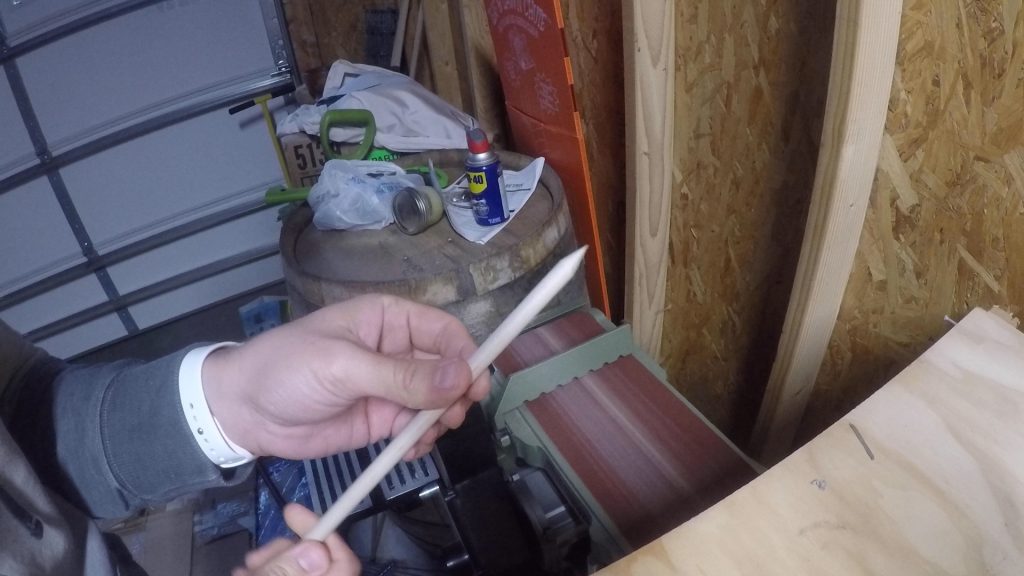
Then used those holes to insert some 3/8″ wooden dowels that I had turned into stakes by sharpening them to a point on my sander.
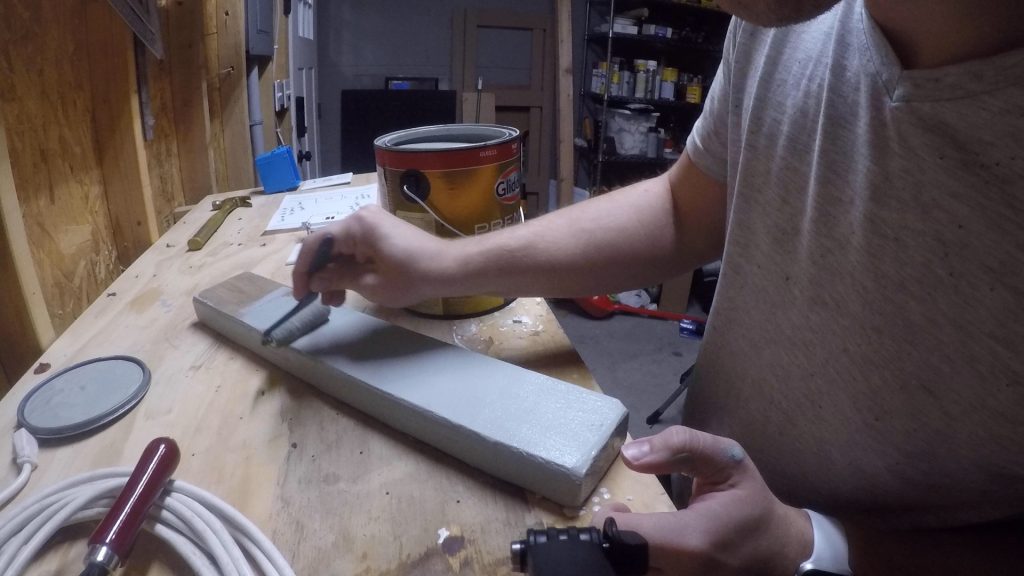
To give it a more accurate gravestone look, instead of just staking it up by itself, I also wanted it to have a base, so I took a 2×4, cut it a few inches wider than my headstone on both sides, and prepped and painted it with the same grey paint.
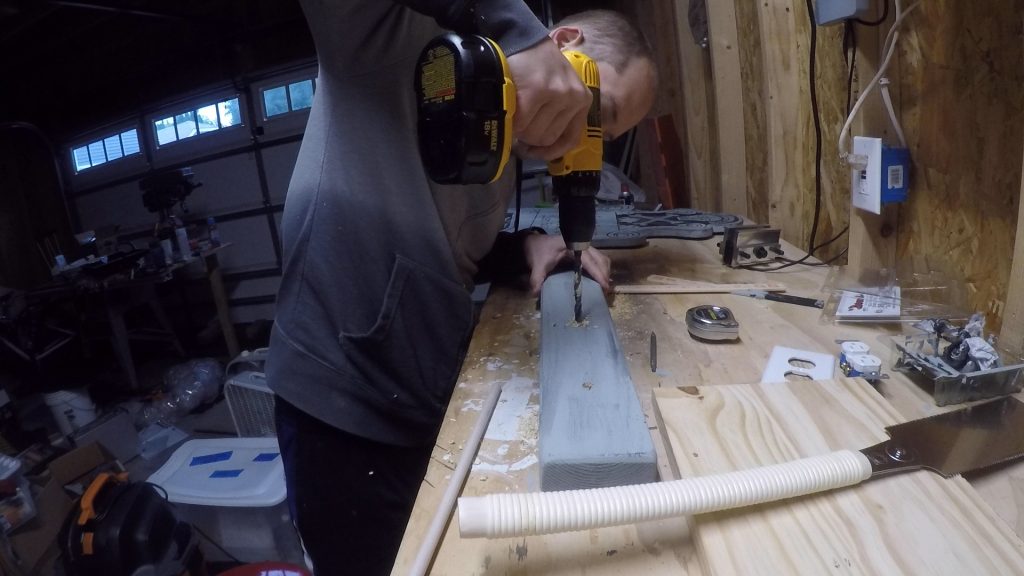
I drilled holes in the exact same spot, centered on the 2×4, for the stakes to pass through on their way into the ground, which would secure the headstone to the ground and base in one fell swoop. My initial test fit of the spikes through the base while inserted into the tombstone seemed to be a bit tight, and the stakes were starting to bow a little, so I decided to give the outside holes a little play by angling the drill bit to the left and right. This isn’t fine furniture by any means, so I was okay being a little sloppy here.
Doing another test fit after adding play to the holes, everything slid together just as expected, which meant it was time for it to make its debut in the front yard!
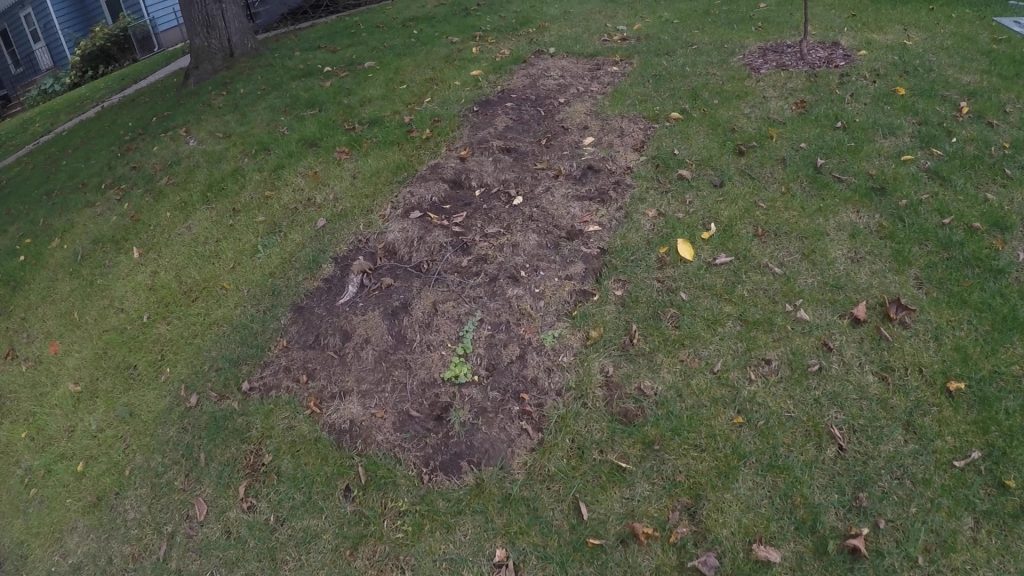
Now, we have an all-too-convenient place in our front yard to put this decoration. The previous owner of the house struggled getting grass to grow in one spot of the yard. He apparently tried it all: seed, sod, every fertilizer in the book, nothing. We tried a few of those things this summer too with no avail (we bought in the spring). Next year we’re going to remove the top 6-12 inches of dirt and replace it, assuming the soil chemistry is bad for growing or something, but for the time being it looks like we buried a body in our front yard, so we might as well make use of it, right?
I selected the perfect location, put the base down, put the dowels in the bottom of the tombstone, and pushed it straight down. I ran into a little resistance – rocks most likely – but firm steady pressure and a little bit of rocking eventually got the sign all the way down. I think the stake size I used was a good length – any longer, they would have been too hard to press in without using a mallet, and it’s still plenty sturdy that the wind won’t knock it down either.
One quick note about the base, stakes and sign itself – I didn’t glue any of these together. I wanted it to be easy to disassemble and store flat at the end of the season, so everything is a dry press fit while in use. I plan to make some more tombstones with different designs, so being able to store all of them flat on top of each other, with all the stakes bundled together, and all the bases stored together too will be quite convenient.
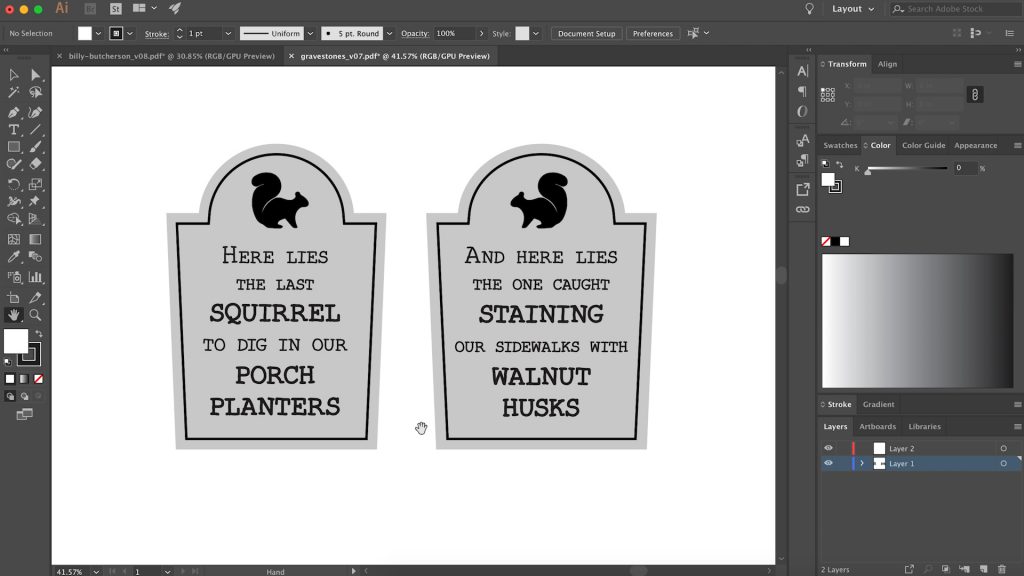
A sneak peak at my future designs. If it’s not apparent, squirrels and I don’t exactly get along.
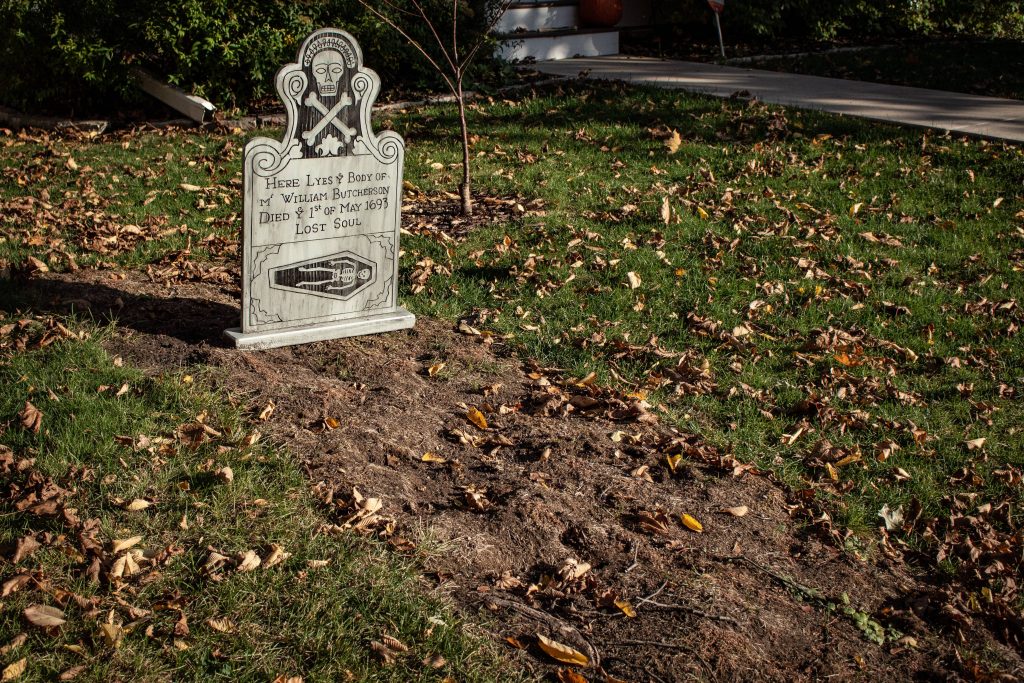
And there it is! I’m super super happy with how this came out and I can’t wait to make more like it in the future, to slowly build the perfect Halloween graveyard. I hope you enjoyed my write-up about the project, and if you’d like to see the full build video of this project, you can find that at the top of this page.
Ready to build this yourself?
Below are links to various tools and materials used in this project to get you going. As a heads up, some are affiliate links which allows me to receive a small commission if you buy something, at no extra cost to you. Every little bit helps me continue making videos like this, so I appreciate your support and consideration!
Rockler Doweling Jig: https://amzn.to/2PkM7Oe
Delta Electric Drill: https://amzn.to/2XWiY0n
Drill Bit Set: https://amzn.to/2WeKYZP
Small Craft Foam Roller Kit: https://amzn.to/2BFYIDB
Craft Paintbrushes: https://amzn.to/2p3n6wq
Glidden Exterior Grey Paint: https://amzn.to/32VP2B7
Glidden Exterior Black Paint: https://amzn.to/32PHU9a
Rustoleum Black Spray Enamel Paint: https://amzn.to/2MKcmM9
