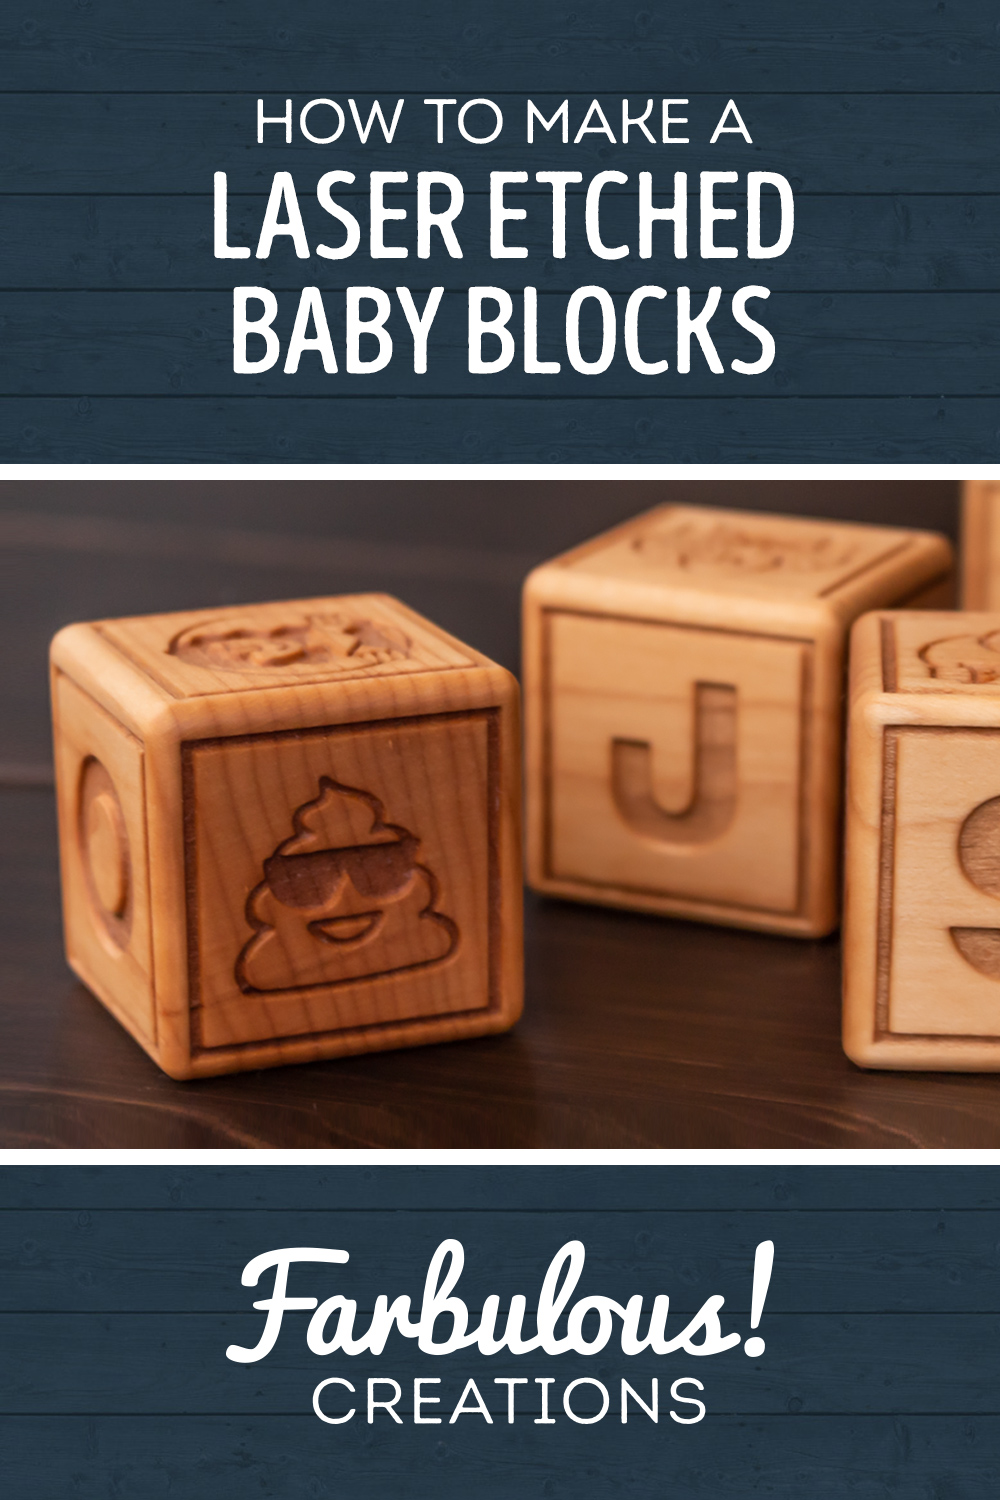
Welcome back to Farbulous Creations! Before we dig into how I made these custom baby blocks, let me give you some quick background on the project! It’s apparently baby-having time in my circle of friends. Not one, not two, but three of my friends and their spouses had a baby earlier this summer, all within a month and a half of each other. Two boys and a girl.
I wanted to make each friend a little something to celebrate their new bundle of joy, and came up with the idea to make a set of super personalized alphabet blocks for each baby that my friends (the parents) would also treasure. Being I knew the parents so well, I thought a great way to personalize the blocks for their baby would be to include shapes and designs that were a direct nod to the parent’s background and interests.
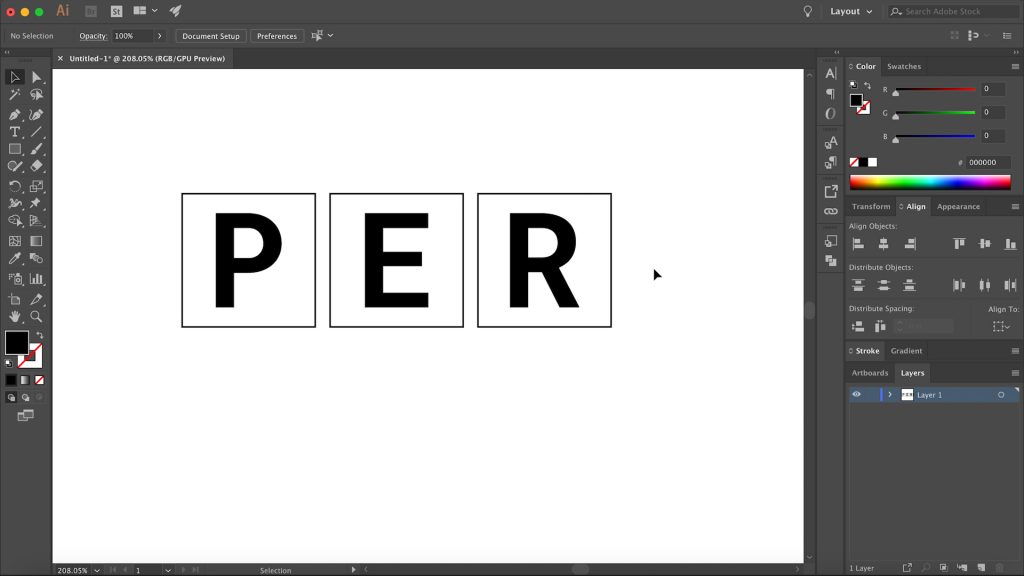
Let’s start with the baby blocks for my friend Ty’s new son, Per (it’s Scandinavian – I’d never heard it before either). Ty and I currently work together as web developers at my day job, and he really loves Google’s Material Design. We’ve built a few internal apps together for the company we work at, and Ty always likes to use Material Design. I’ve grown to like it a lot too, despite being an Apple fanboy outside of work.
For the non-developers out there, Material Design is basically just Google’s design language for all things Google. If you’ve used Google Docs, Gmail, Android, or heck even YouTube, you’ve seen Google’s Material Design in action. It’s completely open source and they encourage you to use it for your own apps. Part of Material Design is the icon toolkit available in Material applications.
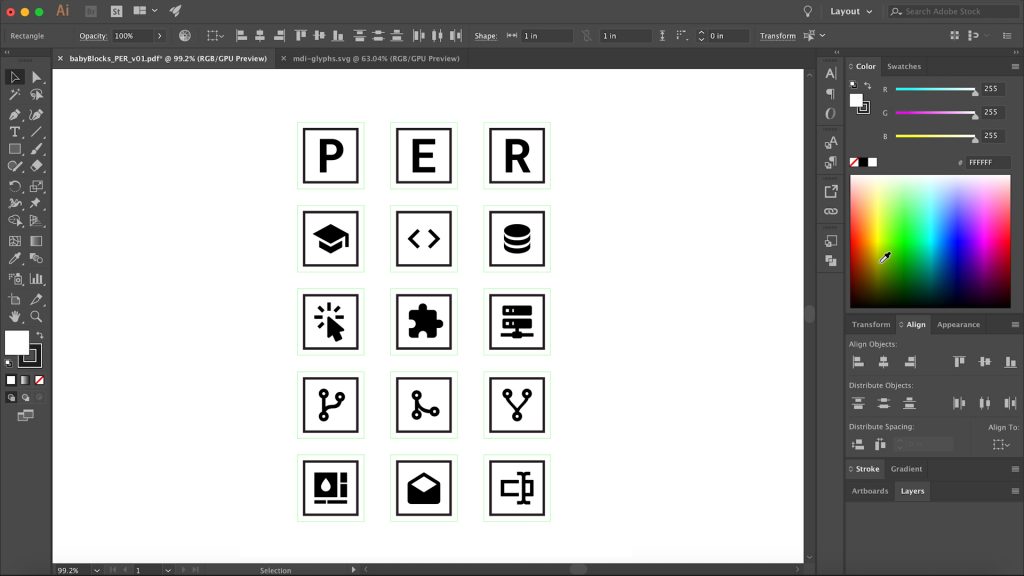
Since Ty loves Material Design so much, I thought it would be fitting to use Material Design icons on his son’s name blocks. Being that we’re both web developers, I saw it even more fitting to use some of the more developer-focused ones. I like to imagine Ty someday putting a STEM twist on the old trope of the dad who wants his son to play football, except instead of football, he’ll push his son towards engineering and computer science. I like to think these blocks might help with that.
But if Per wants to be a football player someday instead, I’m sure Ty will love him just the same.
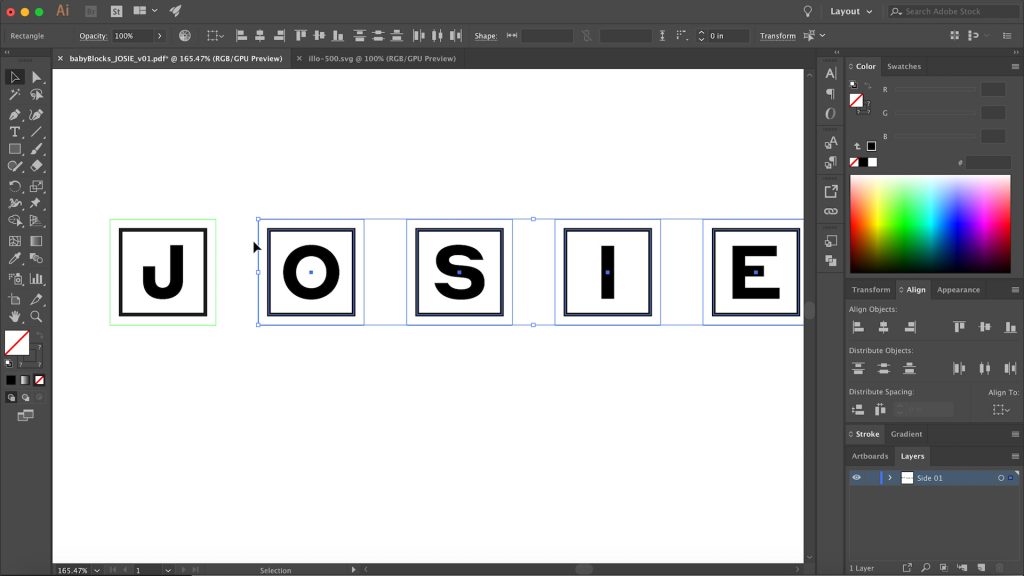
Next up, there’s my friend Talia and her new daughter, Josie. Talia is a graphic designer on Ty and I’s team, and has developed a large number of illustrations found across our website and other marketing materials. Our brand is a really fun and playful one, and as such, the illustrations are super kid-friendly in the first place. So for Josie’s blocks, I thought it fitting to use some of her momma’s own illustrations on her blocks.
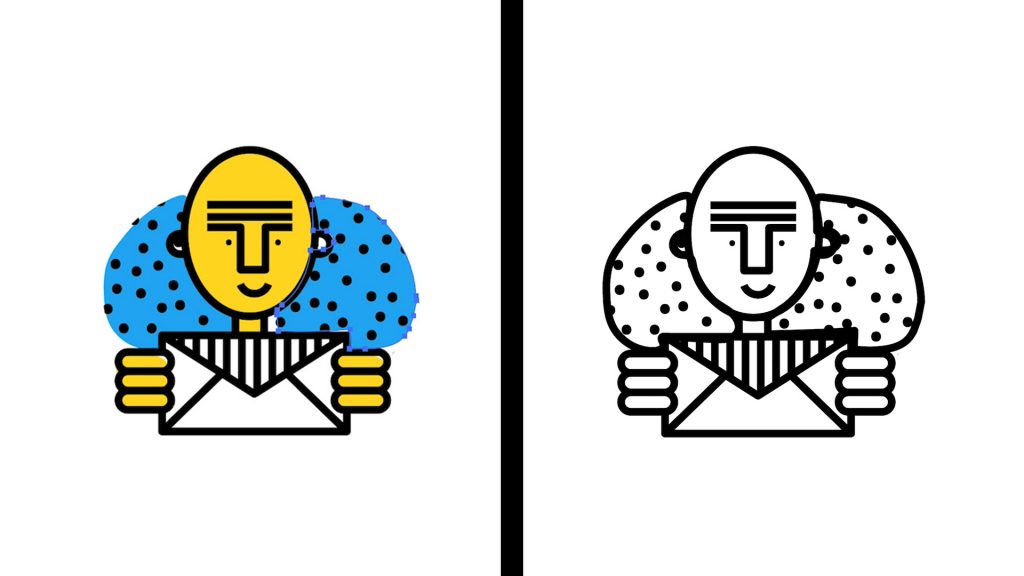
I did have to make some modifications to the illustrations in order to make them more suited for the laser, so hopefully Talia doesn’t think I butchered them, at least too much. They were originally designed with color in mind, but obviously lasers are a one-color pony, at least when it comes to wood, so I had to remove the colors and make any appropriate tweaks to determine what would be black and what would be white.
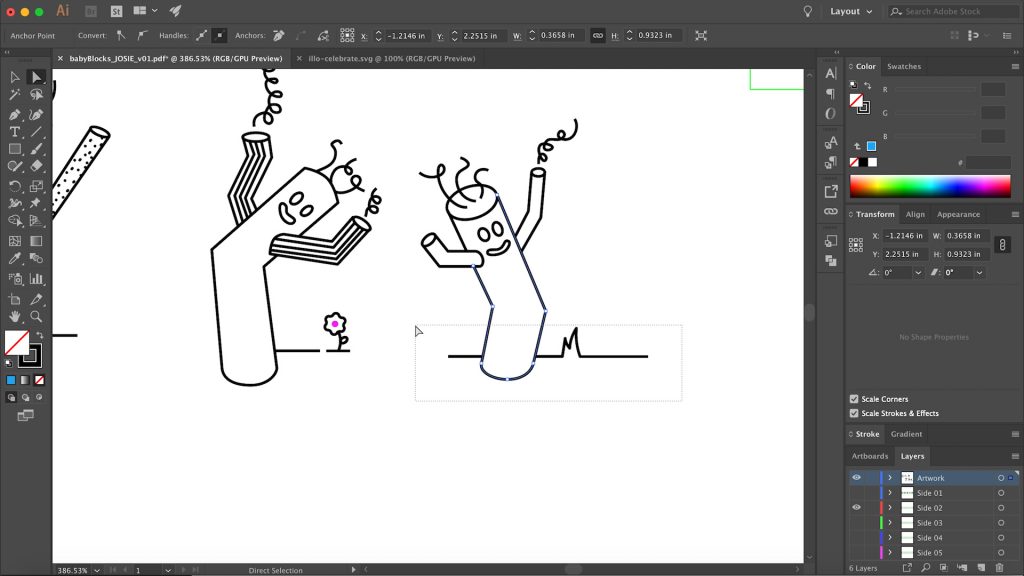
There were also a few of my favorite illustrations, like the wacky waving inflatable arm-flailing tube men, for example, that were a bit too tall for the square aspect ratio of a block that I had to tweak and shorten.
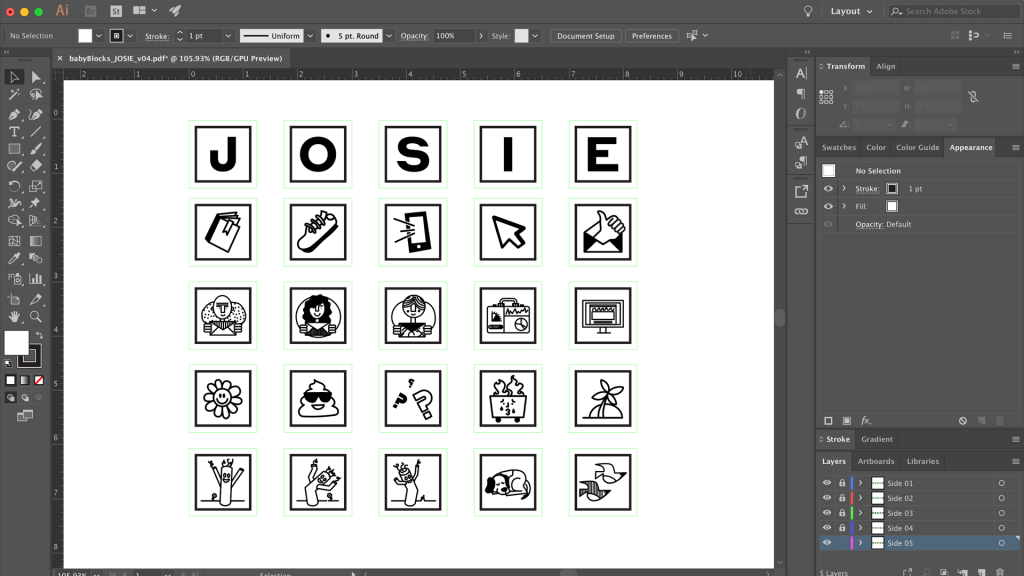
All in all, despite my modifications to make them better suited to the blocks, the spirit and playfulness of Talia’s original designs comes through just the same.
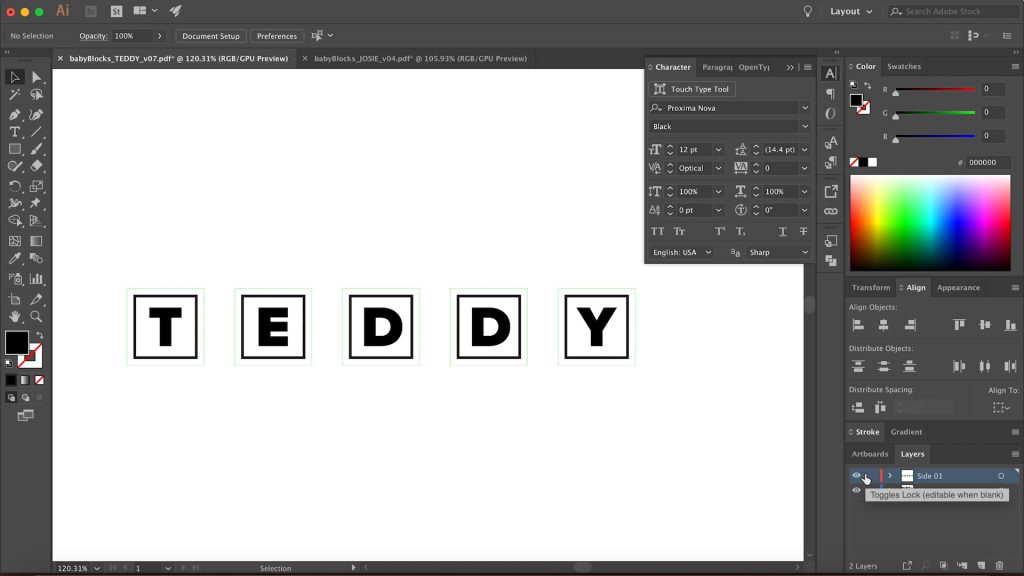
Then finally, there was my friend Taylor and her new son, Teddy. Taylor and I met at a past job but became great friends whilst there. Teddy’s blocks ended up being the most design-heavy of the three, but I’m super happy with how they came out.
Taylor is also a designer, but her work is largely UX focused, so not a lot of her work is in illustrations these days. So even if I had access to them, I couldn’t take illustrations she had made and adapt them to the laser like I did with Talia. Instead, I brainstormed a bit and decided to go all-in on a theme related to his name, Teddy.
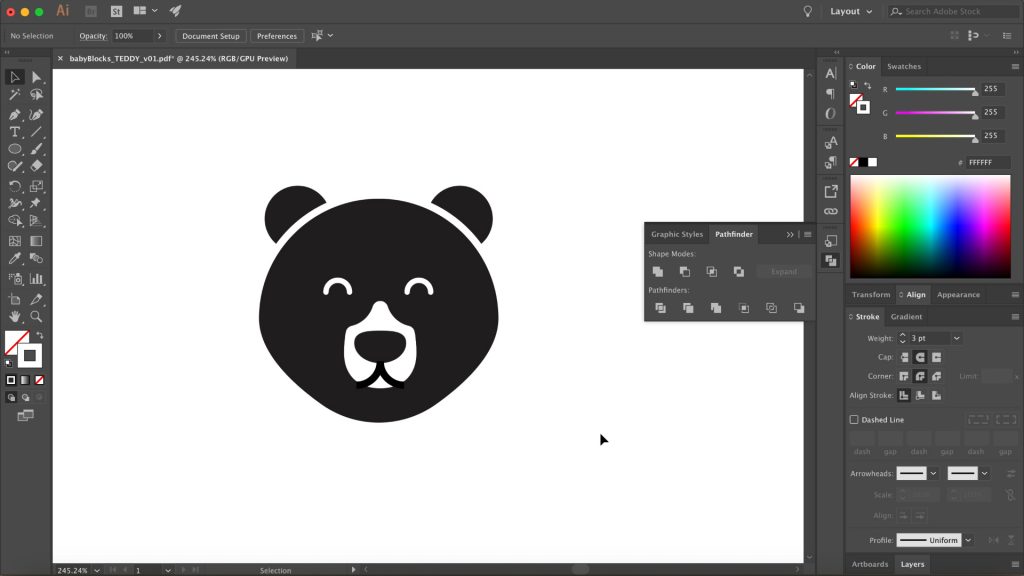
Bears. All kinds of bears and bear related things. With 4 non-letter sides per block and 5 blocks total, I had to come up with 20 different bear concepts, and that proved quite the challenge. Because my specialty isn’t illustration work, I originally thought about purchasing stock vector illustrations, but then I realized that there would be no consistency in them if I, say, bought a panda bear illustration from one designer and a koala bear illustration from another designer.
So I buckled up for the long haul and ended up doing all the illustrations myself, using lots of reference material from Google Images where necessary.
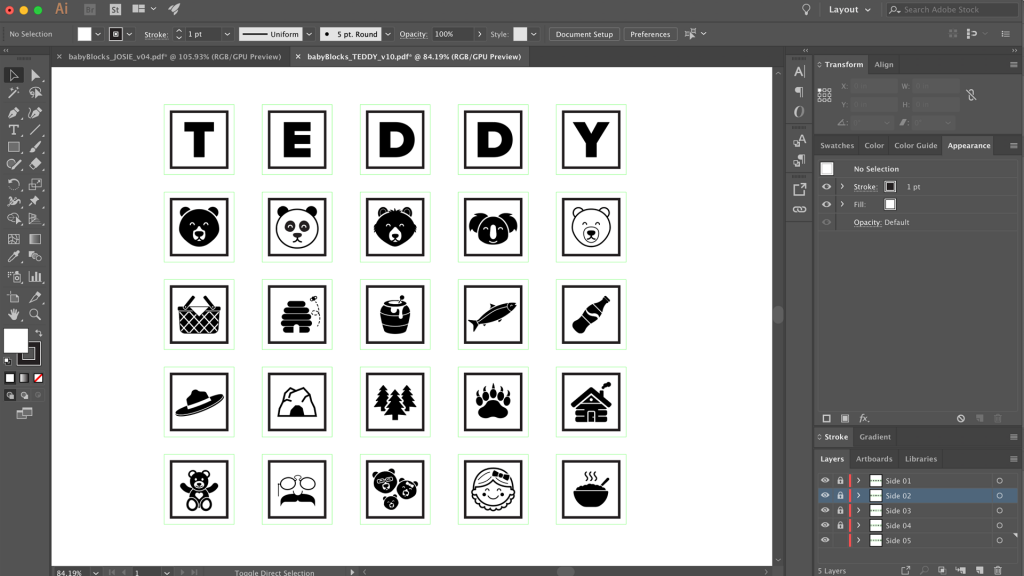
Since I ended up scraping the bottom of the “things associated with bears” barrel, some of them are a little more obscure and less on the nose, but I figured that would make them more interesting. I won’t spoil the references if you want to guess what they’re supposed to be.
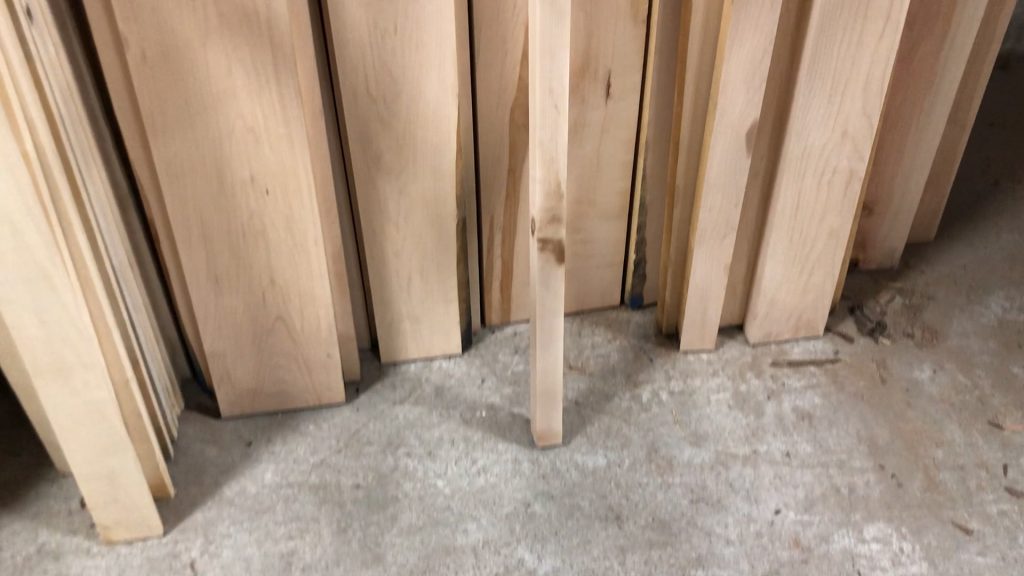
After all the designs were made, but before lasering the designs, I had to cut the blocks to size. I selected a conveniently-sized piece of hard maple from my local lumber yard that was roughly square and around the size I wanted to make the blocks anyway.
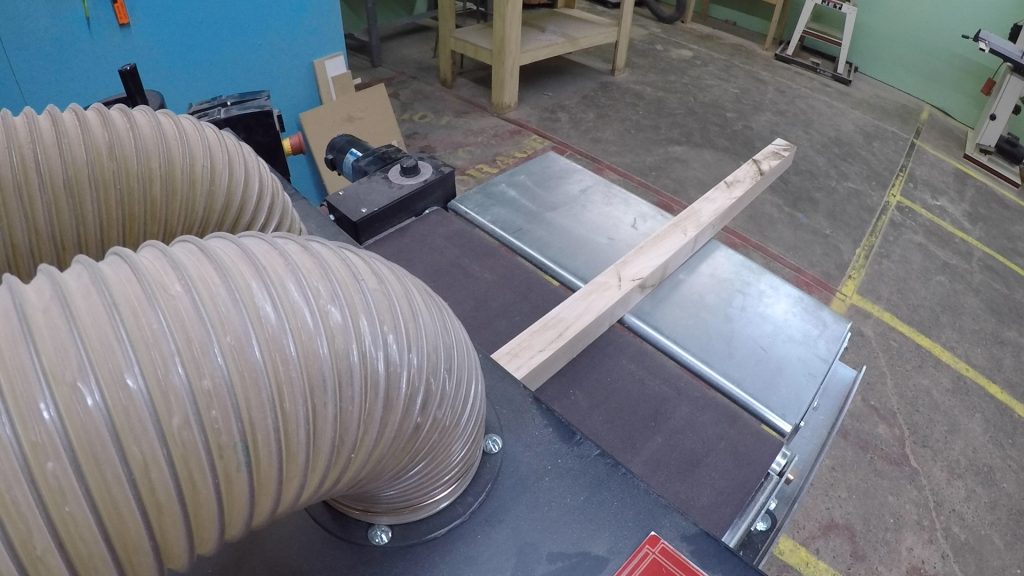
All I needed to do was to run it through the belt sander a few times on one side to make it fully square…
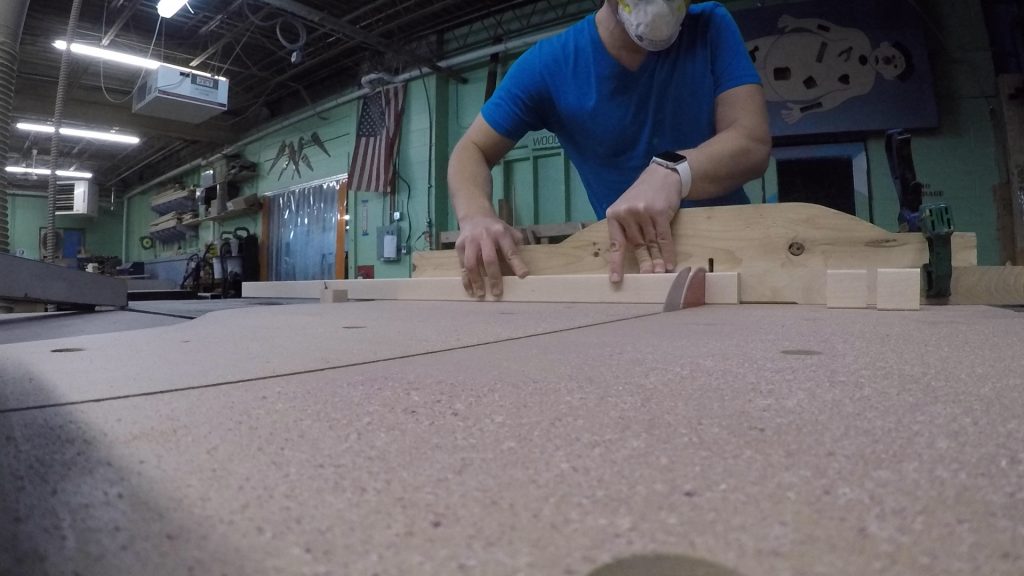
…then slice it up into cubes on the table saw.
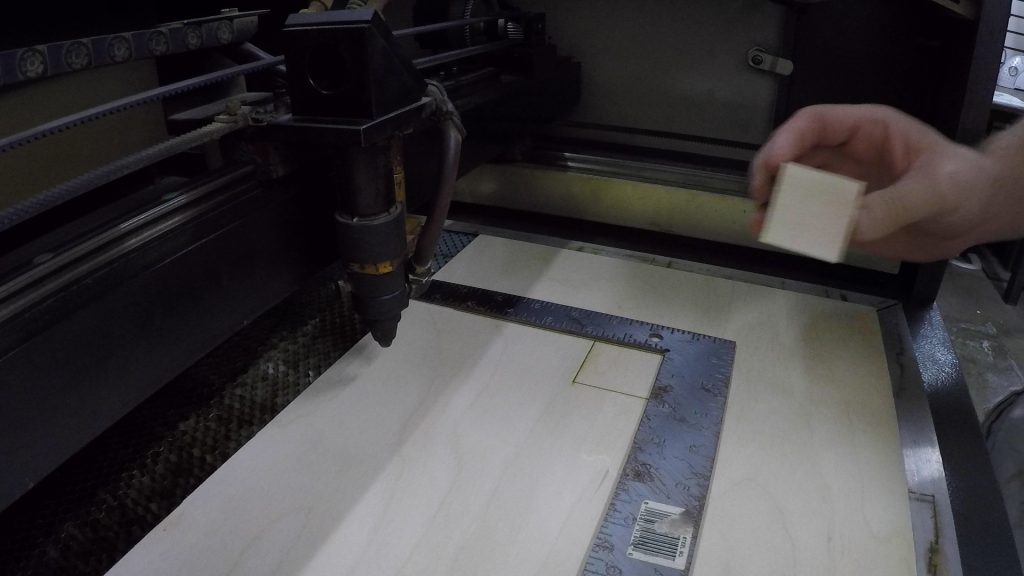
Whenever lasering something that involves accurately placing parts in the same spot on the laser bed, it’s helpful to make a jig of sorts to line things up. In this case, I made a jig by taping an aluminum square to a piece of plywood which I had aligned to the bottom corner of the cutting bed. I could have done it at the opposite corner of the laser bed, but it’s convenient to work towards the front of the laser where I’m sitting with something that involves as much turning and human-intervention as these 6-sided blocks did.
For every block, I lasered the letter on opposite faces, then the remaining four faces each got their own unique design. With a better setup, I could in theory have done multiple blocks at a time, but since my blocks weren’t perfectly square despite my best efforts to the contrary (off by a millimeter here or there), occasionally the design would look off centered and I’d have to scrap a block and re-adjust things. In a perfect world, the maker space laser that I use would have integrated internal cameras so that I could make sure the face design was perfectly centered each time. Oh well, a boy can dream.
After all blocks in each set were lasered, it was time to round off the harsh square edges with a 1/8″ round-over bit on the router table. This way there are no sharp edges for the babies to hurt themselves on.
The next step was cleaning laser residue out of the lasered designs. This is normally something I don’t do, since I’m often working with plywood and because the burnt smell (that I actually kind of like, if I’m honest) dissipates over time. But since these were done on hardwood maple, and because there was potential for the kiddos to be sticking these in their mouth, I figured I’d get rid of it as much as I could. Using some dish soap, warm water, and one of the dozen spare toothbrushes that I’ve been gifted by the dentist over the years, I diligently scrubbed the burnt areas. Being this was one of the first times I’d lasered hard maple, I wasn’t sure how “sturdy” some of the finer details would be, but they held up just fine to my aggressive cleaning.
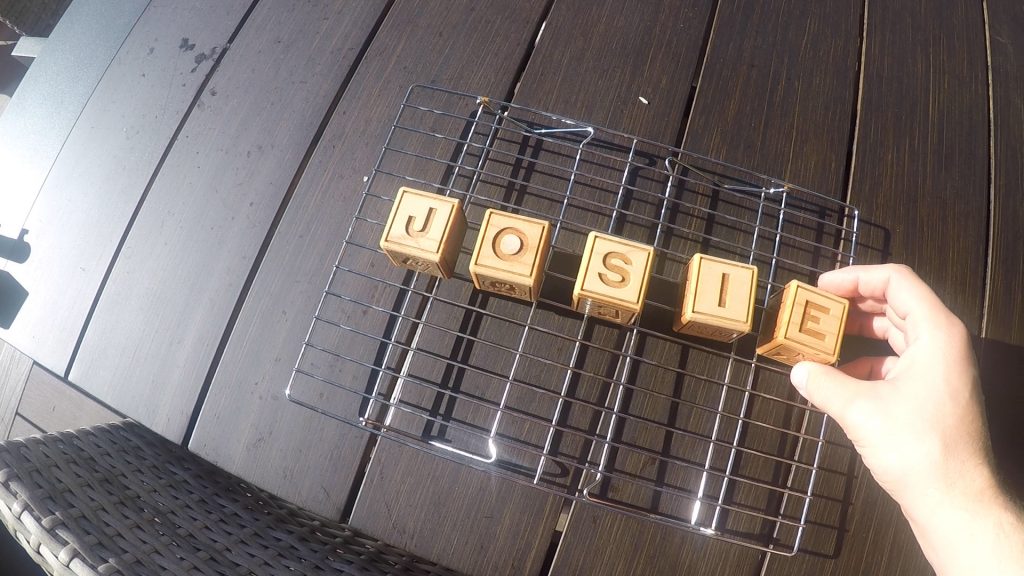
After I was done with each set, they rested on a cooling rack so that each side could dry appropriately.
I purposely avoided any sanding on the blocks until after the washing was done, as I knew the water would cause the grain to stand-up, so I didn’t have to double my efforts. I used a large piece of sandpaper laid flat to sand the faces by circling the blocks and occasionally tapping them down to clean out the dust trapped in the design.
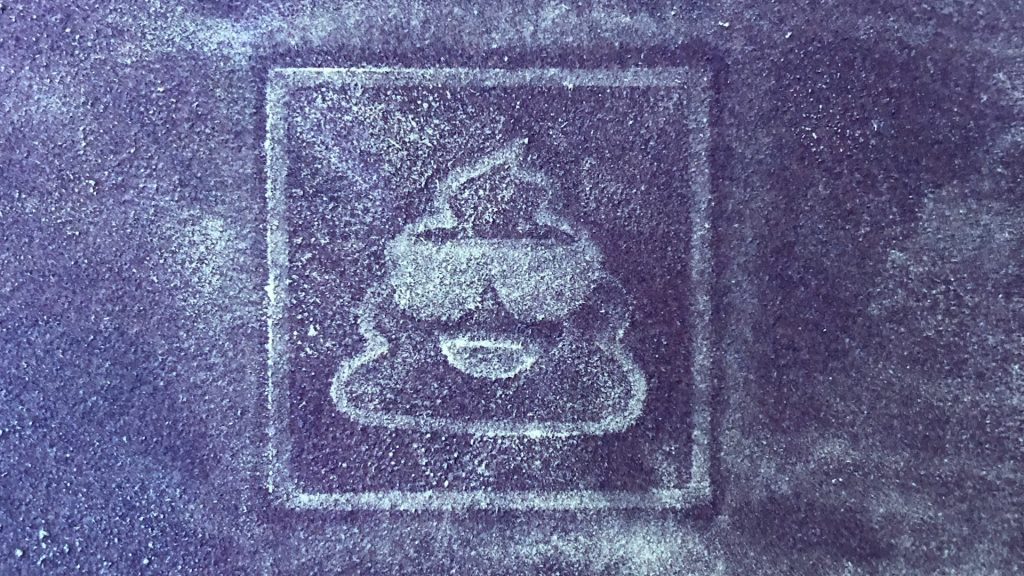
This left some neat patterns on my sandpaper.
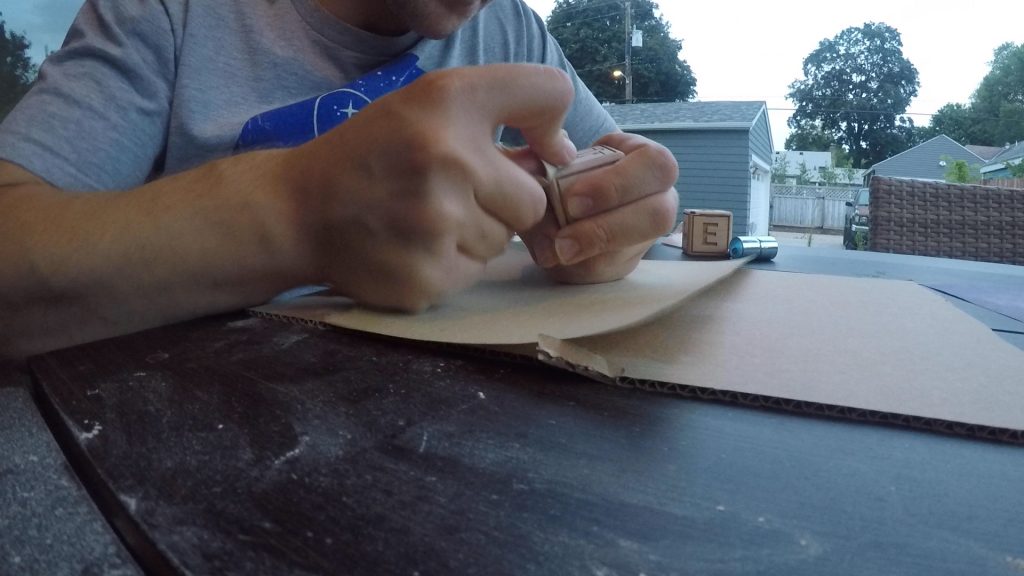
Using a smaller strip, I was able to detail the corners and edges and make sure the rounded edge I’d created with the router got sanded without letting any areas get flattened from sanding.
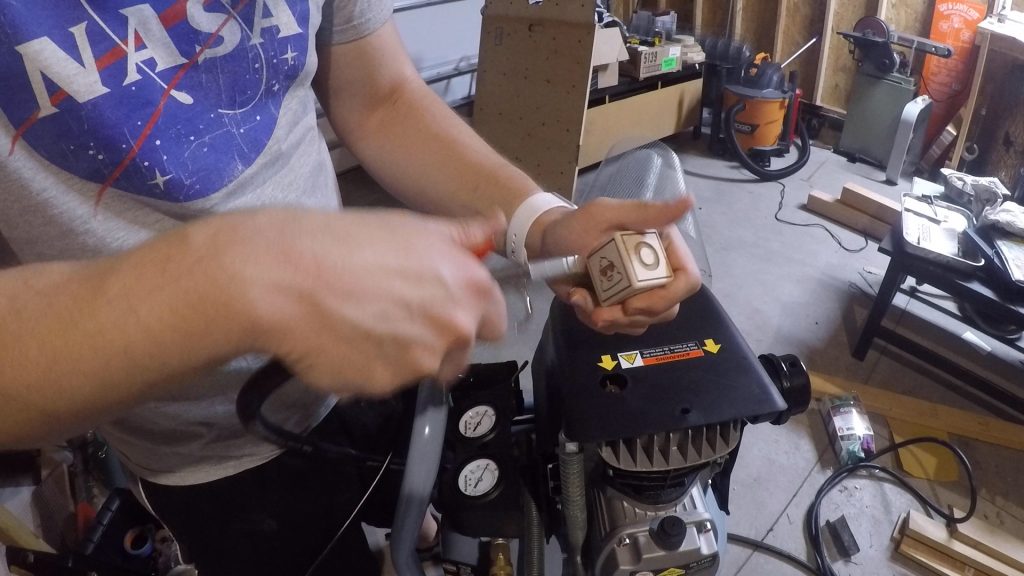
Once they were sanded and fine dust was removed with the air compressor…
…it was time for the messy part: finishing. To be baby safe, they were finished with homemade butcher block conditioner, which is simply a blend of food grade mineral oil and food grade beeswax. I smeared a bunch on each block and left it to soak in for a few hours.
After it had had a chance to soak in, I cleaned off the excess with paper towels and, again, a spare toothbrush, to get inside some of the finer details and get any big globs of finish out.
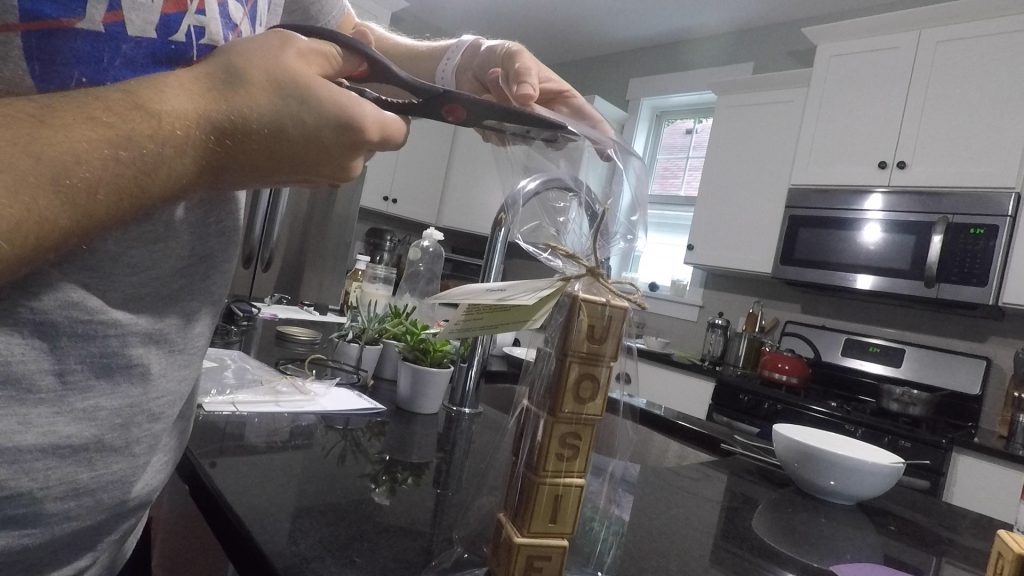
After one last chance to dry with the excess finished removed, it was time for one of my favorite parts when giving a homemade gift like this: the presentation. I used some clear cellophane bags and stacked the blocks inside, tying off each one with some twine and a personalized note to each parent.
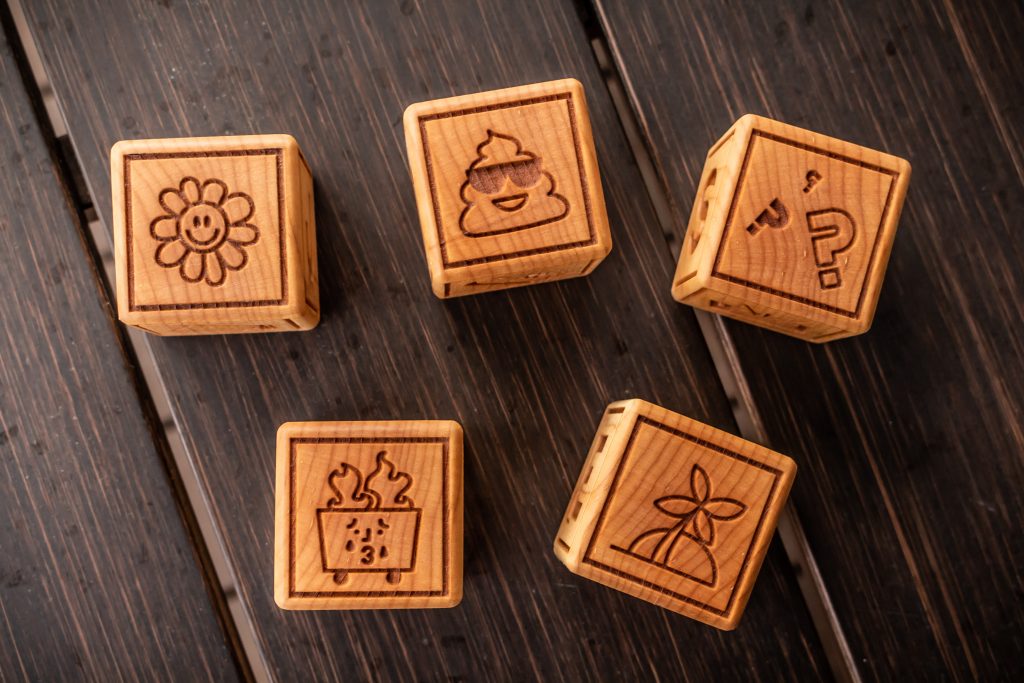
Now for better or worse, I’m not one to give a gift with a camera stuck in the person’s face, and I also wanted to protect their privacy, so I don’t have any big reveal shots of giving the blocks to my friends.
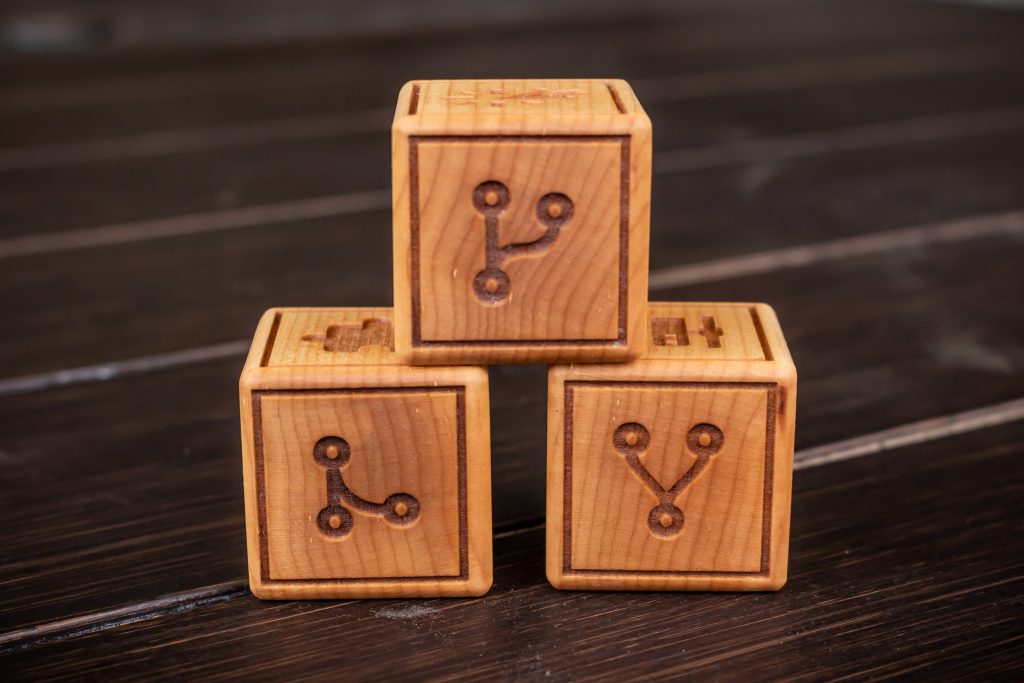
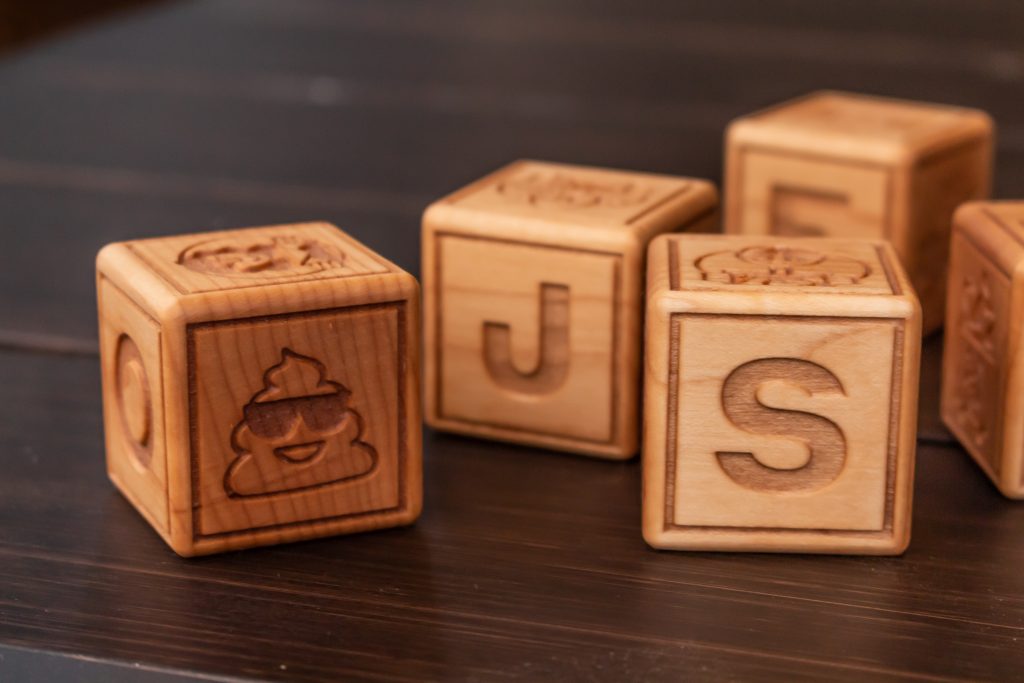
But knowing that seeing the final product is an itch that needs to be scratched when it comes to a DIY build, here are a few glamor shots I took with the blocks before they made their way to their final home.
(The bear blocks got gifted a few weeks offset so I didn’t get photos taken in time.)
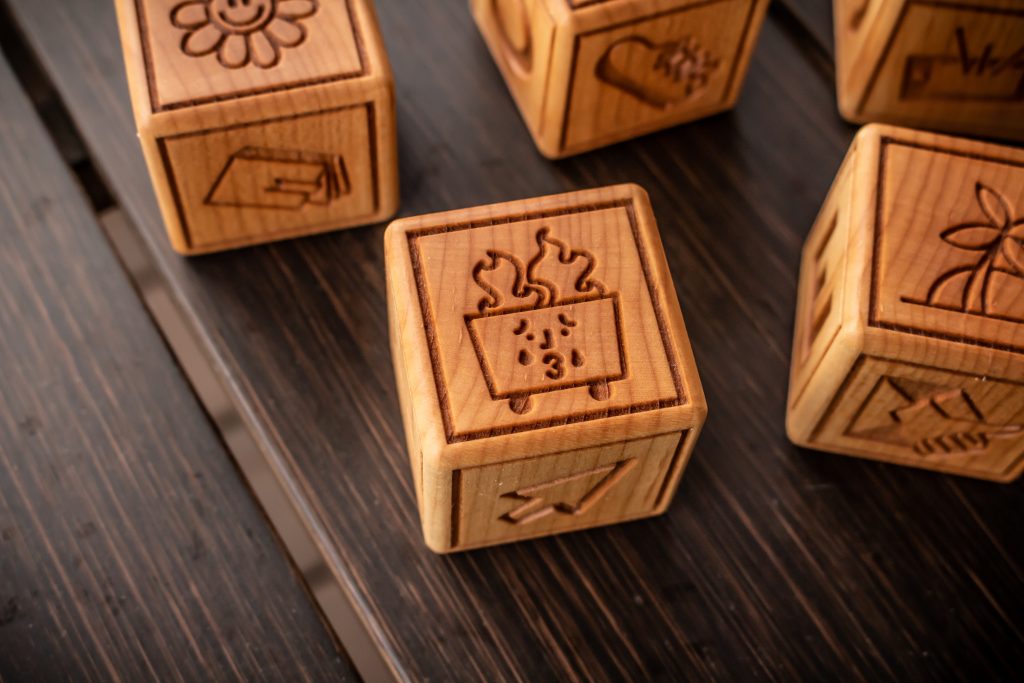
I hope you enjoyed this in-depth look at the process behind me making these custom baby blocks! I put a lot of heart into gifts like this for the people who mean the world to me and enjoy every second of it, so hopefully you find inspiration in the project too! A full build video is available for this and many other projects on my YouTube channel so if you’re interested in more of my work, I sure would appreciate if you subscribed.
Thanks for your consideration, and until next time, cheers!
Ready to make some of these baby blocks yourself?
Below are links to various tools and materials used in this project to get you going. As a heads up, some are affiliate links which allows me to receive a small commission if you buy something, at no extra cost to you. Every little bit helps me continue making videos like this, so I appreciate your support and consideration!
Beeswax: https://amzn.to/2nel236
Mineral Oil: https://amzn.to/2nNXylU
Cellophane Bags: https://amzn.to/2m8bGGe
Twine: https://amzn.to/2miuLFE
Aluminum Square: https://amzn.to/2m56NO9
Cooling Rack: https://amzn.to/2nKeHwE
Sand Paper: https://amzn.to/2mit76W
