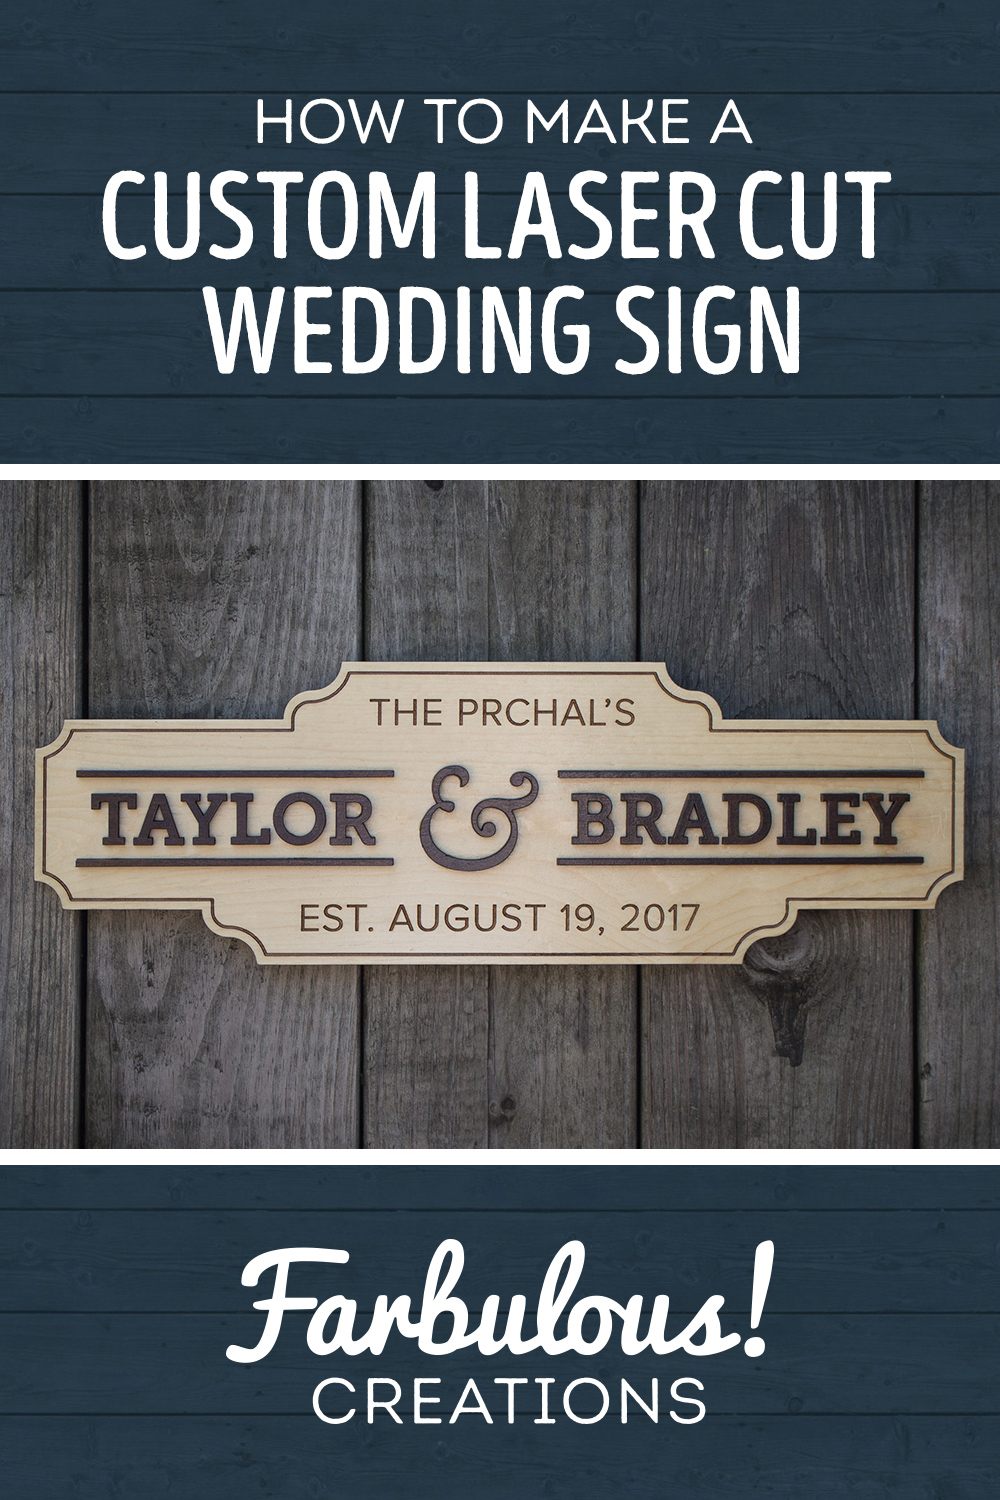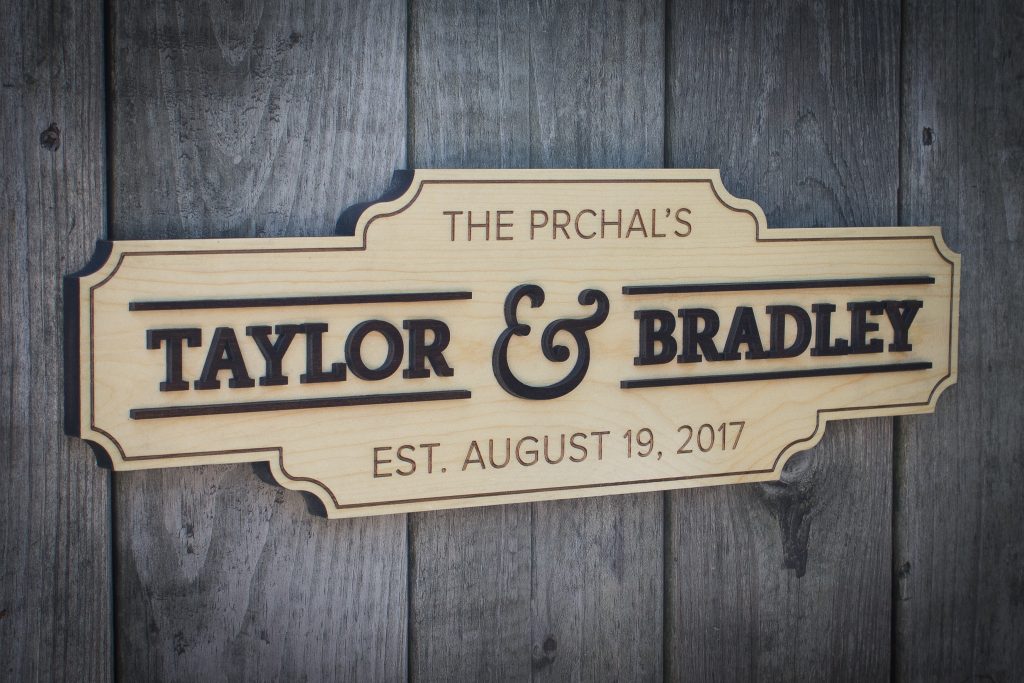
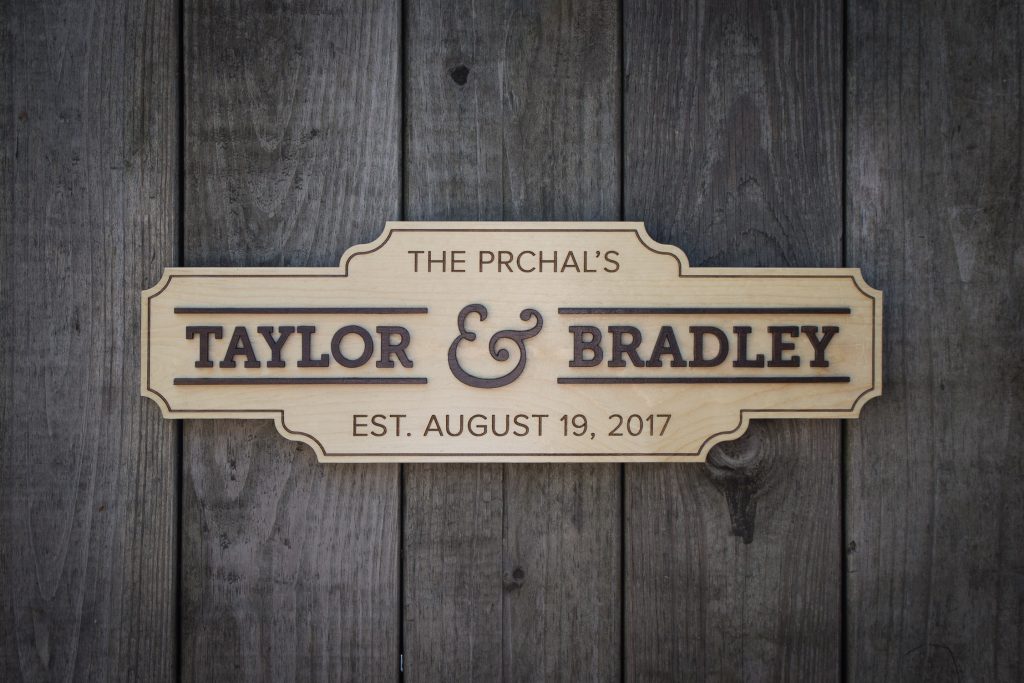
Obligatory final result first! I actually completed this project a few years ago, in time for this to be a wedding gift for them, but am just now putting together a build album. I’ve made a handful of wedding signs since, but theirs was the first one I ever made. I recorded the process of myself making the sign in case I ever wanted to make a video out of it and finally got around to it, just shy of three years later. “Eventually!” is basically my catch phrase at this point. If you’re interested in watching the full build video and listening to my ramblings (instead of reading them), you can do so with the video above!

Taylor and Brad had decided on a fairly minimalistic approach to their wedding collateral, so I was able to take some creative liberties with the design. Despite this, I still used typefaces similar to those that were used in their invitation.
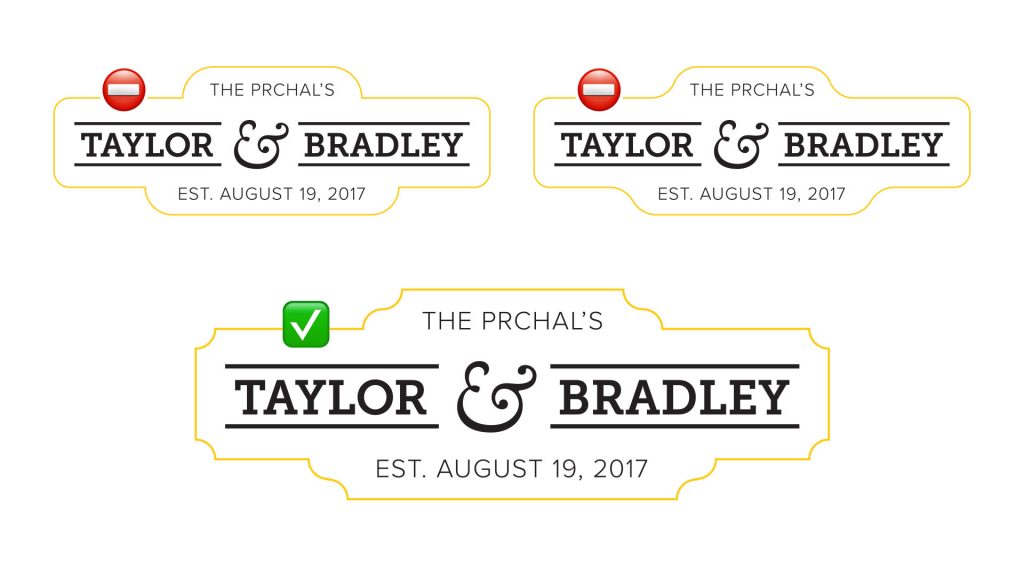
For the outer shape of the sign, I played a lot here, but eventually landed on the semi-formal look seen in the previous photo that was achieved with the help of Illustrator’s live corner tool.
By default it just makes a rounded corner, but if you alt-click a few times on the anchor point, you get this inverted rounded corner, which looks nice when two 90 degree corners are fully “rounded” to meet in the middle.

One thing you may have noticed prior to now that I know I’m going to get some (much deserved) flack for is a bit of improper grammar. When you’re making a last name “plural” by saying “The Johnsons” or in this case, “The Prchals” – you do NOT add an apostrophe. I learned this after making and gifting their sign. Of course. Taylor has since assured me she doesn’t mind, but I totally would make her a new sign if it did.
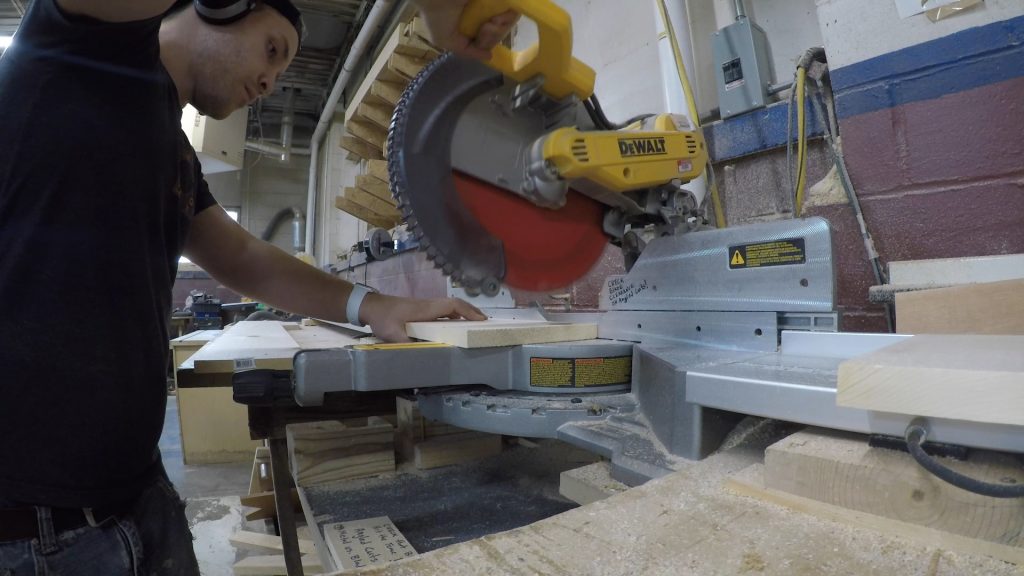
So with the design finalized (despite the grammar faux pas), I could get to prepping my materials. For the backing board, I decided to use 3/4″ solid pine so that I could cut it on the laser cutter.
I’ve gone into it in more detail in a previous post of mine, but long story short, pine is fairly soft so the laser can cut through it like butter, even at that thickness. I’d have prefered to make it out of a nicer hardwood, but the laser has a hard time cutting through hardwoods without scorching when they’re much thicker than 1/4″. For thick hardwoods, a CNC would be a much better choice, so I’m eager to get my hands on one of those someday.
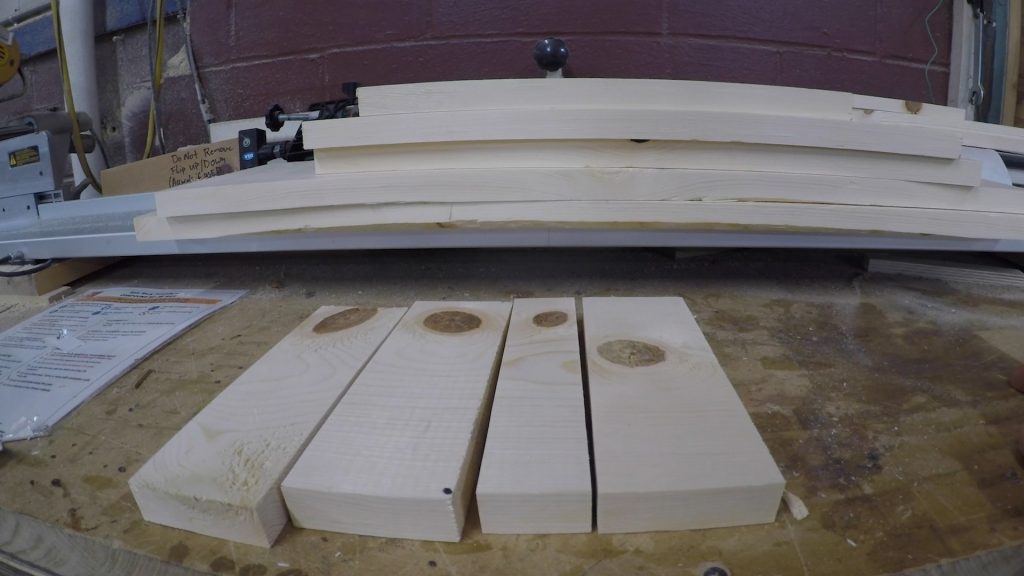
Despite its great cutting abilities on the laser, pine is notorious for having knots sprinkled throughout the boards, so I carefully cut around all of them present in my 8 foot board so that the other boards could be used for other projects.
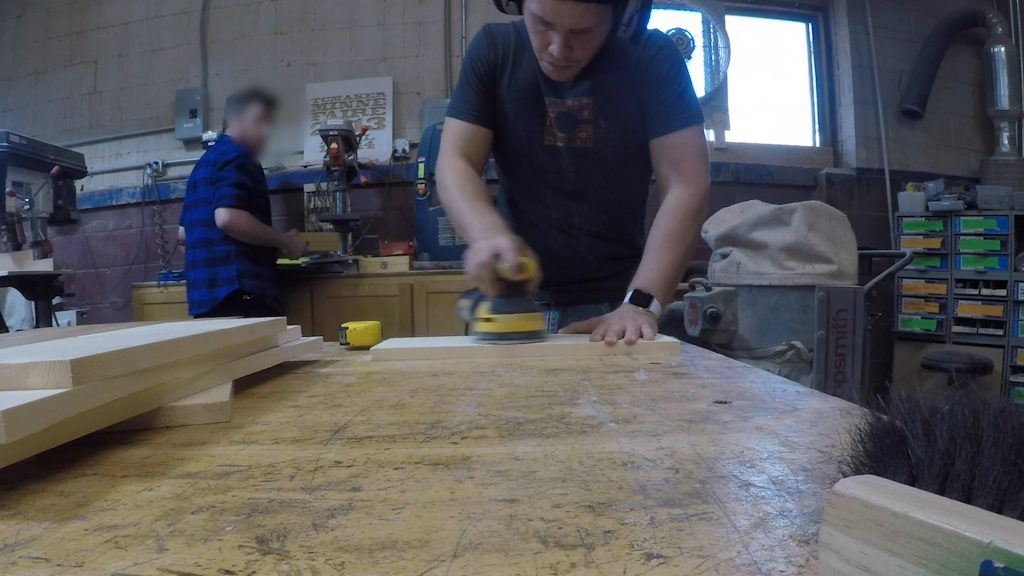
After selecting the board length that would be best for my design, I sanded the surface down well so that I would have minimal sanding to do later. I wanted the board to have a really good surface starting out because some of the lettering would be laser etched directly onto the board and sanding too much away later could “erase” these etched features. [I was working at a maker space here so that’s why my mysterious onlooker’s face is blurred.]
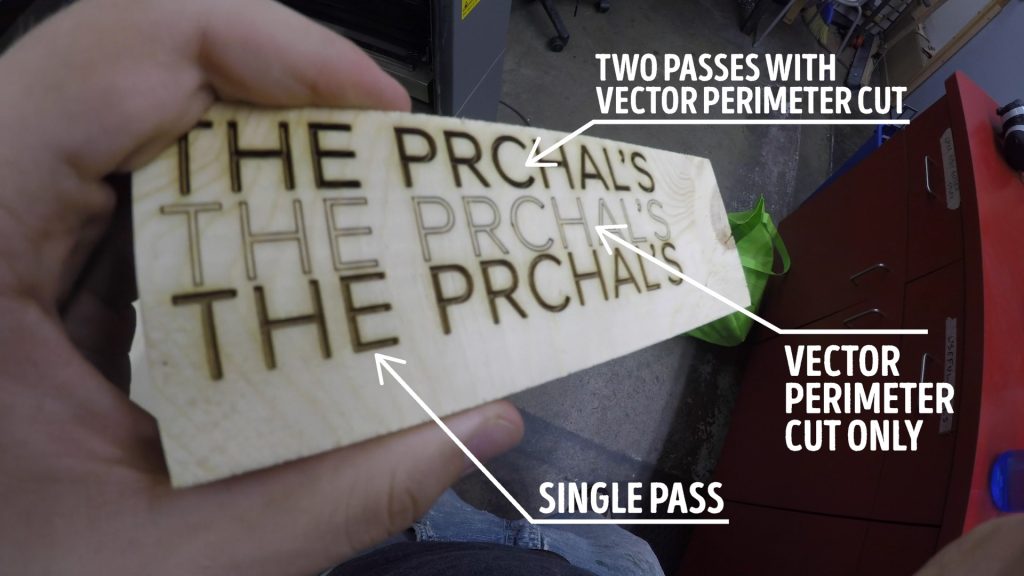
After the sanding, I was ready to head to the laser. I did a few test etchings of the to-be-etched features on one of my offcuts to see what settings I liked best. I wanted the text to be dark, and when you’re just “etching” pine, sometimes it can appear quite light and golden instead of dark and charred. I was hoping for the latter, so that result was achieved by doing two passes of the etch on top of one another and then doing a perimeter vector cut of the letters to “sharpen” the borders of the etchings. With my settings noted, I could get started etching the actual sign.
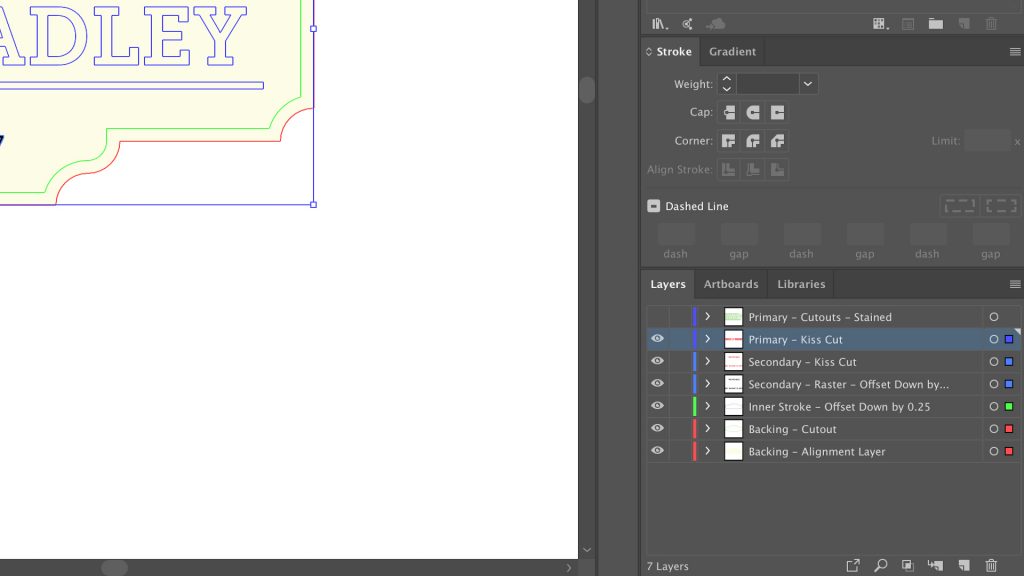
Whenever doing anything semi-complex like a wedding name sign with lots of individual parts, I like to break the design file up into layers so it’s easy to focus on one part at a time so that the old laser at the maker space doesn’t get confused (or me for that matter) and I know exactly what part I’m working on.
To start I did my inset decorative border first. This was achieved by putting the laser out of focus by about 1/2 to 3/4 of an inch and turning the power down low as to just slightly char the surface without burning away any material.
After that, I etched the last name and wedding date. As I described earlier, I decided to do these in multiple passes to darken them up; it’s a little hard to see here but as the laser completes its second pass, the text is darker towards the top and lighter at the bottom where it has yet to complete the second pass. It’s most visible on the left side in the “EST.” text.
To wrap up this text group, I performed that vector perimeter pass to clean up the raster edges and make everything look nice and crisp. This has the benefit of adding a little extra scorching to the insides of the letter to make them even darker, which again, with pine, is a plus.
After that group of text was done, it was time to etch myself some glue guides for the primary text. This text will be cut out separately and glued on top, so to make sure I glued it in exactly the right spot, I turned the power down very low and did a very light pass of the outlines of these letters.
After the cutout pass was complete, I carefully held the board in place as I made sure it released from the surrounding scrap in case I needed to do one more pass to fully free it. But it came away cleanly without any fuss.
After a little cleanup of the back and edges with some sandpaper, I could turn my focus to the primary lettering. That pun was unintended, but welcome.
As part of my laser file prep procedure, I optimized and tightened up the lettering to save space on the wood. I then cut this text out of a piece of what I believe was maple veneer plywood.
After they were cut, I could stain them to really stand out and add contrast to the finished design. Now I know what you’re thinking, because 3 years later I’m thinking the same thing as I put together this build album. “Why didn’t you stain the board before cutting all the letters out?” I don’t know. For whatever reason it didn’t occur to me. Maybe I was looking for a slow-going semi-meditative task to clear my mind. Who knows. If you’re making one of these, I highly encourage you to do the staining before you cut to make your life a little easier. Or don’t, it’s totally up to you. You are after-all the Margot Lee Shetterly of how much work staining your letters be.
Bonus points if you understood my obscure and random allusion.
After our individually stained and cut letters were fully dried and the stain was cured, we could glue them to our sign. To do this, I did a little bit of finger painting with the wood glue where I would apply a small amount of glue to a few letters, place them in their respective place on the sign, then use a large steel plate as a clamp for a few moments until the letters had done their initial drying.
After all of the letters were placed, and the glue was fully cured, it was time to apply finish to protect it for the years to come. I decided to use sprayable oil based polyurethane for this, which looks super slick in semi-gloss, in my opinion. Semi-gloss is just enough sheen to catch your eye but not so much that it could be a mirror or show every finger that ever touched it.
I did multiple coats of the poly, sanding between them to get the best finish possible. Now to clarify that, obviously sanding between all the letters would be darn-near impossible, so the sanding between coats largely focused on the large open areas and the top surface of the primary lettering. Compressed air or an air compressor comes in handy to blow out the sanding dust before applying the next coat.
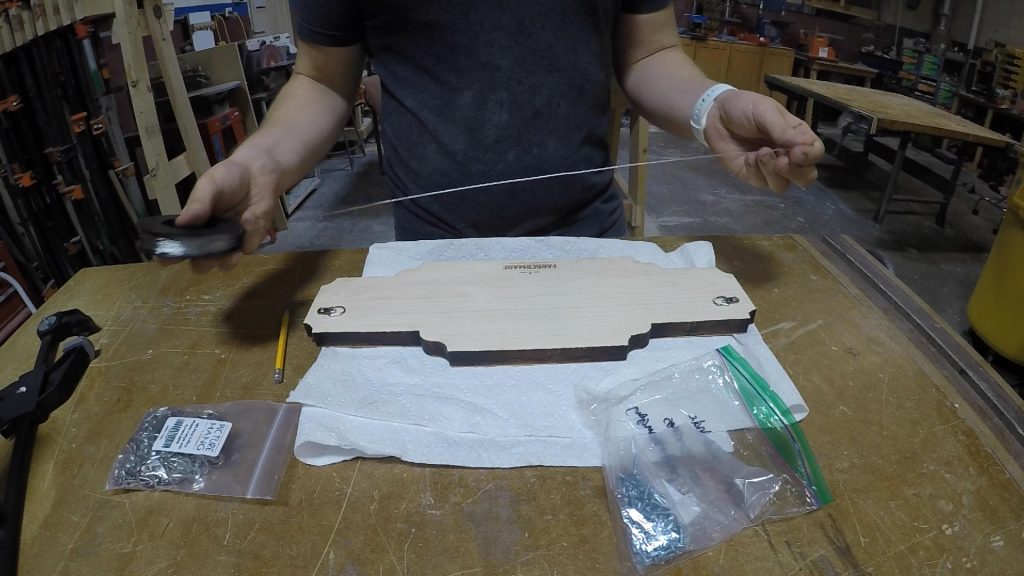
With the finish complete and looking good, I gently placed the finished sign face down on a soft bed of paper towels and proceeded to add some hanging hardware. I’ve experimented with keyhole slots cut on the router over the years too, but I find those work best on smaller projects. For larger things like signs, picture hanging wire works best. To apply, I added the D-bracket on both sides of my sign and twisted the wire through to secure.
I then proceed to hang it up to take a photo for posterity when I noticed a slight problem with my placement of the hanging hardware. The center of gravity was higher up on the sign than where I placed the hardware, causing the sign to tilt down at a somewhat significant degree.
And yes, that is a picnic table stood up on its end that I have it nailed to.
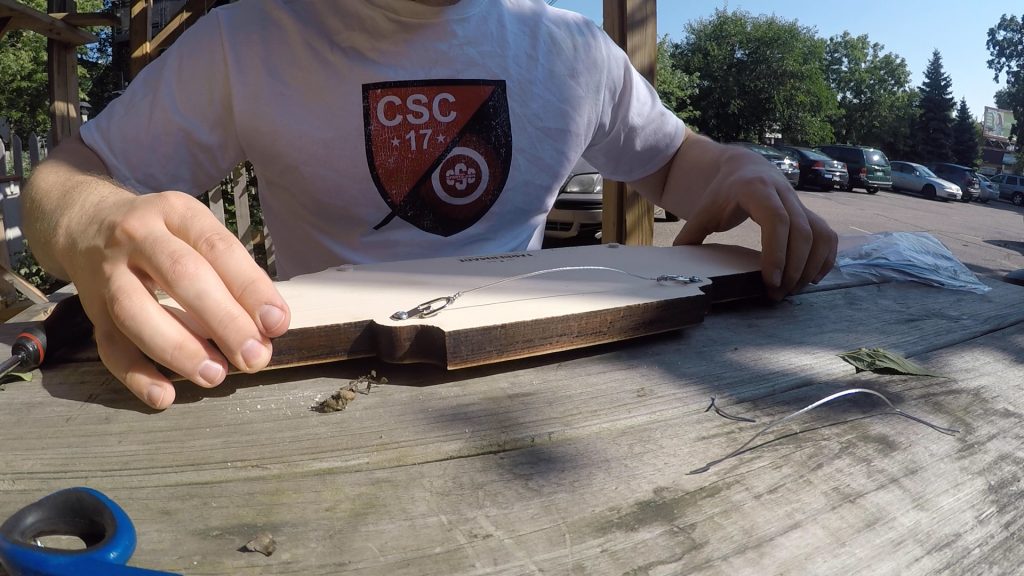
To solve for this, yet keep the wire from being visible when hung, I had to shorten the wire and relocate the D-rings further up on the same trajectory as the original wire. If I had added the hardware further up but on the same edges of the sign, it’s possible the wire would be visible on the inside corners of the top of the sign, which I didn’t want.
After fixing the placement and doing another test hang, it was finally complete!
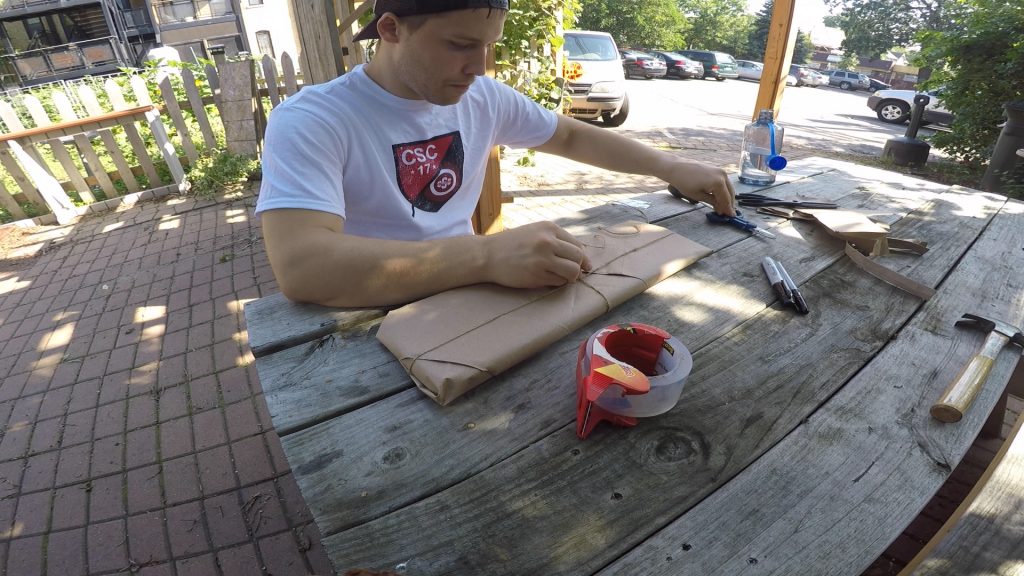
All that was left at this point was wrapping it up in kraft paper and twine for that rustic charm I love so much (I’m a bit basic) and taking it to Taylor and Brad on their special day.
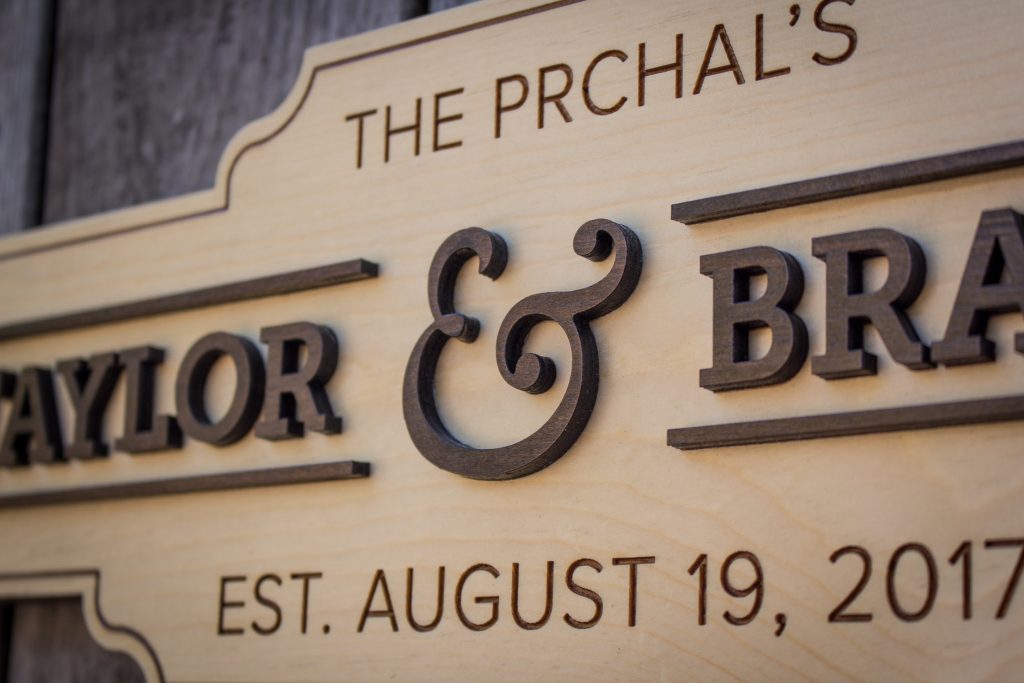
I really hope you enjoyed that in-depth look at the process behind me making this wedding sign. A lot of heart goes into these types of projects, so I hope that shows in my process. We haven’t had any friends or family get married over the past few years so it was great having the opportunity to look back on this project.
I really appreciate you reading all the way through! If you’d like to see more about how I made the sign, you can watch the full video on my YouTube channel.
Ready to build this yourself?
Below are links to various tools and materials used in this project to get you going. As a heads up, some are affiliate links which allows me to receive a small commission if you buy something, at no extra cost to you. Every little bit helps me continue making videos like this, so I appreciate your support and consideration!
Picture Hanging Wire: https://amzn.to/3emLWLM
Picture Hanging D-Ring Hardware: https://amzn.to/2XugqV9
Minwax Semi-Gloss Spray Polyurethane: https://amzn.to/3eelP9q
Minwax Walnut Wood Stain: https://amzn.to/2zuYP7A
Foam Craft Brushes: https://amzn.to/2XSHxeQ
Tightbond II Wood Glue: https://amzn.to/2xKA96B
220 Grit Sandpaper: https://amzn.to/34dRnbS
DeWalt Random Orbital Sander: https://amzn.to/3c3lvZZ
DeWalt Cordless Drill: https://amzn.to/2X2IgbX
