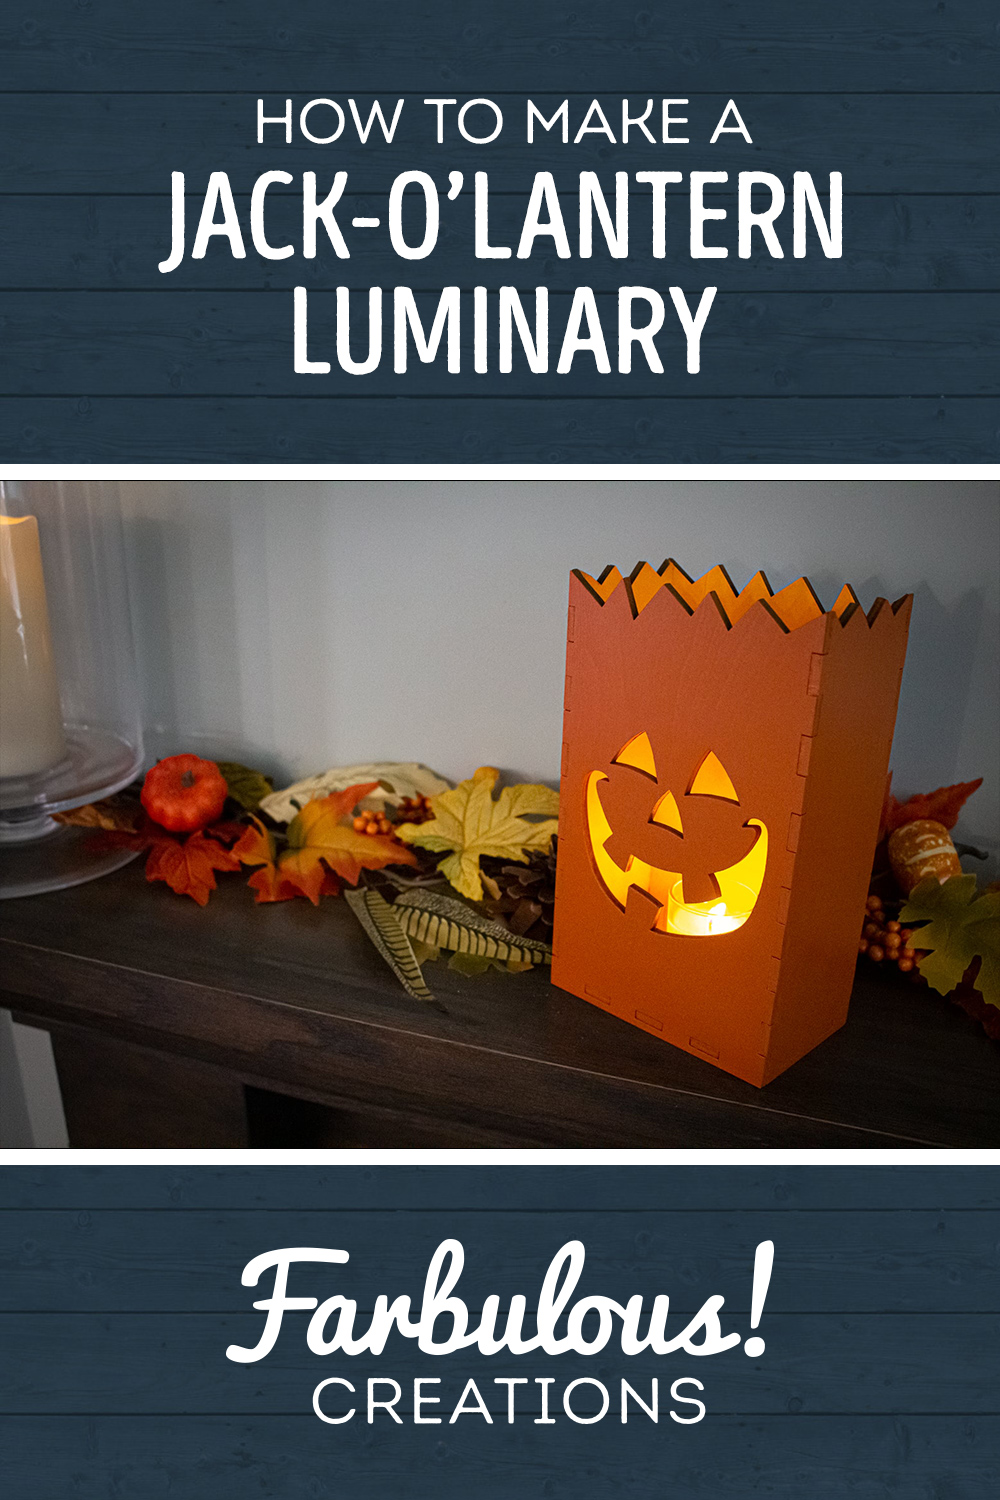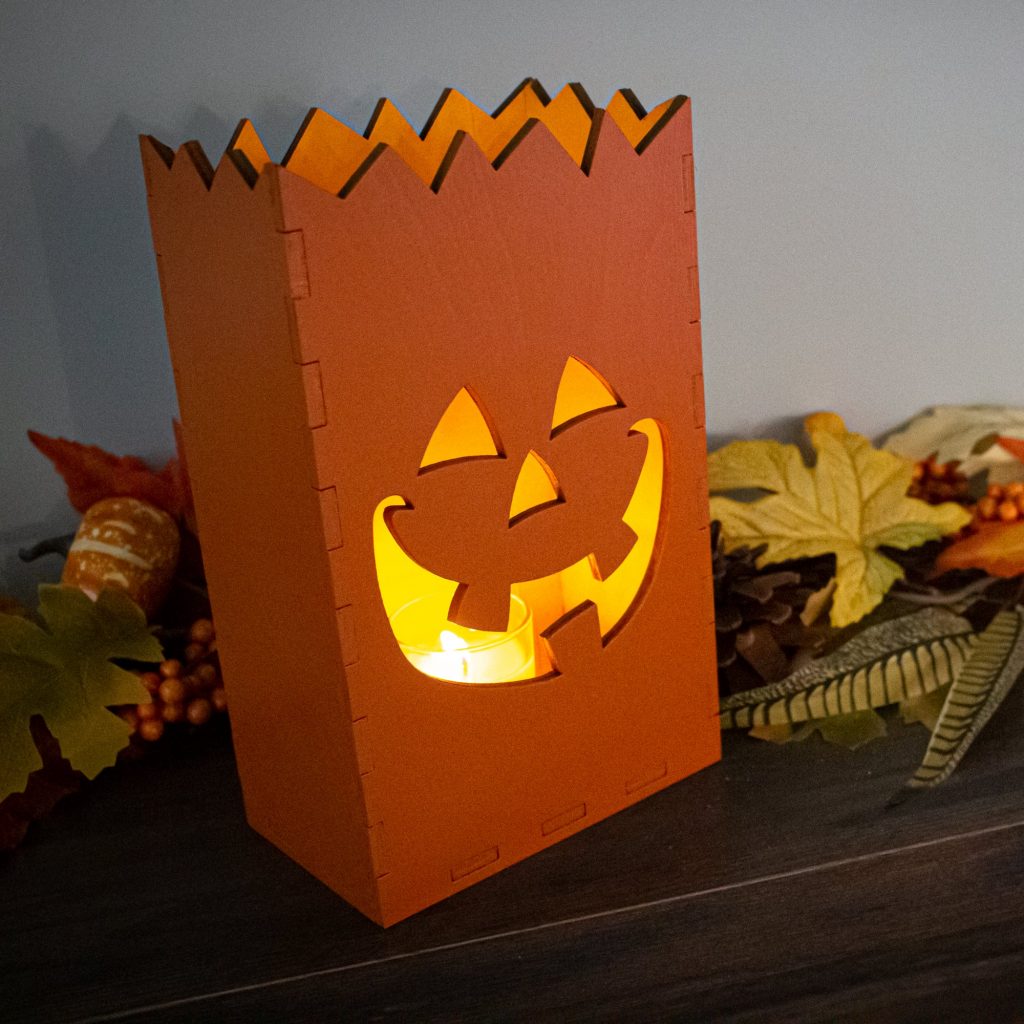
I love making homemade Halloween decorations when I can – which you may have already known if you saw my post from last year around this time where I built a replica of Billy Butcherson’s tombstone from Hocus Pocus. This year I wanted to experiment with making some laser-cut luminaries.
If you’re interested in watching a build video and listening to my ramblings (rather than reading them), be sure to check out the video at the top of the page.
The inspiration for this project came from a decoration I recall seeing in the Halloween aisle when I was a kid. They were effectively paper lunch bags, but orange, with pumpkin faces cut into the bag or printed on the bag. They came with tea light candles and you were supposed to put them on your walkway with sand or rocks inside them to help weigh them down.
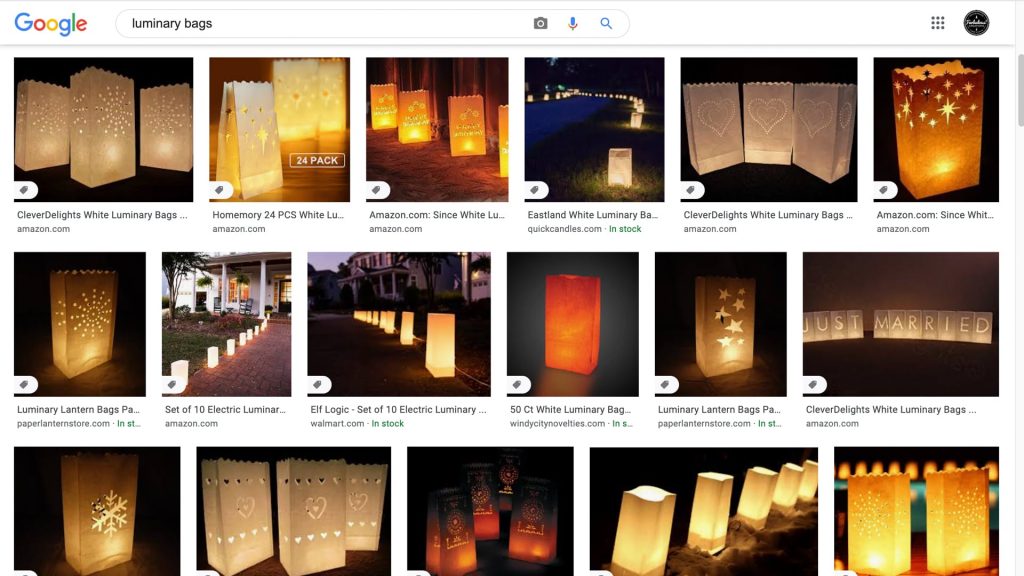
I always liked the idea of the sidewalk up to the house lined with these, but the practical execution always had me wary of a fire. I don’t know about you, but I wouldn’t exactly feel comfortable leaving a fire lit inside a paper bag outside, where a gust of wind (or lost spirit) could easily blow it over, sand or no sand.
So, with the general principal at hand – can we make something that achieves the same look while being a little more sturdy, and less prone to collapsing in on itself or being blown away? Yes, I think so. Let’s give it a go!
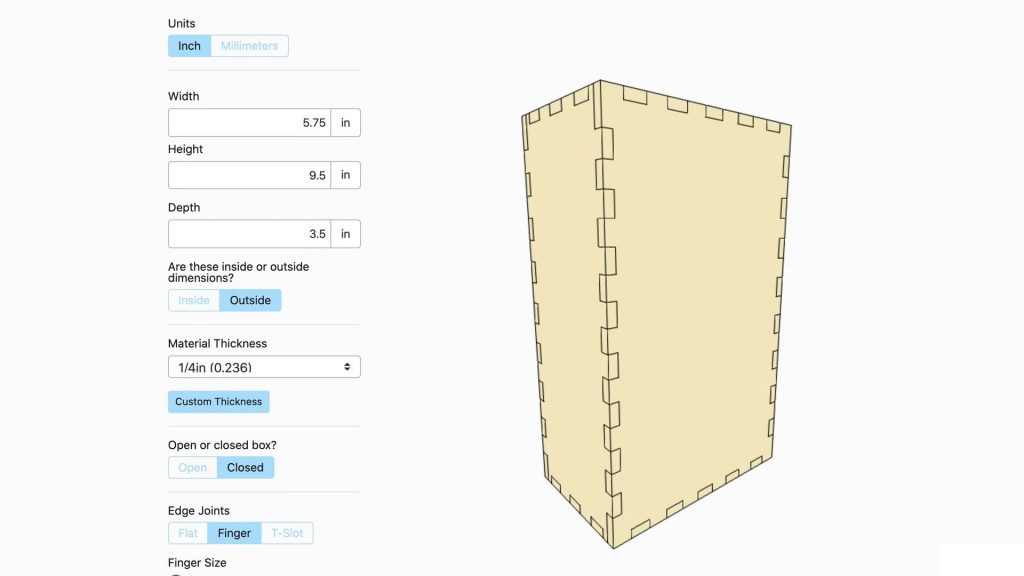
To start, I came up with rough dimensions for my box based on what the internet told me a paper lunch sack measures in at. I wanted these roughly the same size to be a nod to the original paper bags. Using those measurements, I took to this super handy laser-cut box generator tool I found online awhile back. It’s awesome – all you do is enter your box dimensions, tell it how thick the material is that you’ll be cutting it out of, tweak a few other settings, and boom, it generates a perfect vector cut file with all the finger joints dialed in exactly.
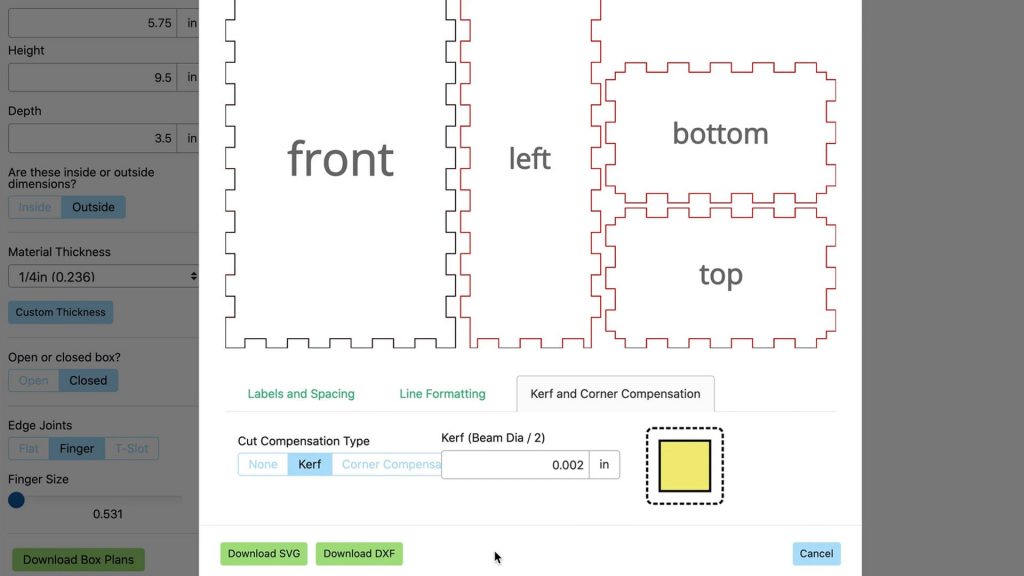
You can also enter a value for kerf compensation, which you may need to play with if you determine your joints are too tight or too loose. This is entirely dependent on the laser you’re using and it’s beam size, but in general, a value of 0.002 or so has worked for me. I plan to do a video talking about kerf in more detail down the road, but that’s another show. For now, just experiment a bit; it’s the best way to learn! The tool is called Maker Case if you want to look it up.
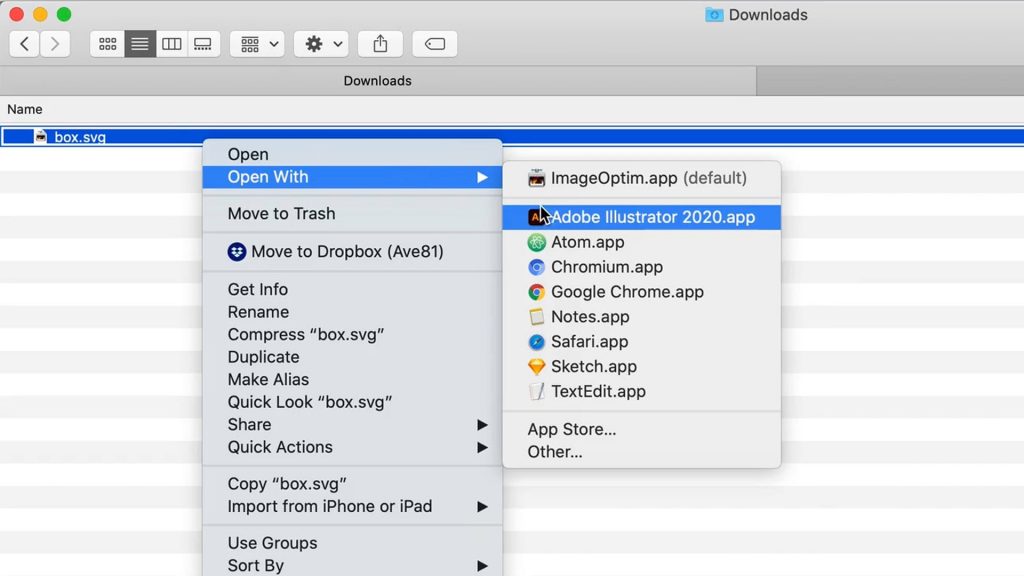
Exporting my generated box gave me a SVG file, which is a super common software-agnostic vector format that can be opened by most vector tools such as Inkscape or the like. Other laser software may want the DXF file, which is also an option in the box generator, but Adobe Illustrator is my weapon of choice, though, so I used that with my SVG to further develop my luminary box.
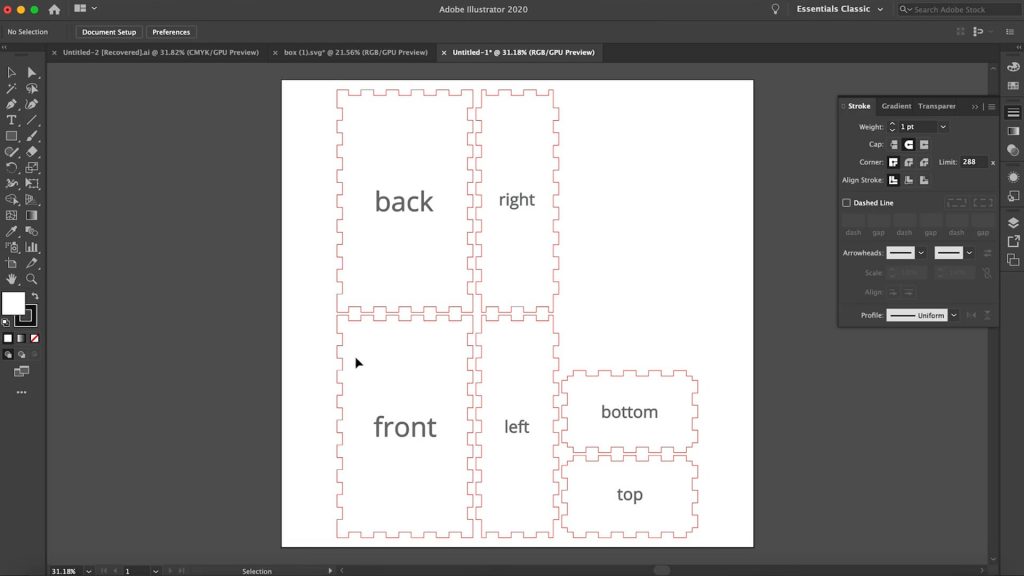
Once open, you’ll see how the box generator laid out our box. Since this will be an open box, we don’t need the “Top”, so we can delete that.
One design feature I really wanted these boxes to have – to really nail home the “paper lunch sack look” – was a zig-zag pattern along the top open edge of the box.
To do this, I could have deleted the square finger joints from the top of this edge and started “fresh”, but instead I decided to use them for spacing. I added an extra vertex to the middle of each finger and to the middle of each slot, then, highlighted the original vertices, making sure to leave my centered ones alone and – poof – deleted them. This left my “centered vertices” to connect directly to one another, giving me the zig-zag pattern. I did this on the side piece of my box as well.
But these zig-zags are a little too neat for my taste. Too perfect. To take care of that, I added some randomness by changing the depth of each point, making some cut deeper into the box while others didn’t go quite as far in. I also nudged the points to the left or to the right a bit to make them look a little more chaotic and so it wasn’t always the same angle from one zig to its neighboring zag.
After I was happy with both pieces – the back and the right – I cloned them to replace their previously matching face of the box. The great thing about the box generator is that the front/back will always have the same finger layout, as will the left/right, and the top/bottom, if we were using the top.
For the bottom, we could leave this unmodified, but I decided to tweak mine with the idea that we may want drainage holes if this is something left outside during all kinds of weather. By raising the bottom up off the ground a bit, there’s less surface area sitting in water. To do this, we’ll make a copy of the fingers in question, isolate them and then close them to make rectangles, then moving them into place. These will get cut out entirely, allowing the fingers of the bottom face to slide in. We’ll do this to all four faces.
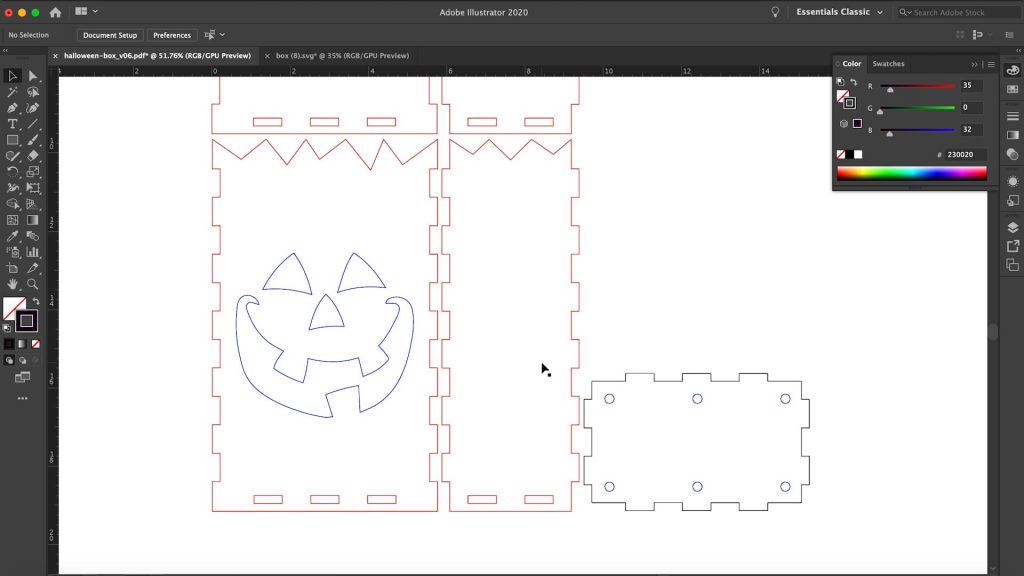
I also added those holes for water to drain through the bottom. And of course, the luminary wouldn’t be complete without a festively spooky face of your choosing! You can draw your own, trace one from a photo, or just search “vector jack o’lantern face” and all sorts of results will come up.
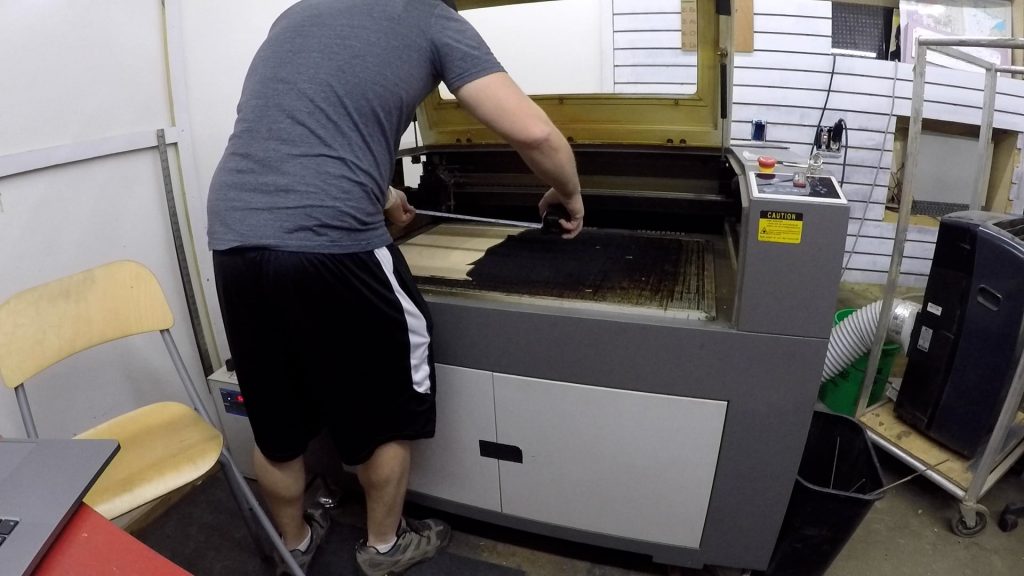
With my completed cut file ready, it was time to head to my local maker space for everyone’s favorite part, the laser cutting itself! I got started by finding a piece of scrap 1/4 inch plywood that looked like it would fit my cut file nicely. I believe this piece is from a project I completed 3 years ago, which just goes to prove that saying about makers and woodworkers never being able to part with their scrap wood. There wasn’t any fancy setup to do, just focusing the laser on the surface of my board and get to cutting.
I recently got a new camera for use when filming my laser projects, so enjoy some of these higher-than-usual fidelity shots of the cuts happening. The sad irony of using this higher-end camera is that it shows just how used and abused the maker space laser is. I bought a very used (read: dented) truck a few years ago, and the previous owners had placed a “beat, not babied” sticker on the back window… I can’t help but feel like that phrase applies to this maker space laser too. When I purchase my own laser someday, I’ll treat it like royalty!
After the box parts themselves were cut, I performed the ol’ “check to make sure the parts released properly” test that is sometimes needed with this older laser.
The last thing to cutout was the face of my jack o’lantern.
After all my cuts were done, even though I had done a few test finger joints with smaller pieces, I did a cursory test to make sure the pieces fit together. Typically you want snug, but not too tight with finger joints – laser cut or otherwise – but since I planned to add a few coats of paint before gluing, I left them a smidge looser than normal.
Once back from the maker space, I applied my first coat of paint in my “beat, not babied” portable spray booth.
Since these will be lit from the inside, and we want the glow to be extra prominent, I used yellow paint for the inside faces. I applied multiple coats of Paint+Primer spray paint over the course of a few hours until the surface of the wood was uniformly glossy.
After the yellow had dried, it was time for the orange. Same process here – build up the layers of paint until uniform in sheen.
When the orange side had also dried, I could begin final assembly. I added a small bit of wood glue between each finger and quickly assembled each piece into its proper place. Since I raised the bottom of my box up and into the height of the box a little bit during the design process, it’s worth noting that the bottom could not be the last piece added, as it would effectively be locked in from every direction. Just wanted to call that out in case you make a box with that style of bottom so that you’re not frantically rushing to disassemble then reassemble. Totally not speaking from experience.
I used a damp paper towel to clean up and glue squeeze-out, then used the stereotypical “way too many clamps” to hold it together as it dried.
Once out of its clamps, I realized its face could use a last coat or two of the orange paint, as to give the end-grain of the sides of the box a little more paint, since they weren’t given much previously, as I had only been focusing on the faces.
Since the face of the box had its design already cut and I didn’t want to get any orange paint onto the inside yellow portions of the box, I taped a paper towel inside the box to catch any overspray before doing those final coats.
A few hours of drying (plus a few days so the spray paint could off-gas), I could call this project complete and do the inaugural lighting. Now obviously a safer bet – safer than not using paper bags – would be to use an LED tealight, but I wanted to see how cool this looked with a real candle, as the LED tealights available today still haven’t nailed that real-flame look that I love so much. So I lit it up, and dimmed the lights!
And there she is! Now this project was a bit of an experiment, in that I only wanted to make one before making a whole walk-way worth of them. And I’m glad I did, because you may have realized one shortcoming of this design that I guess I didn’t really think about while planning it – and that is that one of the most charming aspects of those sand-filled fire hazards is the serene glow that they create as the paper’s translucency filters the flame’s light – the solid-walled plywood construction of my design just doesn’t do that. So at some point in the future, I’m going to revisit this idea using acrylic – likely frosted acrylic – to achieve that same charming glow.
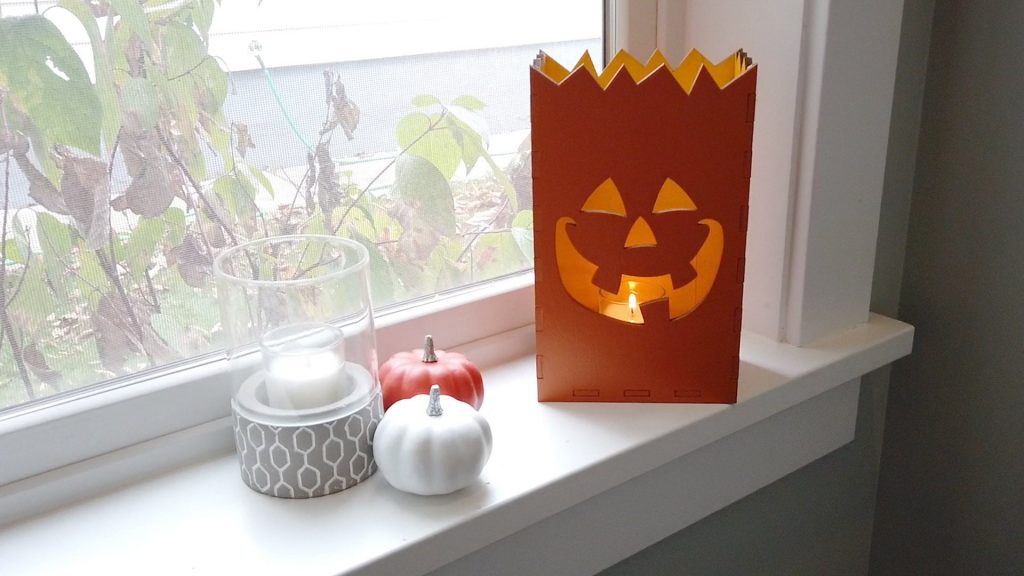
But this project wasn’t a total waste, as it looks just as charming in a partially lit setting or atop a mantle, where I think it looks particularly nice in our house.
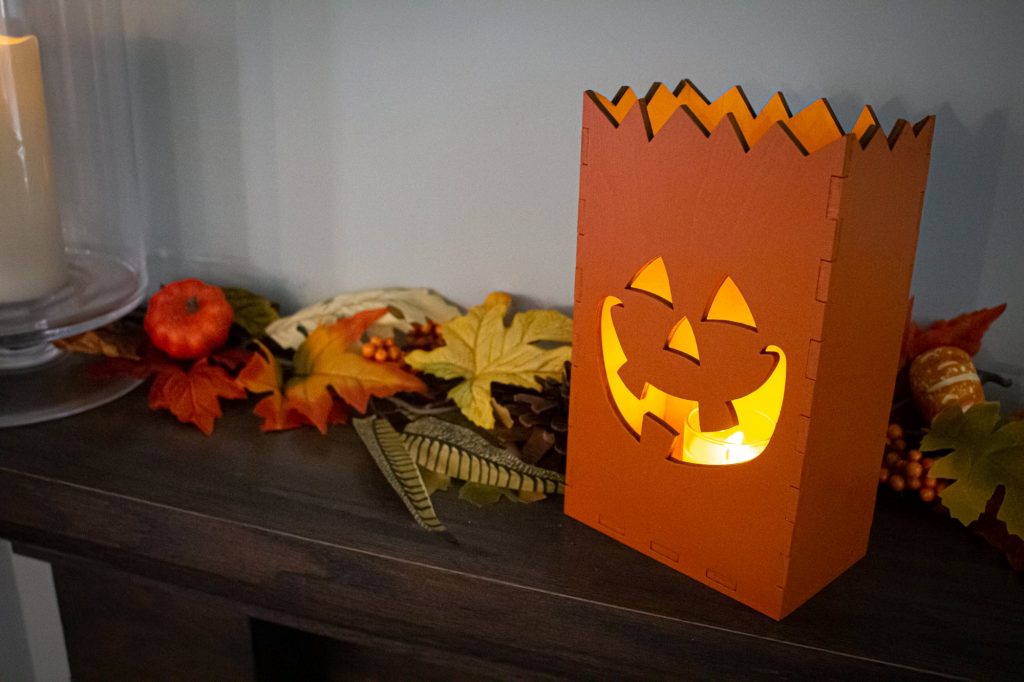
So while not a perfect replica of what I was going for, I hope you still enjoyed reading about this laser cutting project and learned something here! If you’d like to see more details about the process that didn’t make the build writeup, be sure to check out the video at the top of the page.
Otherwise, have a safe and happy Halloween! Stay spooky!
Ready to build this yourself?
Below are links to various tools and materials used in this project to get you going. As a heads up, some are affiliate links which allows me to receive a small commission if you buy something, at no extra cost to you. Every little bit helps me continue making videos like this, so I appreciate your support and consideration!
Maker Case Box Generator: https://en.makercase.com/#/basicbox
Adobe Illustrator: https://www.farbulouscreations.com/adobe
1/4 inch Plywood: https://amzn.to/2FxSyeo
Rustic Orange Spray Paint: https://amzn.to/2GR00lC
Golden Sunset Yellow Spray Paint: https://amzn.to/2H5rS50
Tightbond II Wood Glue: https://amzn.to/2xKA96B
Wood Clamps: https://amzn.to/319tMJ8
Glass Votive Candles: https://amzn.to/35ebaJl
Long Reach Lighter: https://amzn.to/34ZJV4N
