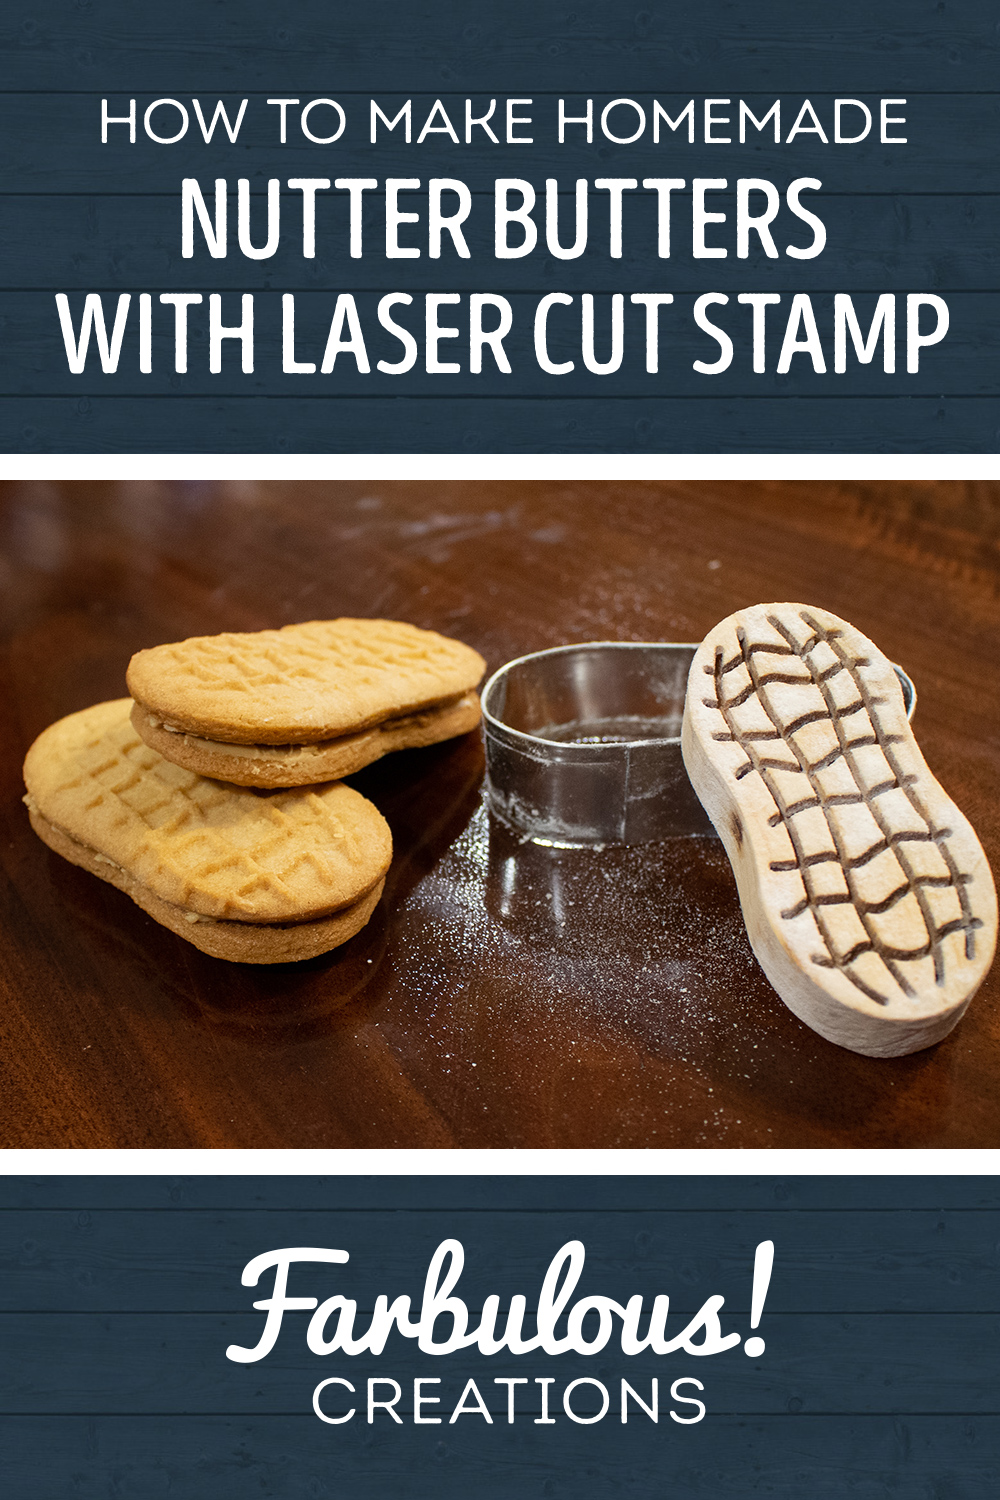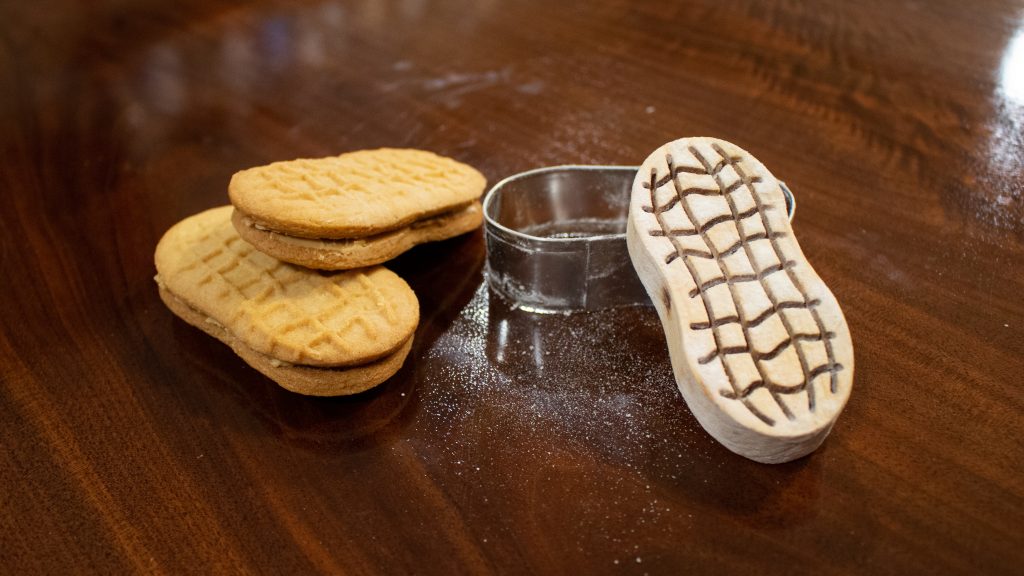
Obligatory preview of the end result! Before getting started, let me just preface by saying this is not a baking tutorial or recipe: it’s a writeup of how I made the tools (the stamp and cutter) that eventually allowed me to make the cookies! I’m a woodworker and laser crafter who has way too many hobbies, baking being one of them, and I love finding ways to combine the two whenever I can!
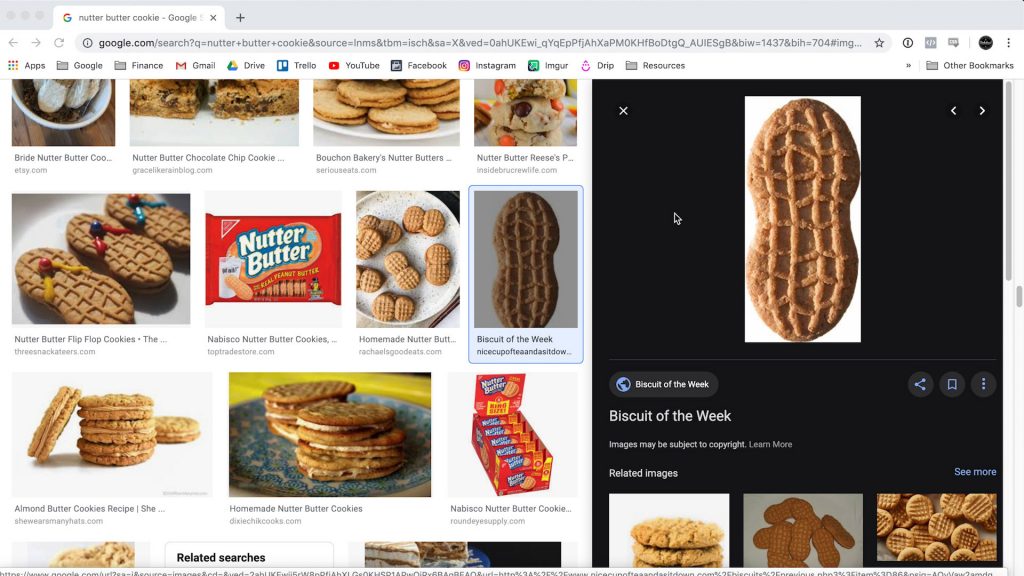
Let’s start with the cookie stamp! To start, I first needed to find some reference images of a Nutter Butter so I could get the design just right. I found a perfect top-down shot of a Nutter Butter on Google Images, which is exactly what I was looking for.
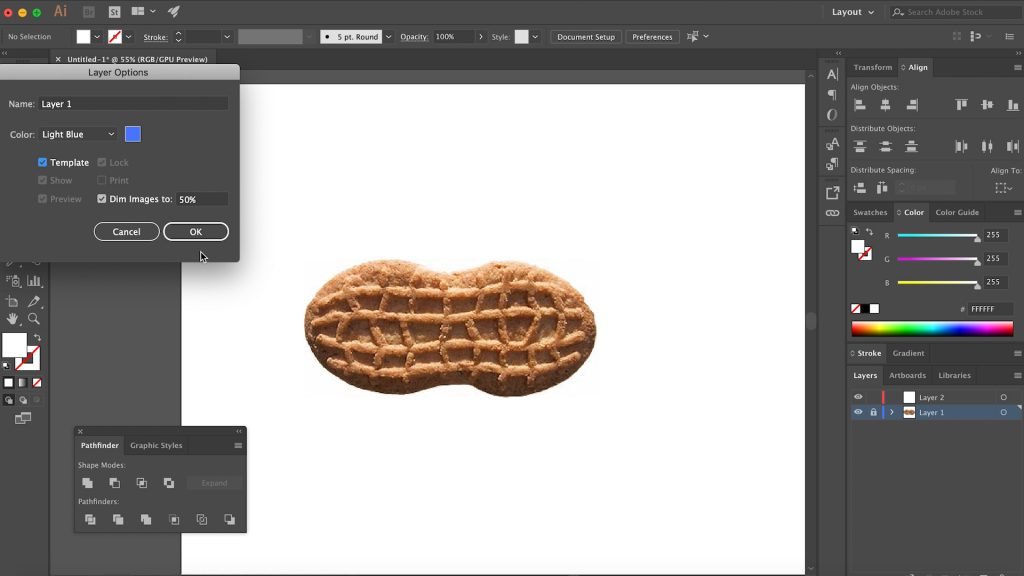
I took that photo into Illustrator and got to tracing. I placed my reference image on its own layer and then locked that layer so that I wouldn’t accidentally move it or interact with it. I also made that layer a “Template” which tells Illustrator to dim the image so it’s less distracting.
Using the Pen Tool, I then started drawing the horizontal lines that made up the peanut’s ridges. These are all curved lines, so if you know how to draw with bezier handles you’ll be in good shape for something like this. Without going into a full Illustrator tutorial, you basically want to place your points anywhere the line starts to change direction, but click and drag to pull out the handles until your curve matches the profile you’re going for. I also added rounded end caps to the stoke and tweaked it a bit until I was happy.
After that, I could have repeated the same steps for each horizontal line, but I realized all the lines were pretty similar in this direction and that I could probably just duplicate my first line and tweak it to fit the profile of the other lines, and that’s exactly what I ended up doing. I repeated these steps for the vertical lines too before moving onto the outline.
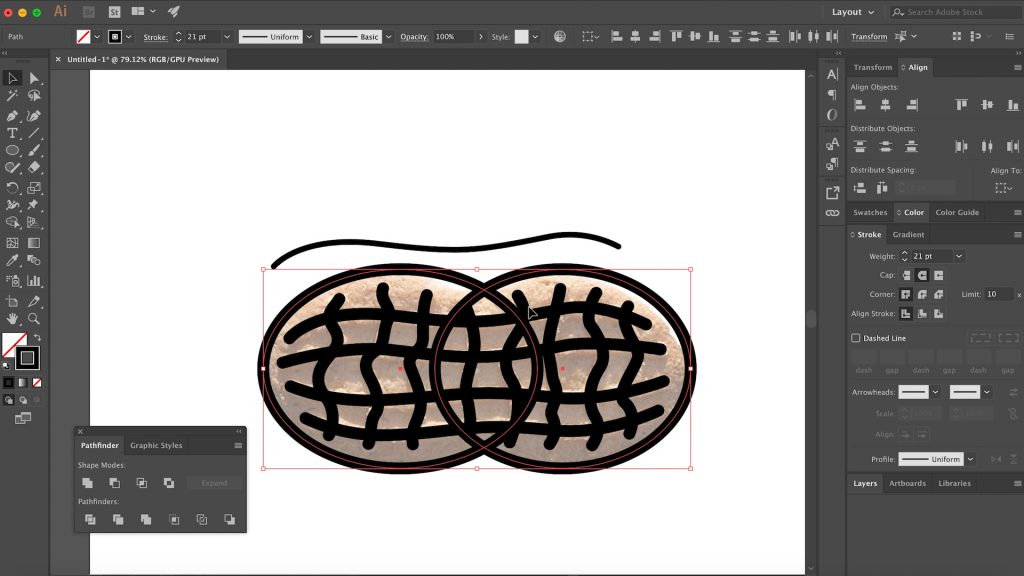
Now I could have traced the outline the same way as I traced the interior lines, but I noticed that the overall shape looked a lot like two overlapping ovals, so I decided to give that a try first, to make it a little more uniform. Sure enough, it looked to be a good fit. The oval on the right side was shifted a little right of center and smaller in width than the oval on the left, but other than that they were a perfect fit.
After using Illustrator’s Pathfinder tools to merge the two ovals together, I selected the two corner points in the middle of my peanut using the direct select tool and then used the corner radius tool overlay to pull out the corner radius of these points to match my reference image.
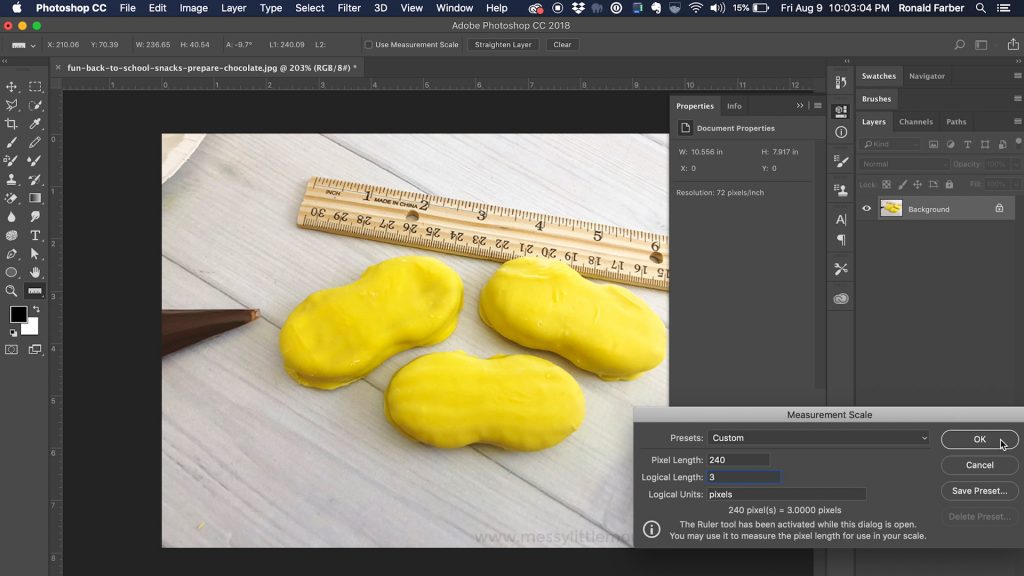
After my design was drawn true to life, I needed to figure out how big it should be in the real world once I made my stamp and cutter. Much to my shagrin, the Wikipedia page for Nutter Butters made no reference to its real-world scale. I might become a Wikipedia editor and add that in for the next guy.
Without going into it here, as it’s far too much text to explain, I used some dark Photoshop magic to measure a Nutter Butter in another random photo from Google to be around 3.25” long. The kicker here was that I did later buy some real Nutter Butters to compare and I’m pretty sure they changed size from when I last had them because I was off a good inch or so. I won’t tell if you won’t. Our Nutter Butters will just be King Sized.
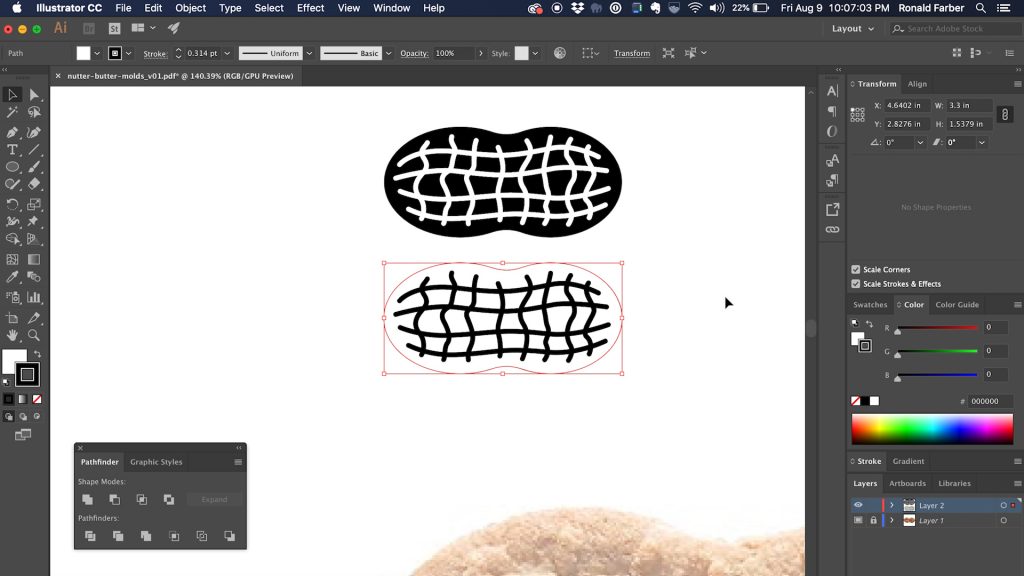
The last step I decided to do before cutting on the laser was making two versions: one positive and one negative. I wasn’t sure if I wanted to make a silicone mold out of the wood cutout or just use the wood cutout itself to do the stamping, so I figured I’d account for both scenarios and etch one version where the interior lines were protrusions and one where they were etched below the surface of the wood.
Now for the fun part, laser etching the design! I wanted to use solid wood for this rather than plywood since they would be coming into contact with food and moisture, which could cause warpage. Plus I know normal Titebond glue is food safe, but I doubt regular plywood adhesives share that quality. So I used a piece of solid pine I had laying around.
After the first pass with the laser, I found that the depth of the cut wasn’t quite as deep as I wanted it, so I did a second pass directly over top of the first layer. This second pass still wasn’t as deep as I wanted, so I did a few more until I got the depth I wanted.
I then performed a perimeter cut to show me where the outline of the peanut should be.
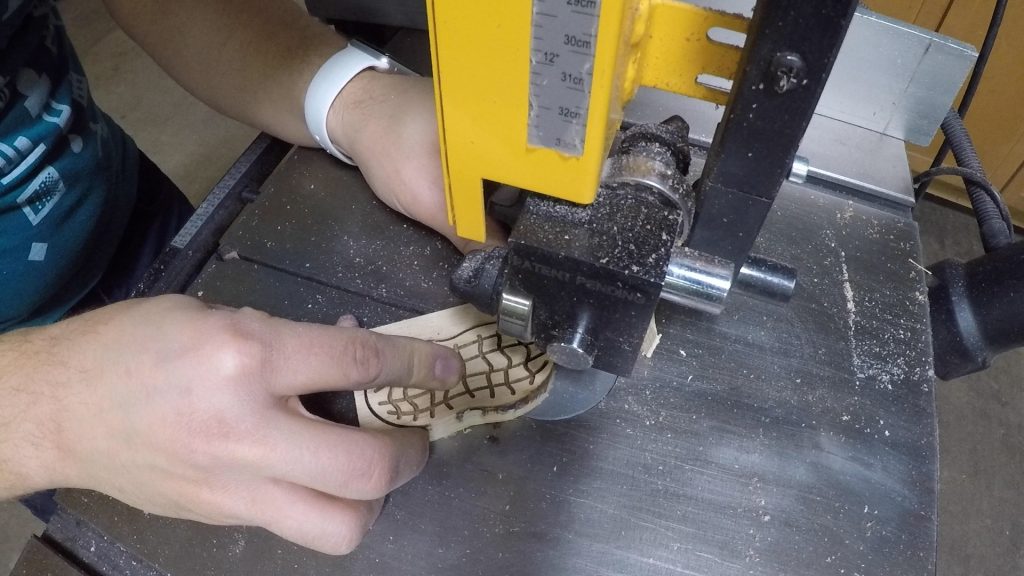
After the lasering was done and this laser etched board sat around for a few weeks, I decided to cut out the one with etched ridges and use it as is without any silicone casting. Now in past projects of mine, I’ve gone on about how most lasers can cut pine like butter, so don’t ask me why I didn’t cut this out on the laser when I first etched it. I must have been burning some midnight oil and not thinking clearly. Oh well; the bandsaw made quick enough work of it, along with a little sanding over on the belt sander.
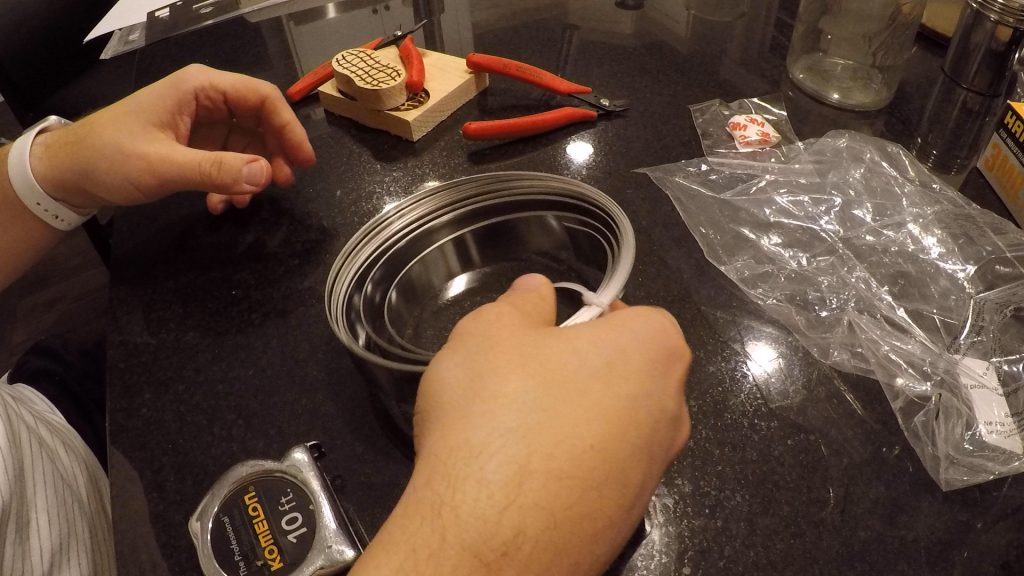
With the stamp taken care of, I could turn my sights to making a cookie cutter. I found a product on Amazon that was quite literally made for people who want to make their own cookie cutters. It’s basically a narrow strip of super thin stainless steel, but what makes this perfect for cookie cutters compared to normal stainless steel strapping is that one edge is folded over to make it less sharp since you’ll be using these with your bare hands to press cut out cookies.
With that, I needed to figure out at what length to cut the stainless steel to have enough for my cookie cutter with a bit of overlap but also not waste any. Said another way, I needed to find the circumference length of my peanut – my high school geometry is a little foggy, but I don’t recall there being a formula for that.
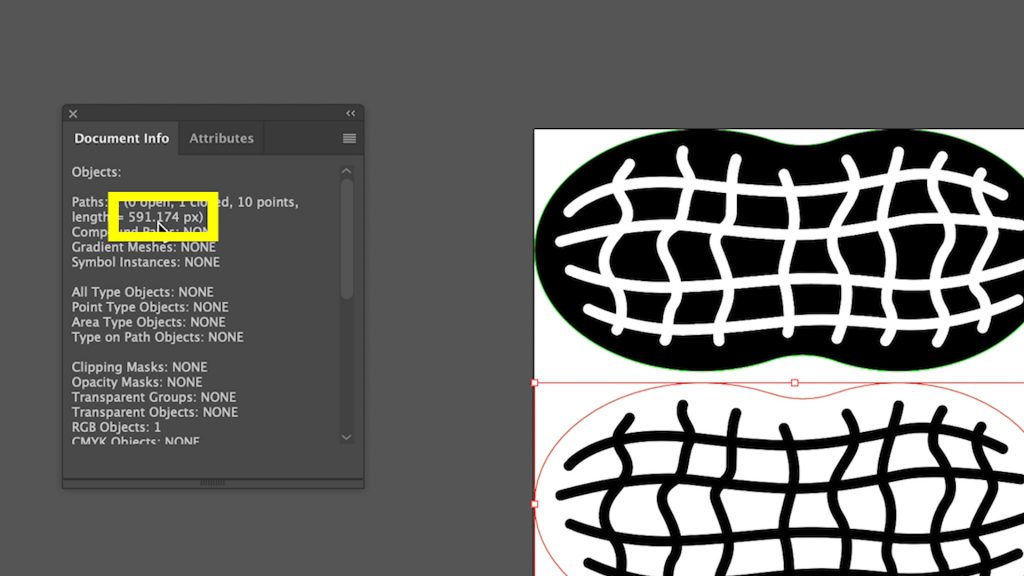
Luckily Illustrator has a method of finding this, but they don’t make it super easy. I pulled up the Document Info panel from the Window menu and selected my path. Here Illustrator told me that the length of my path was 591.174px. Now despite my document settings being set to inches, this figure reports in pixels for whatever reason. But no worries, Illustrator will convert dimensions entered in one unit to your document’s set units when transforming. So what I did to “convert” this pixel length to something I could actually use in inches was draw a random square – doesn’t matter what size – and then in the Transform menu, change its width to 591.174 pixels and hit Enter. Illustrator behind the scenes calculated this to be 8.2182 inches.
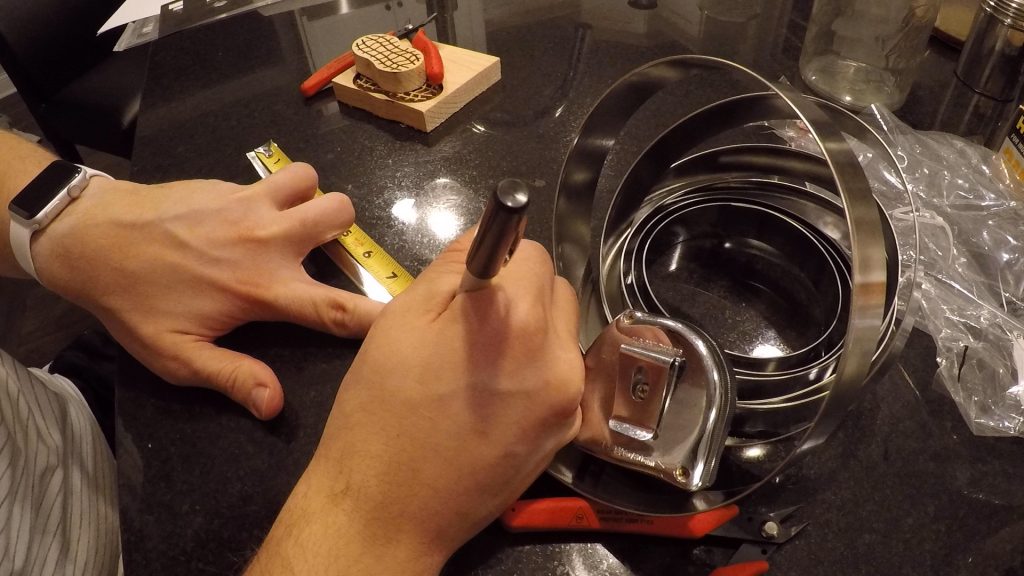
So that is the exact perimeter of my peanut. I figured I’d want an inch of overlap on the cookie cutter, so with that and rounding, I decided to cut my metal strip at 9.25 inches using a pair of small wire snips. Using a metal file, I cleaned up the cut edge a little bit so as to not be as sharp.
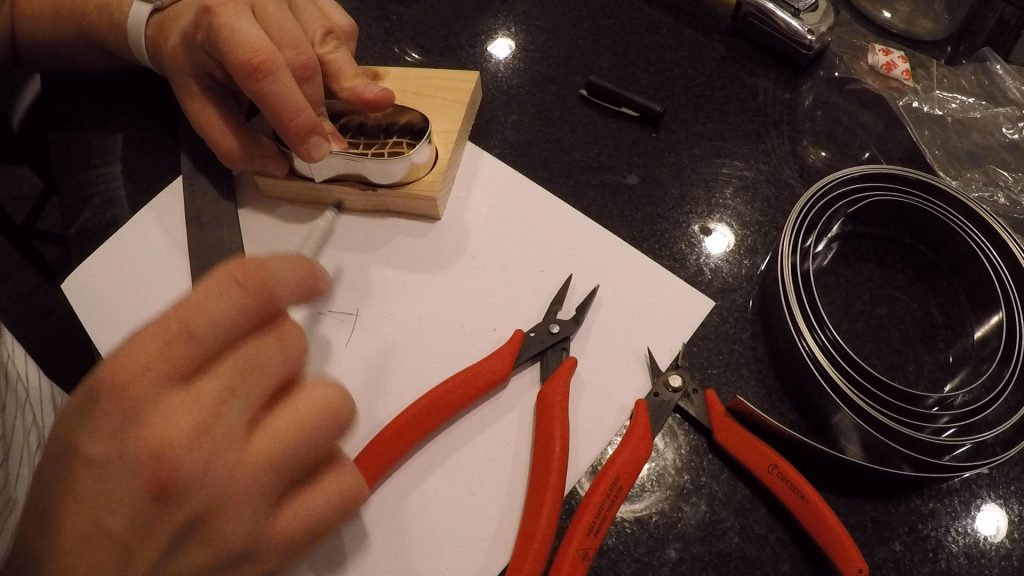
Now you’ll remember that I cut both a positive and negative impression of the nutter butter pattern. Even though I decided to use the negative to do the stamping directly on the cookies, the positive version came in handy here to help form the metal into the correct shape. I placed the metal banding inside the perimeter of the cut peanut shape and then bent slowly as to follow the path all the way around the shape. Once I got it bent all the way around, I made a small mark on the outside where the edge of the overlap would end up.
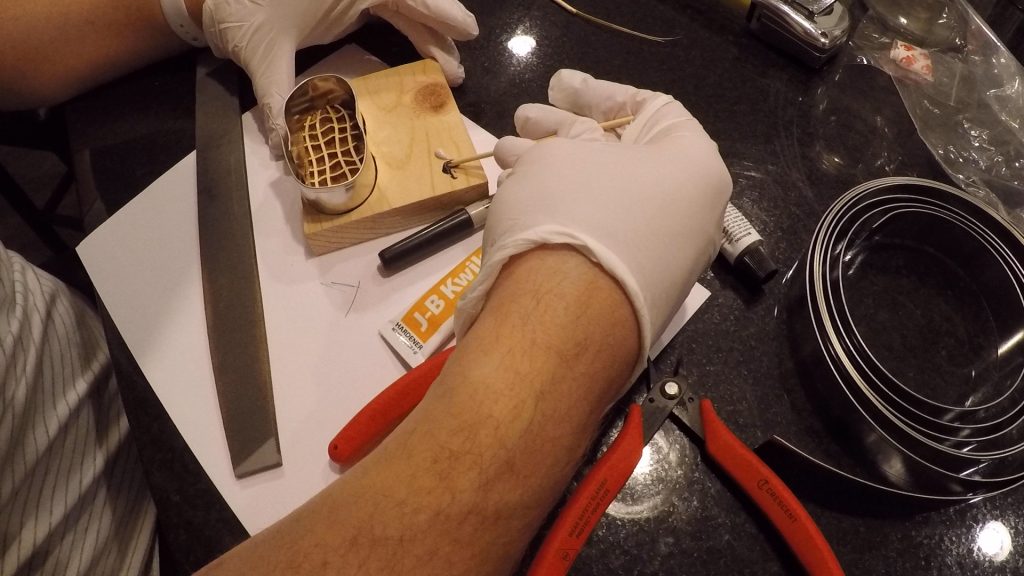
Now this cookie cutter banding came with some 3M double sided adhesive tape strips to adhere the overlapping portion of your cutter together, but I thought it might be nice to make this a bit more of a permanent bond than just adhesive tape could provide. So I decided to try my hand at using JB Weld, which is a type of two part epoxy specifically intended to bond metal to metal without hot welding. It’s probably not food safe, but being this would literally be sandwiched in between the metal, I figured it was fine. So I roughed up both surfaces with a little sandpaper to give the epoxy more hold then mixed up a small bit of each part with a wooden skewer.
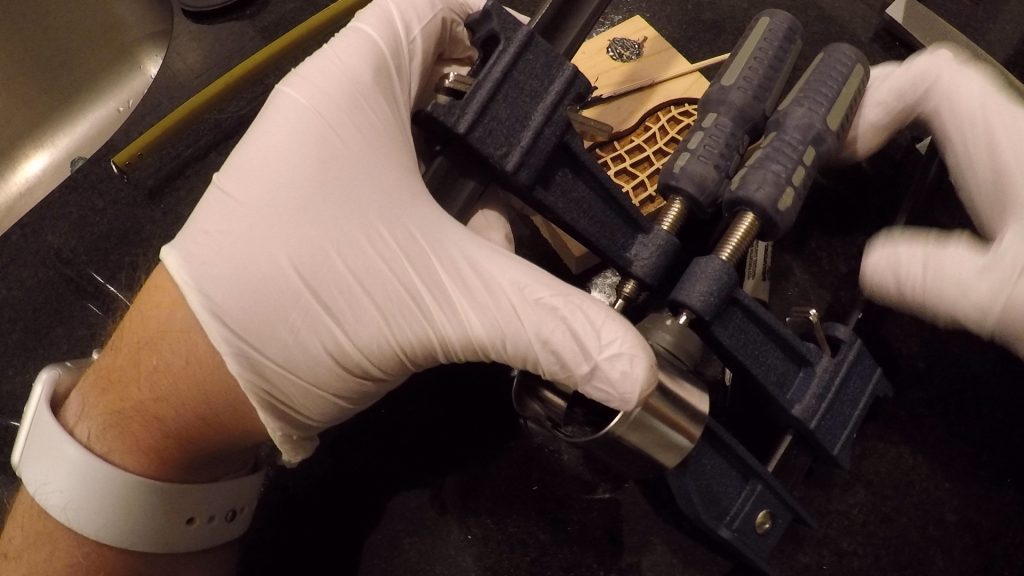
After applying it to one side and adhering the overlapping piece, I put a clamp on it to hold it together for the duration of the epoxy curing time. Unfortunately I only had larger clamps and so I wasn’t really able to clamp on both sides of the bend.
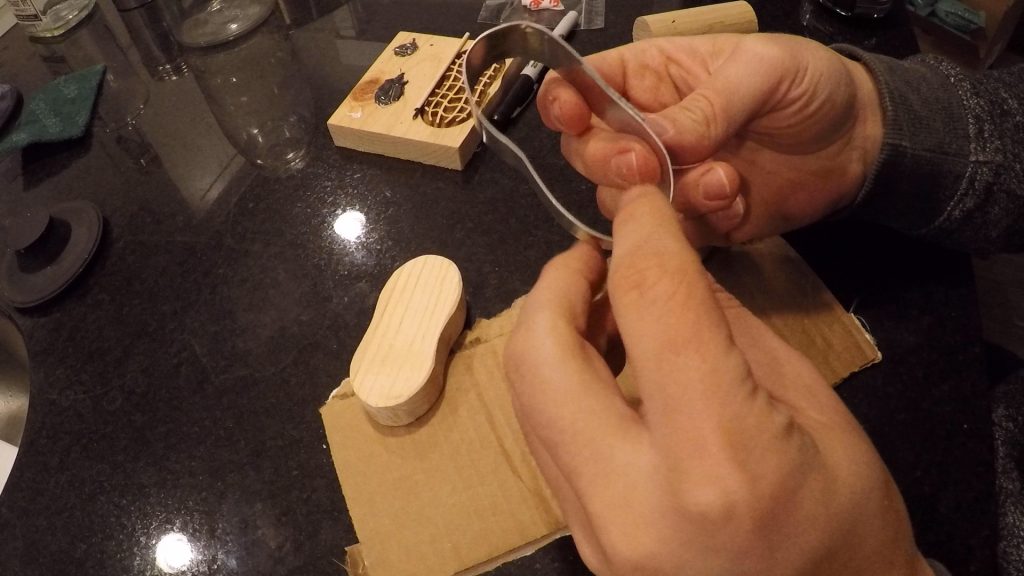
This resulted in losing my inner curve on that side of the peanut as the clamp flattened it out. Not fretting, I cleaned up the squeezed out epoxy using a large sewing needle and my pliers and gave it a good cleaning.
Now that it was in one solid piece, I was able to do some final shaping. Using a few different sized wooden dowel lengths, I rolled, massaged and tweaked the imperfect bends of my cutter to be a little… less imperfect. I also eventually got my inner curve back on the clamped side of the cutter by gently pressing it against the smaller diameter dowel. This was all fine and good, but I couldn’t leave well enough alone and was really trying to get the cutter to be as perfect-looking as possible when…
This happened. Unfortunately all my fiddling with the shape after the epoxy had cured caused it to break and release it’s hold. I did end up cleaning the old epoxy off and repairing it, but I also decided to start anew and make a new cutter.
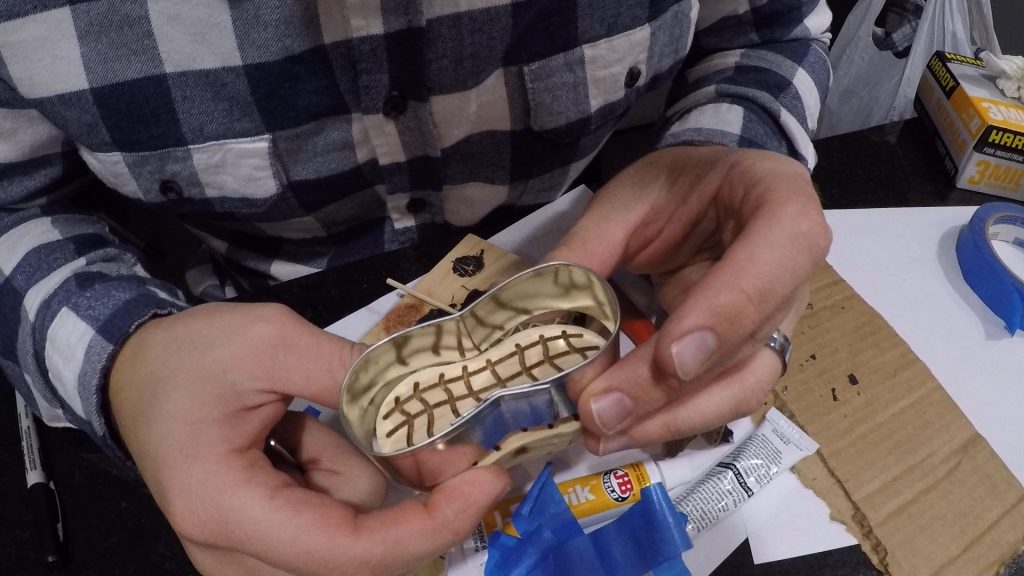
This time instead of forming it using the perimeter of the positive, I decided to use it as a rough guide and just do the bends separately using the dowels again to assist me. I also decided to use painters tape to mask and hold the cutter together once the JB Weld was applied so I didn’t flatten my curve again.
Overall, this worked much better, though I did still have some gaps from not having the tape wound as tightly as I could have. What I didn’t like about this cutter though was that it’s peanut shape was a little too perfect and symmetrical, where the “OG” cutter was precisely tuned to the shape of my designed peanut. I would have done a third cutter combining the pros from both methods, but I already had way too many hours into this peanut cookie cutter and I was questioning my sanity. The first cutter was repaired after-all and could still be used – it was just a little “wobbly” around the perimeter from so much fiddling and it was scratched up from all my sanding and scuffing of the metal. So it was a little “ugly” but could still do the job, so let’s move on shall we!
With the cutter and stamp both made, my friend Ryan and I could get to making our homemade nutter butters! The dough stamp worked like a charm, as did the ugly cutter.
After baking up a batch of cookies and making some peanut butter icing for the filling, our mission to make homemade nutter butters was officially a success.
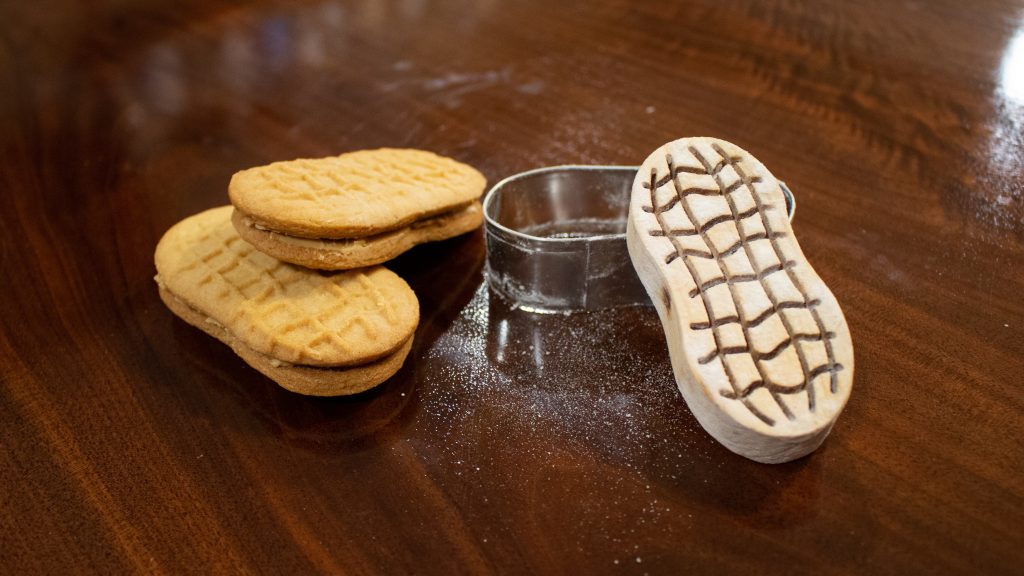
Here’s another look at the cutter and stamp, covered in flour, with a bit dusted on the surface for, you know, dramatic food-photography effect.
I really appreciate you reading all the way through! If you’d like to see more about how I made the stamp and cutter, be sure to watch the full build video at the top of the page!
Ready to build this yourself?
Below are links to various tools and materials used in this project to get you going. As a heads up, some are affiliate links which allows me to receive a small commission if you buy something, at no extra cost to you. Every little bit helps me continue making videos like this, so I appreciate your support and consideration!
Custom Cookie Cutter Banding: https://amzn.to/2JKUbnk
JB Weld Epoxy: https://amzn.to/2wmnolE
Small Wire Snips & Pliers: https://amzn.to/2JJ0BU1
Large Metal File: https://amzn.to/2UN6feo
1” Painters Tape: https://amzn.to/3aRBD0I
220 Grit Sandpaper: https://amzn.to/34dRnbS
Oh, and in case you’re hungry for Nutter Butters now but have no plans to actually make your own:
Nutter Butters: https://amzn.to/2yEcDvL
